This post may contain affiliate links. Please see our disclosure policy.
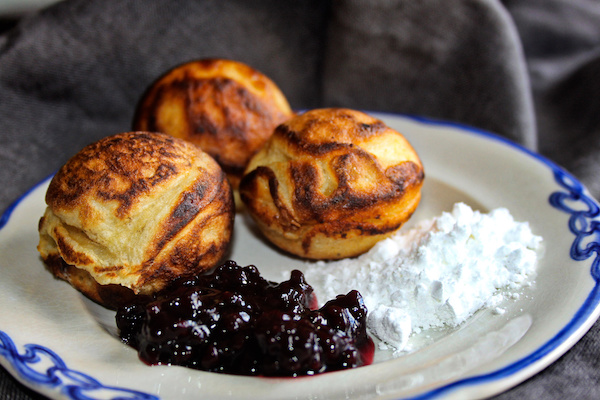
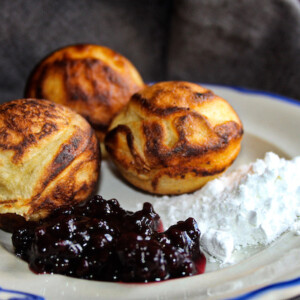
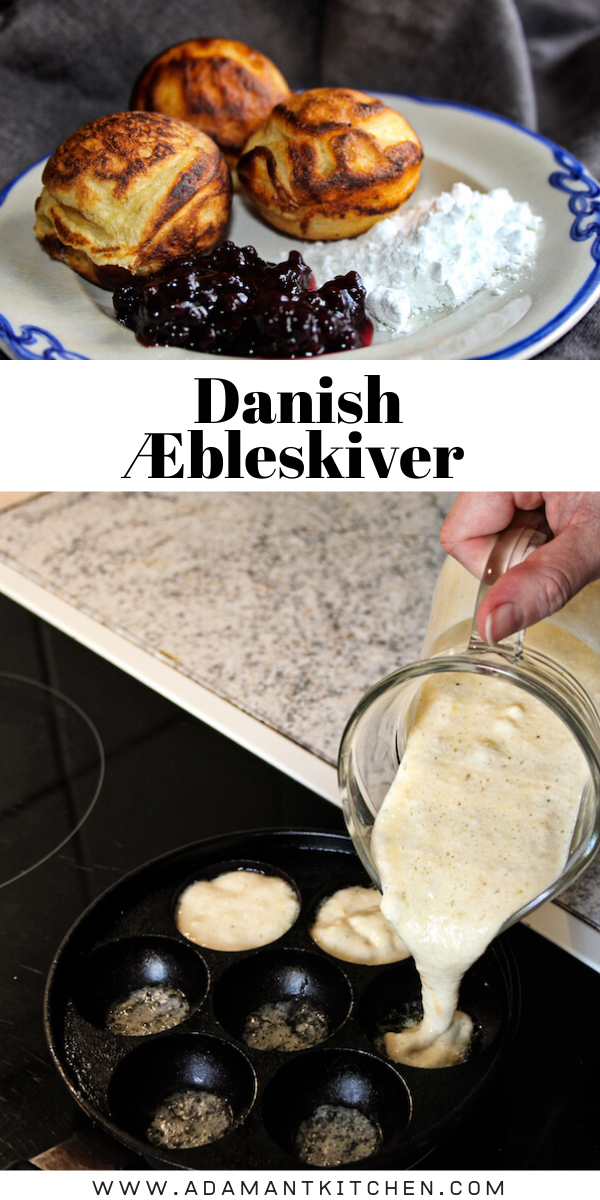
Æbleskiver are a Danish delicacy traditionally eaten at Christmas time. It’s a small round cake made on a special cake pan and served with powdered sugar and jam. A portion usually consists of three æbleskiver but they are so good most opt for a second and third serving.
This post is written by Pia Sonne, a native of Denmark and the writer behind the blog Busy Hands, Quiet Hearts.
How and When Danes Eat Æbleskiver
It seems the grocery stores try to push Christmas on us earlier and earlier every year. One clear sign that Christmas is on its way is when coolers full of æbleskiver appear in every grocery store.
You can eat æbleskiver year-round. They are, however, mainly available at stores during the Christmas season. Some frown upon eating them outside the Christmas season. I tend to think these people don’t want to admit, they don’t know how to make them at home.
Danes eat a lot of æbleskiver during the Christmas season. In 2013, 1 million æbleskiver were consumed in Denmark (population 5,6 million at the time)*. This only accounts for the store-bought æbleskiver, not homemade.
Store-bought æbleskiver are very popular. They are quick and easy to warm up and have on hand for unexpected guests. They also keep their round shape and are reasonably priced. You can even find gluten-free æbleskiver at regular grocery stores now.
Danes eat æbleskiver at home, during advent traditions with family, Christmas parties at work and school functions. Æbleskiver are a crowd pleaser and everyone from grandmas to toddlers enjoy them.
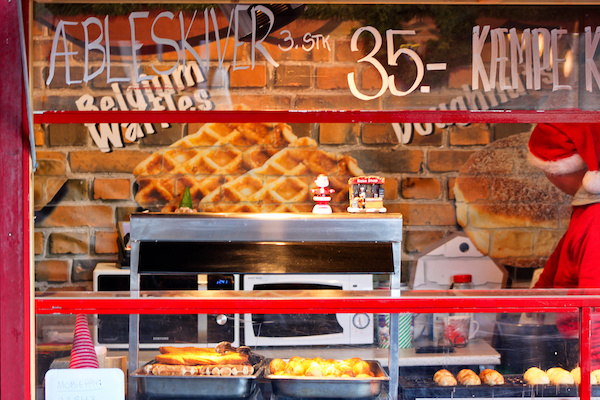
Finally, æbleskiver are a must at Christmas markets. There, you can usually buy three pieces with some jam and/or powdered sugar for a small fortune. Nonetheless, they sell like hotcakes and it’s not only tourists buying them either (Source).
The History of Æbleskiver
Æbleskiver means apple slices. If you’ve peeked at the recipe, you may wonder why since it doesn’t involve apples.
Most Danes find themselves wondering the same at some point. The answer lies hidden in the long history of æbleskiver. The first æbleskiver were actually made of apple slices dipped in dough and fried.
The exact origin of æbleskiver is difficult to locate. One source is a handwritten dictionary dating from around 1700. Here you find æbleskiver defined as a thin slice of apple, dipped in flour and eggs, and then fried in butter (Source).
In the early 1800s, farmhands would get a specific amount of æbleskiver to enjoy over Christmas. This would rival any modern-day gift basket filled with specialty goods (Source).
From the 1850s onward, recipes closer to the cake balls we now refer to as æbleskiver began to appear. One such exists in Frk. Jensens Kogebog. A trusted Danish cookbook that’s still in print today. In the 1850s Frk. Jensen instructs you to place an apple slice or a spoonful of apple compote in the center of the ball as it’s cooking.
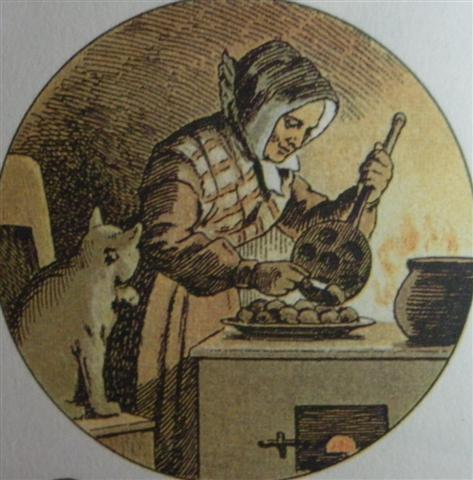
In 1866, a Danish Christmas classic, Peter’s Jul, featured æbleskiver in their ‘modern’ form. It includes an illustration showcasing how they are made.
Equipment for Making Æbleskiver
You don’t need many tools to make æbleskiver, but there’s one tool you can’t be without.
You make æbleskiver with a æbleskivejern, which is a cast-iron pan with seven round indentations to form the æbleskiver. They’re pretty inexpensive, and you can find them online pretty readily. There is no way around owning such a pan if you want to make authentic æbleskiver at home.
You also need a tool to turn your æbleskiver with as they finish baking on the first side. The internet, again, offers various solutions.
The tool of choice among Danes is a metal knitting needle, bent at an angle about 1,5 cm from the tip. We generally get these for free from loving grandmothers. You can buy a pair for next to nothing at a flea market or thrift shop and make them yourself.
Æbleskiver Ingredients
While you may need a specialized pan for making æbleskiver, the ingredient can be found in any well-stocked kitchen.
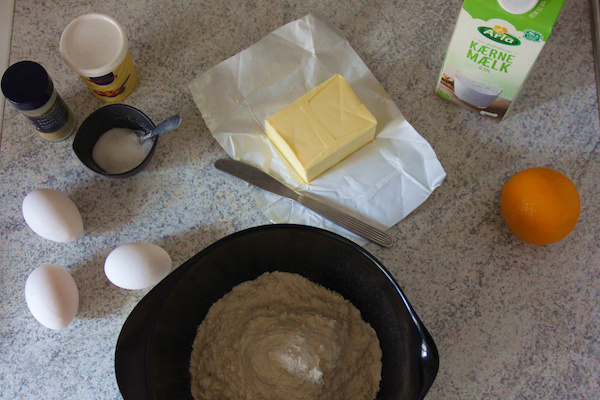
Flour ~ Choose all-purpose or pastry flour for the best results. (Do not use self-rising or bread flour.)
Butter ~ Use the real stuff, life’s too short for margarine (and fake butter ruins the flavor).
Eggs ~ Farm fresh always tastes the best, but any will do.
Buttermilk ~ This slightly sour milk helps increase the acidity in the dough and adds a particular flavor profile. If you can’t get decent buttermilk, you can substitute it for regular milk. This changes the flavor profile some and you will have to make sure you include acid in some other form, like lemon or orange juice.
If you leave out the acid, you may end up with æbleskiver with a slightly soapy taste. Be sure to add a teaspoon of lemon juice or vinegar if you substitute plain milk.
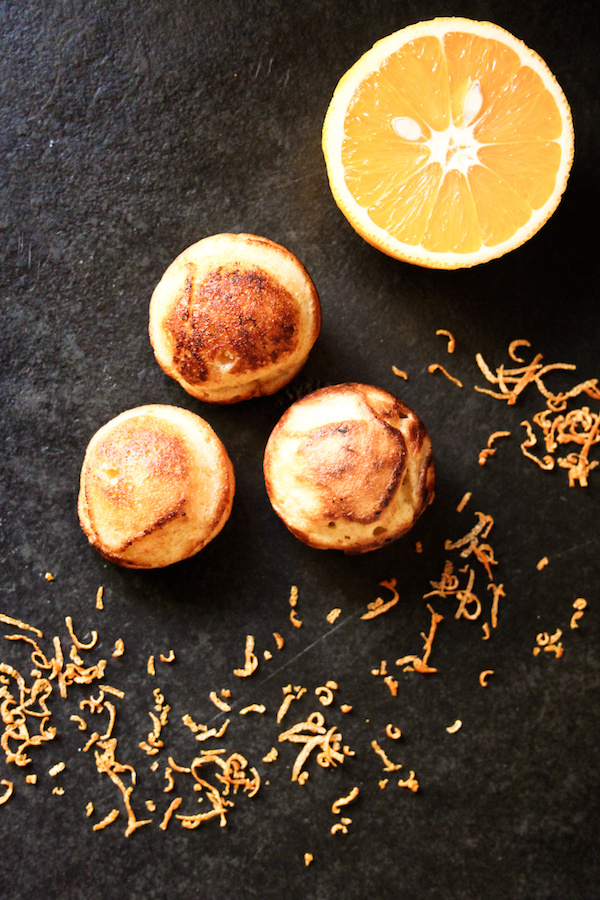
Orange Juice and Zest ~ A little citrus flavor is delightful and traditional and helps leaven the dough. The acid from the orange juice reacts with the baking soda for fluffy æbleskiver.
Baking Soda (NaHCO3) ~ To make æbleskiver, you will need NaHCO3, better known as baking soda. Please be aware of the difference between baking soda and baking powder. You will not get the correct result if you use baking powder.
Baking soda reacts with the acid in the dough, as well as the heat when baked. It creates CO2, which forms gas bubbles and makes the dough rise.
Cardamom ~ The seasoning of choice for many Scandinavian dishes, cardamom is optional but adds exceptional flavor.
Salt & Sugar ~ Balances everything out and finishes these tasty æbleskiver.
Æbleskiver Variations
This recipe calls for a little orange zest and juice, which in itself is a variation. It adds a more complex taste to the finished æbleskive. Additionally, if you can’t find buttermilk, it adds some much-needed acidity. If you want to make a more traditional batch of modern æbleskiver, leave it out.
On the island of Als, you can still come across the traditional form of æbleskiver. They are referred to as “stegte æbleskiver” (fried apple slices) to distinguish them from “bagte æbleskiver” (baked apple slices).
In Southern Jutland and on Ærø, it’s customary to fill æbleskiver with prune compote. These æbleskiver are very similar to Berlinere and are also known as Berliner Pfannkuchen (Source).
Æbleskiver Outside of Denmark
In Norway, they have a similar treat known as ‘munker’. These are baked using a munkejern, shaped exactly like a æbleskivejern.
In the Netherlands, they eat poffertjes. These are flatter and generally smaller than æbleskiver.
In Germany, you find æbleskiver under the name of Pförtchen or Förtchen.
How to Sound Like a Dane When you Talk about Æbleskiver
Here’s a couple of pet peeves – æbleskiver is plural of æbleskive. Thus you have room for one more æbleskive or you are making æbleskiver this afternoon. English speakers tend to add a plural s to the already plural form æbleskiver.
Furthermore, if you can’t find the ‘æ’ on your computer, it’s completely fine to write it as ‘ae’. This is the traditional way to write the letter. It creates the same sound in Danish whereas replacing the ‘æ’ with an ‘e’ alone does not.
Now that you know how to make æbleskiver and how to talk about them, you’re all set to enjoy them regardless of the time of year.
How to Make Æbleskiver
Start by mixing the dry ingredients, including flour, salt, sugar, cardamom, and baking soda in a bowl. Add 1 tsp of orange zest to the mixture.
Separate the egg yolks from the white. Save the whites for later, you’ll still need them in this recipe.
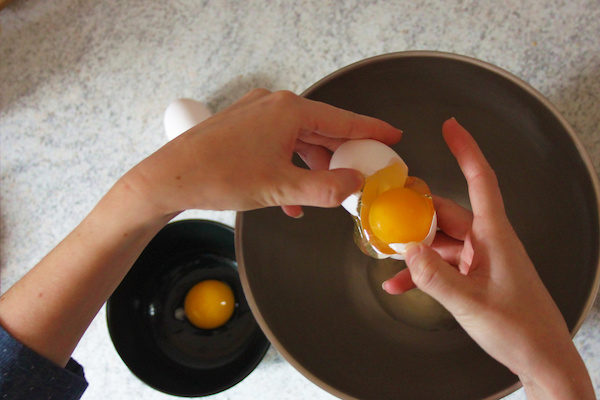
Mix the yolks with the buttermilk. Add the yolks and buttermilk to the dry ingredients.
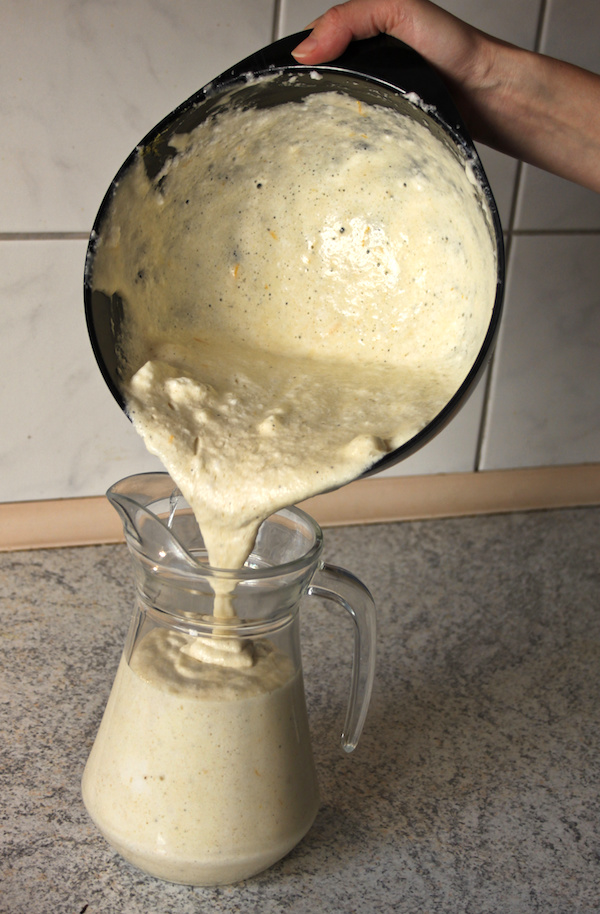
Add the juice from the orange, as well as the melted butter to the dough. If you have a pitcher, add the mixture to it, this makes it easier to pour into the æbleskivejern.
Otherwise, let it stay in the bowl. Let the dough rest in the fridge for 30 min.
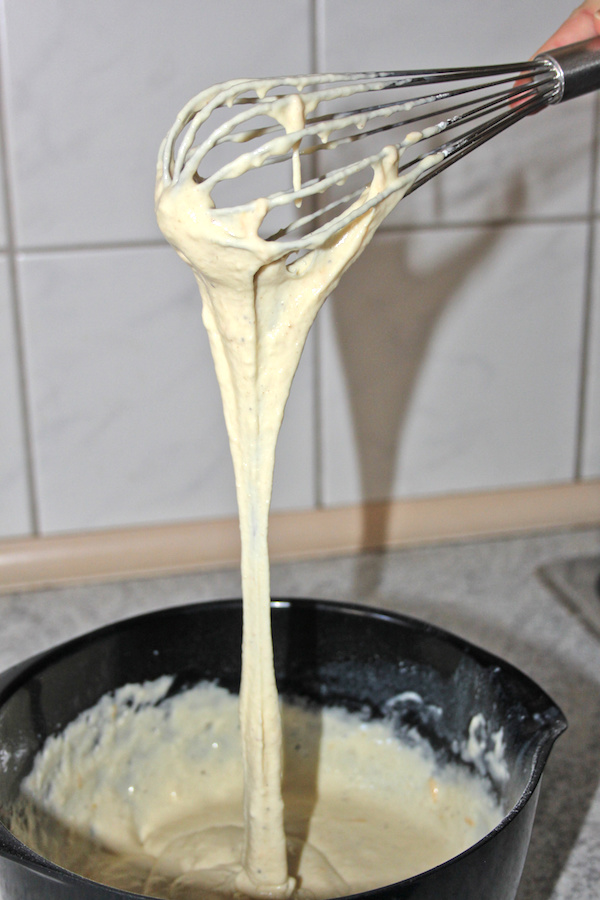
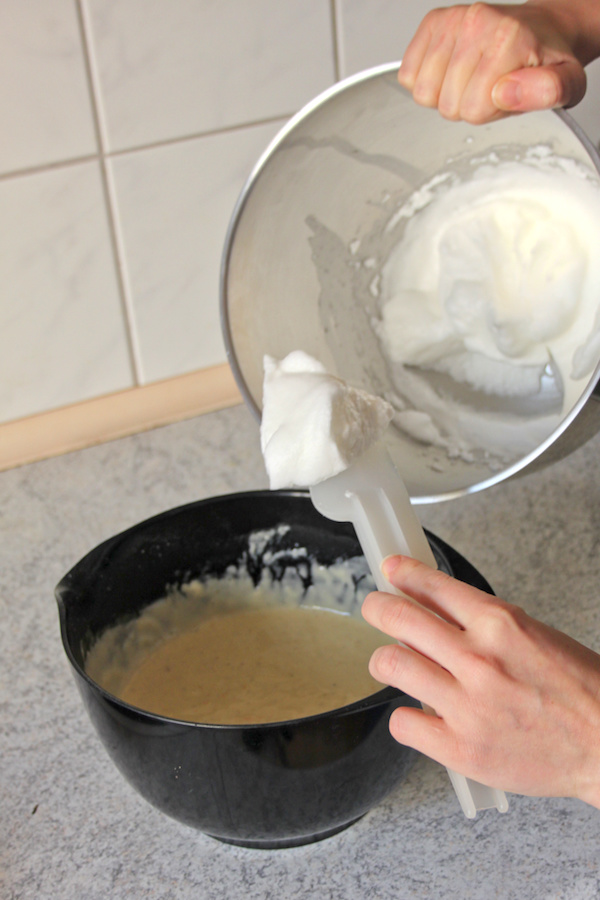
Whip the egg whites until they are stiff and fold them into the dough.
Beat the first spoonful into the dough. It makes it easier to fold the rest of the egg whites into the dough without losing the air.
Once you’re ready to begin cooking æbleskiver, it really helps to put the batter into a pitcher for pouring.
This isn’t strictly essential, and you can just spoon it into each hole with a scooper that’s roughly the size of a tablespoon.
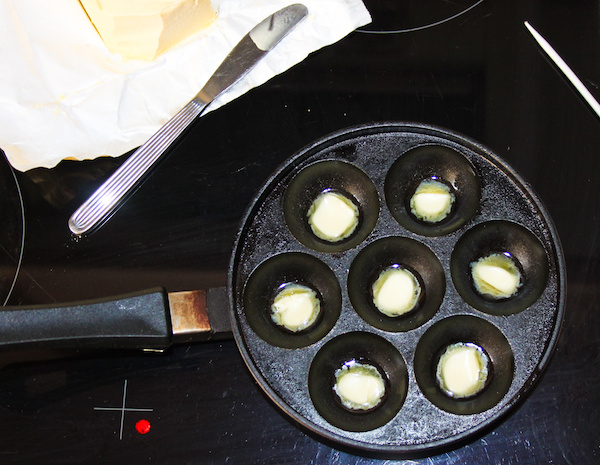
Heat your æbleskivejern and put a dab of butter in every hole. You may find that it’s enough to add butter to the holes for the first batch since the dough contains butter.
This will depend on your æbleskivejern. If æbleskiver are sticking to the æbleskivejern, then don’t be afraid to add butter before every batch.
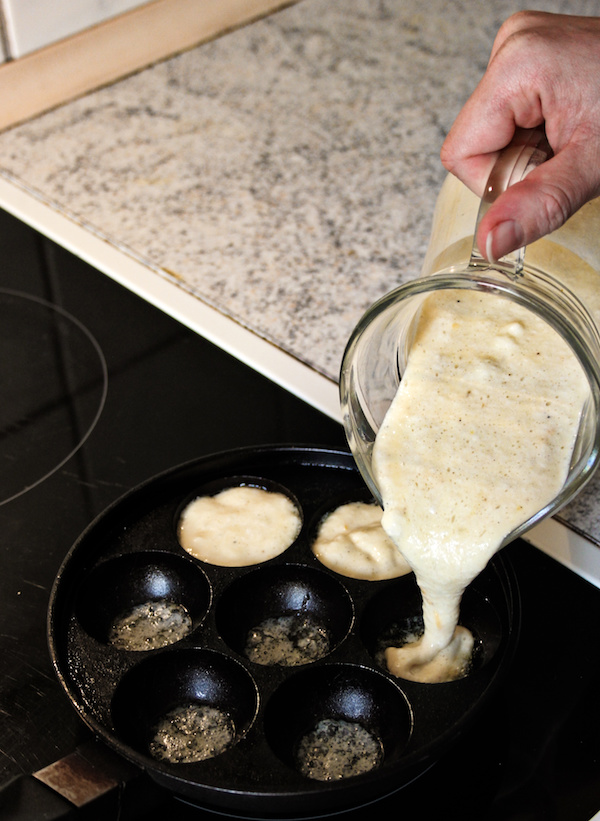
Fill each hole ¾ of the way with the dough.
Keep in mind that the batter will puff substantially during cooking and it’s nearly impossible to turn them in the wells if the batter’s overflowing.
Turn the æbleskiver when they puff up around the edge and get firmer. Use the bent knitting needle to turn them.
You may have to turn them several times to achieve a nice round shape.
Poke the æbleskiver with the knitting needle to see if they are done. If any dough sticks to the needle they aren’t done yet.
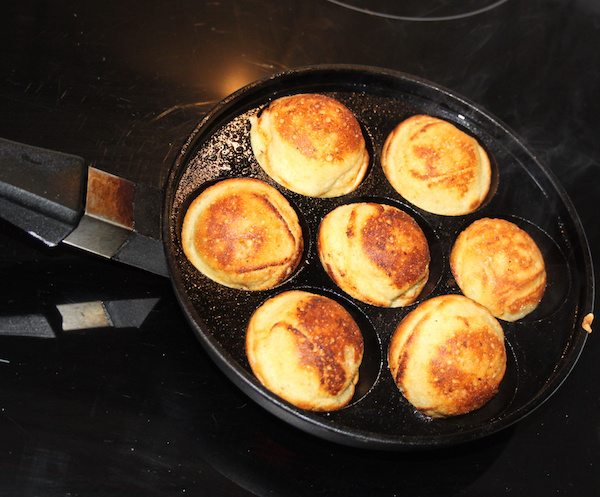
Once a batch is done you can add them to a pan and keep them warm in an oven on low heat. Or you can put them in a dish and cover them with aluminum foil.
Serve the æbleskiver warm with powdered sugar and jam.
Danish Æbleskiver
Ingredients
- 2 cups 5 dl all-purpose flour
- ½ tsp salt
- 2 tsp sugar
- 1 tsp ground cardamom
- 1 tsp baking soda
- 3 eggs
- 1 3/4 cup 4 dl buttermilk
- ½ organic orange, zest and juice are used
- 3 tbsp melted butter
- Butter for frying
Instructions
- Mix the dry ingredients, including flour, salt, sugar, cardamom, and baking soda in a bowl. Add 1 tsp of orange zest to the mixture.
- Separate the egg yolks from the white. Save the whites for later, you'll still need them in this recipe.
- Mix the yolks with the buttermilk. Add the yolks and buttermilk to the dry ingredients.
- Add the juice from the orange, as well as the melted butter to the dough. If you have a pitcher, add the mixture to it, this makes it easier to pour into the æbleskivejern. Otherwise, let it stay in the bowl. Let the dough rest in the fridge for 30 min.
- Whip the egg whites until they are stiff and fold them into the dough. Beat the first spoonful into the dough. It makes it easier to fold the rest of the egg whites into the dough without losing the air.
- Heat your æbleskivejern and put a dab of butter in every hole. You may find that it’s enough to add butter to the holes for the first batch since the dough contains butter. This will depend on your æbleskivejern. If æbleskiver are sticking to the æbleskivejern, then don’t be afraid to add butter before every batch.
- Fill each hole ¾ of the way with the dough.
- Turn the æbleskiver when they puff up around the edge and get firmer. Use the bent knitting needle to turn them. You may have to turn them several times to achieve a nice round shape.
- Poke the æbleskiver with the knitting needle to see if they are done. If any dough sticks to the needle they aren’t done yet.
- Once a batch is done you can add them to a pan and keep them warm in an oven on low heat. Or you can put them in a dish and cover them with aluminum foil.
- Serve the æbleskiver warm with powdered sugar and jam.
More Scandinavian Recipes
Looking for more traditional Scandinavian recipes?
- Sima (Finnish Fermented Lemonade)
- Norwegian Pancakes (Pannekaker)
- Danish Butter Cookies (Vaniljekranse)
- Finnish Salmon Soup (Lohikeitto)
I was looking for a recipe which brings back the memories of Denmark. This is it!