This post may contain affiliate links. Please see our disclosure policy.
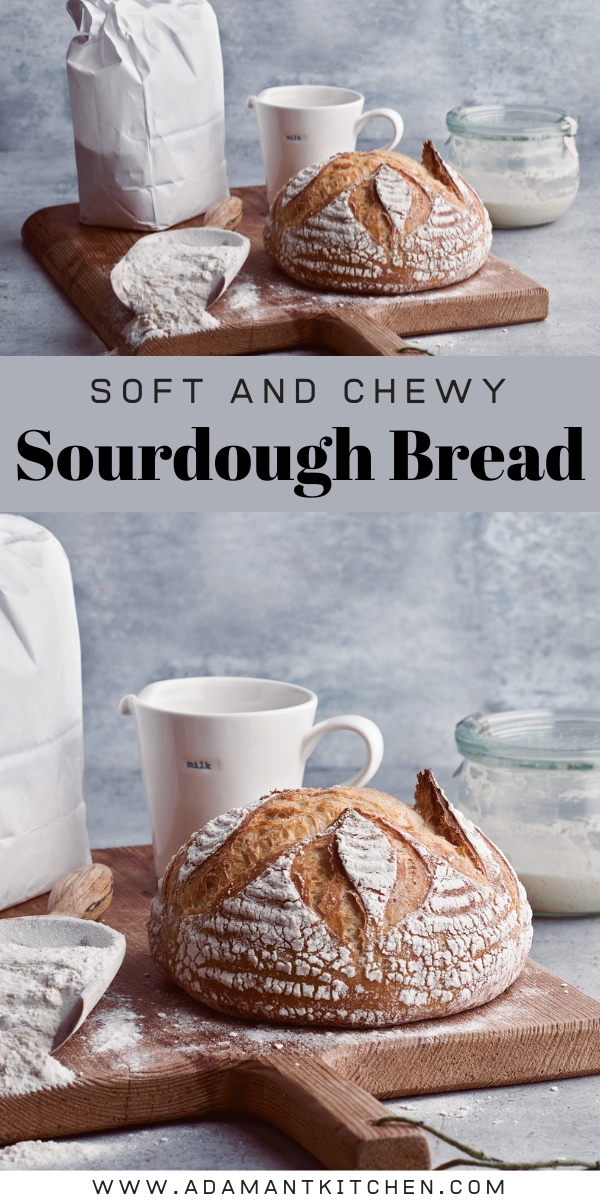
Soft sourdough bread recipes are a bit tricky to find in a world of crusty sourdough, but this simple recipe makes a delicious sourdough that’s tender all the way through. It works wonderfully as a free-form loaf or made as a bread pan sourdough sandwich bread.
I love rustic sourdough made with a thick, crunchy crust, but those kinds of loaves aren’t very popular with my little ones.
They yearn for soft bread. They’ll peel off the crust, toss it to the chickens, and eat out the center like a bread bowl.
I’ve been looking for the perfect soft sourdough bread recipe for some time now, something that they’ll eat crust and all with dinner. Or, a loaf that I can bake in a bread pan for a simple sourdough sandwich bread for their lunches.
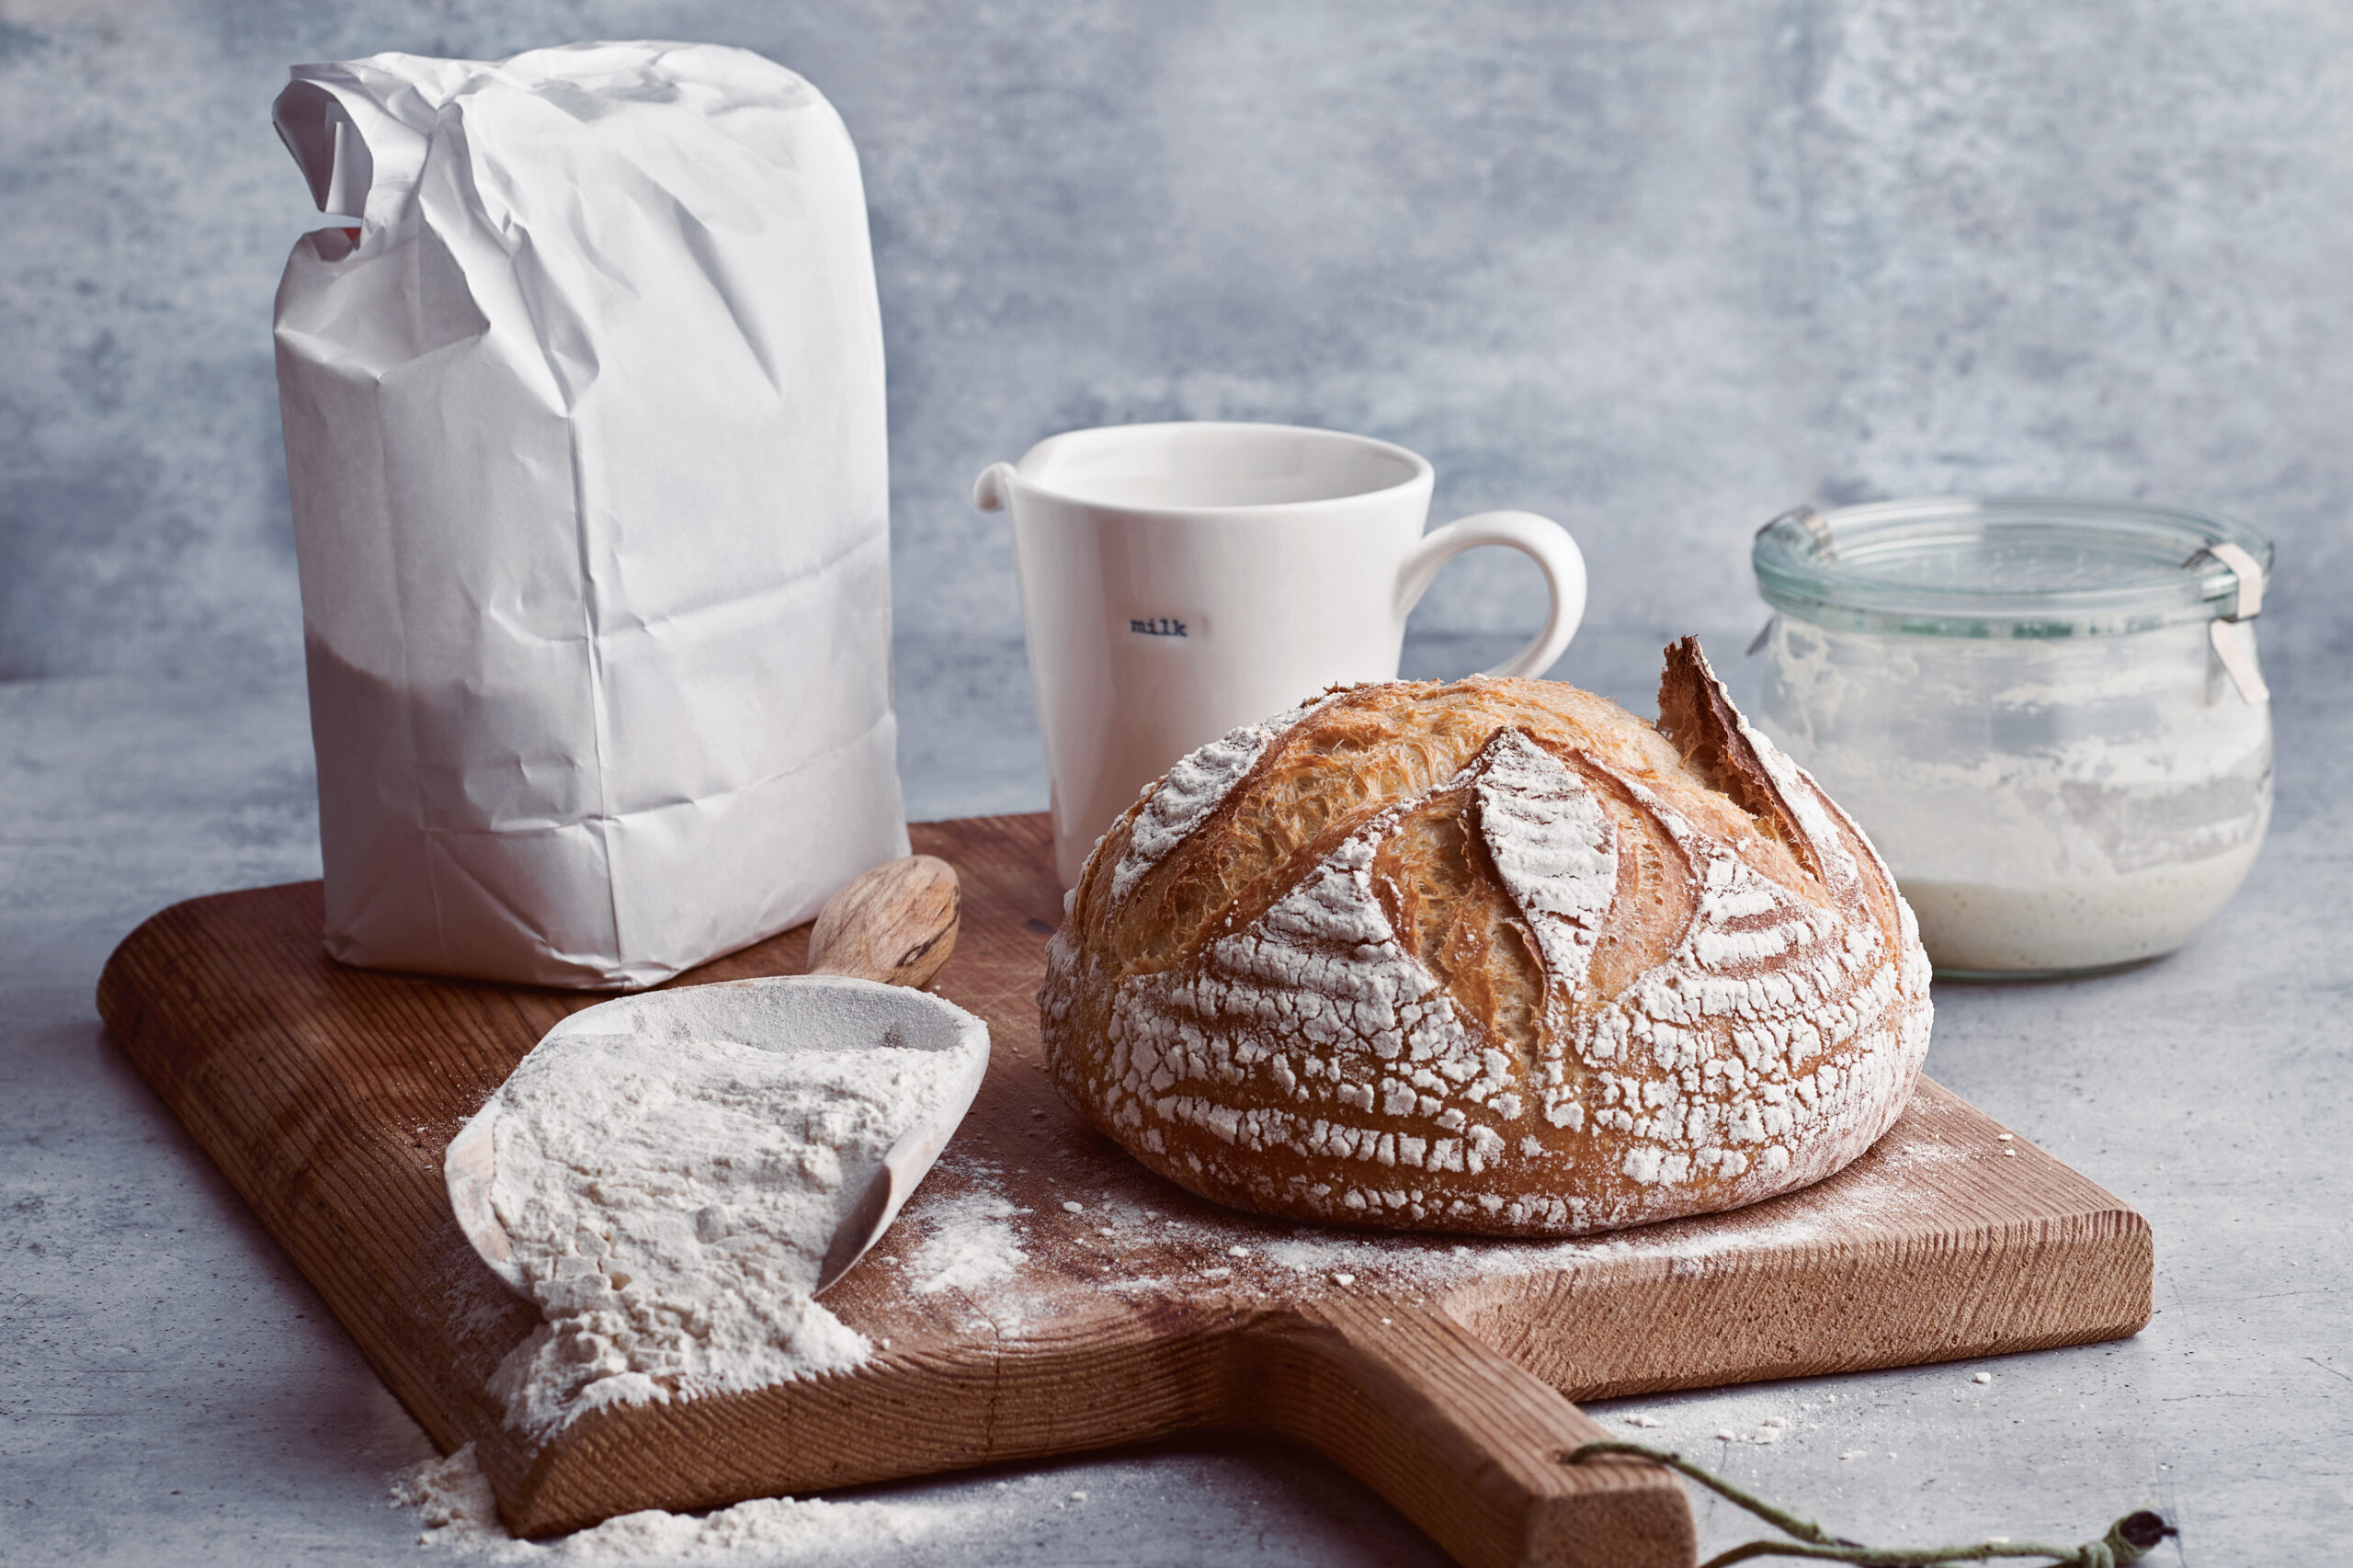
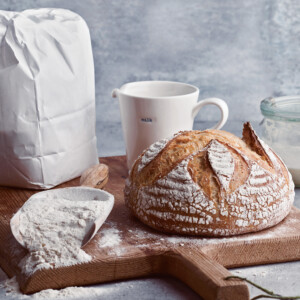
The Sourdough Whisperer came to my rescue, and I found the perfect loaf featured right on the cover.
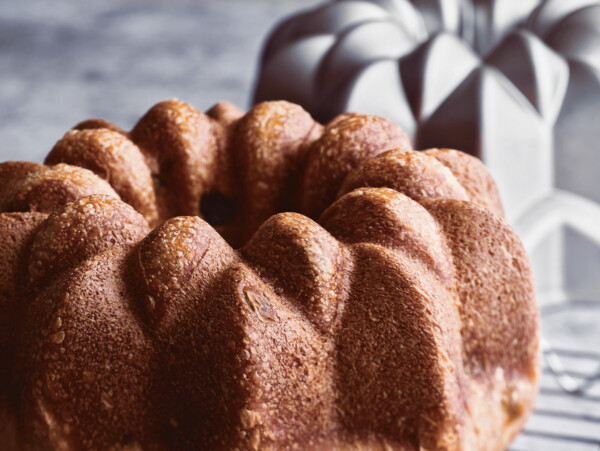
This deliciously soft sourdough loaf bread is called “Half Milk, Half Water Sourdough” in Elaine’s book. It’s a master recipe, which can be baked freeform or in a loaf pan for an easy soft sourdough sandwich bread. Skipping the dutch oven bake will give you a softer crust to match the tender interior.
I loved it so much that I asked the publisher if I could share the recipe with you all, and they graciously agreed. There are plenty of other wonderful sourdough recipes in this book, and the cover recipe is just the beginning.
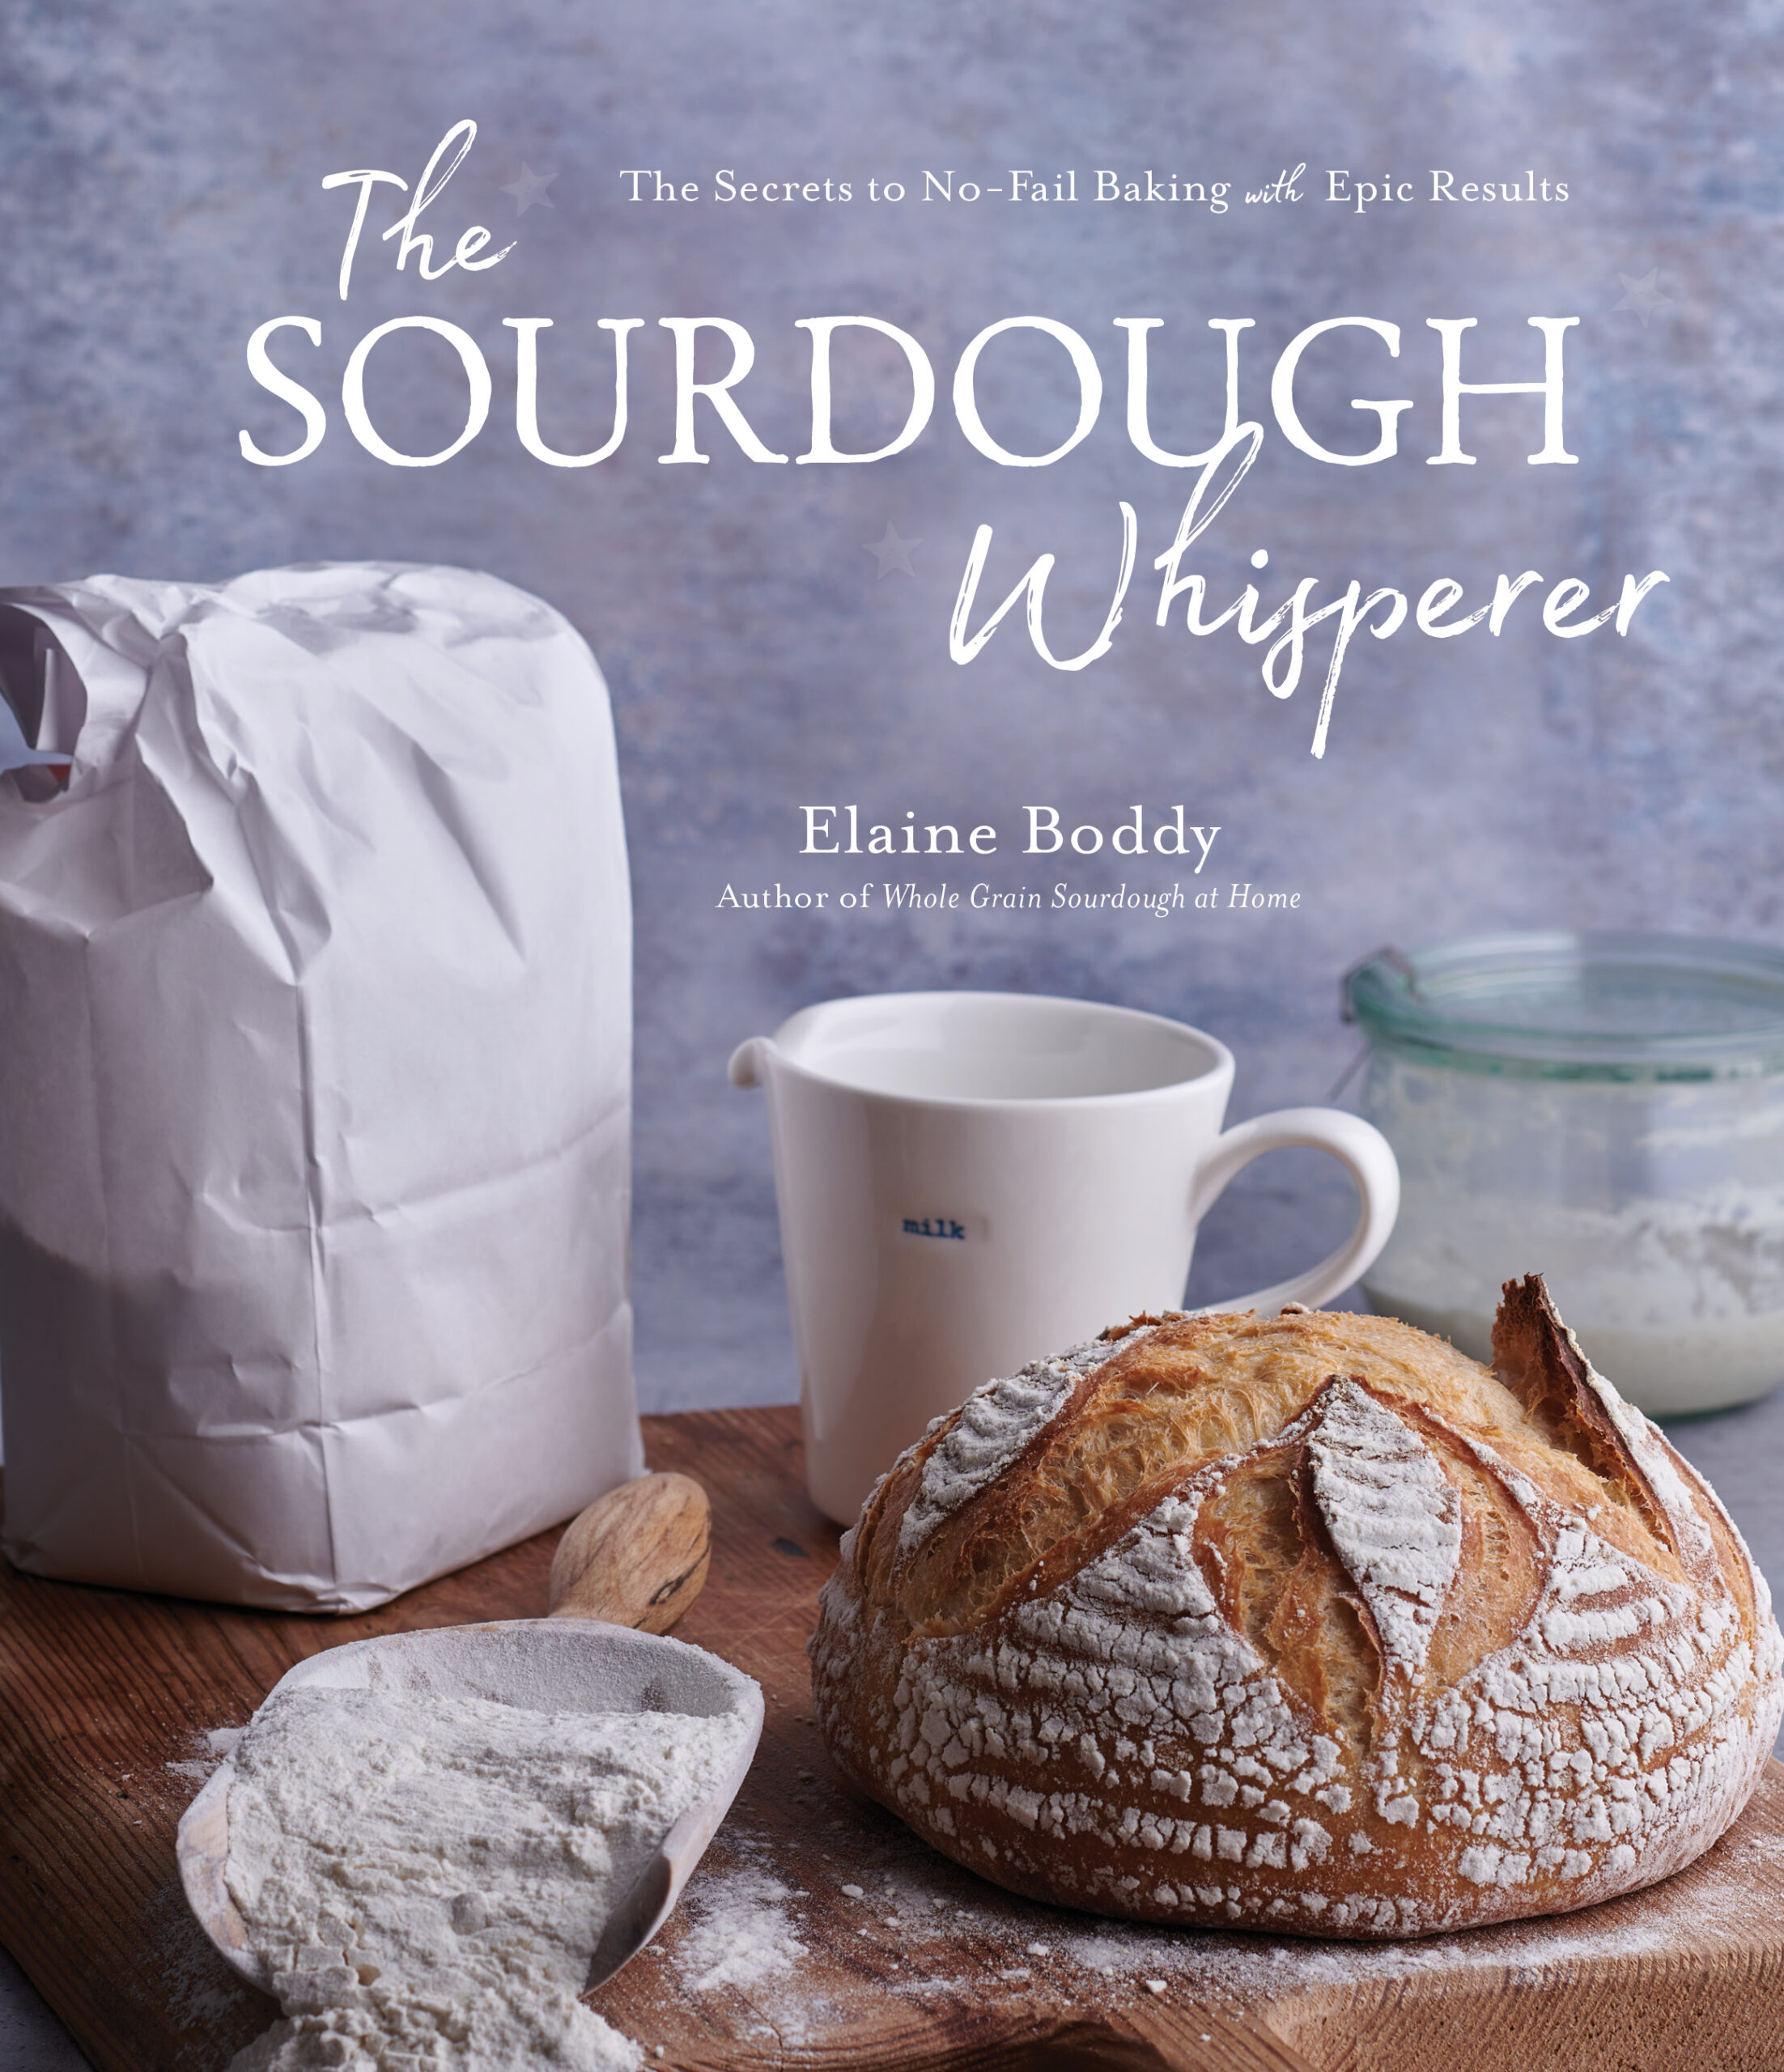
Reprinted with permission from The Sourdough Whisperer by Elaine Boddy. Page Street Publishing Co. 2022.
Soft Sourdough Bread
The Sourdough Whisperer includes a ‘softer collection’, including this soft sourdough loaf. Replacing half of the water in the dough with milk will soften this baked loaf on the inside and outside, it will also produce a firm dough and a slightly tighter, less holey loaf, making it ideal for toast and sandwiches, as fillings do not drop through.
Use any milk of your choice, either dairy or plant based. Nut milks and oat or coconut milk also produce slightly different flavors; I highly recommend trying variations.
For best results, begin making this recipe late afternoon/early evening.
Ingredients for Soft Sourdough Bread
To make one small loaf, you’ll need the following:
- 30 g (1/8 cup) active starter
- 110 g (1⁄2 cup) water
- 110 g (1⁄2 cup) milk, cold or at room temperature (I use reduced-fat or 2% milk, but you can also use full-fat or whole milk)
- 300 g (21⁄2 cups) white bread flour
- 7 g (1 tsp) salt, or to taste
- Rice flour, for dusting
Before you get started, you’ll also need to prepare a round banneton, 6 3⁄4 inches (17 cm) in diameter and 3 1⁄4 inches (8.5 cm) deep, or a similarly sized bowl, with rice flour, and set aside a large baking or cookie sheet, plus parchment paper.
If baking in a loaf pan, simply grease a loaf pan and place the dough into the loaf pan instead of placing it in the banneton for the rise. Just let it rise in the loaf pan, without flipping it out, but do remember to score the top before baking to allow the bread to fully expand.
How to Make Soft Sourdough Bread
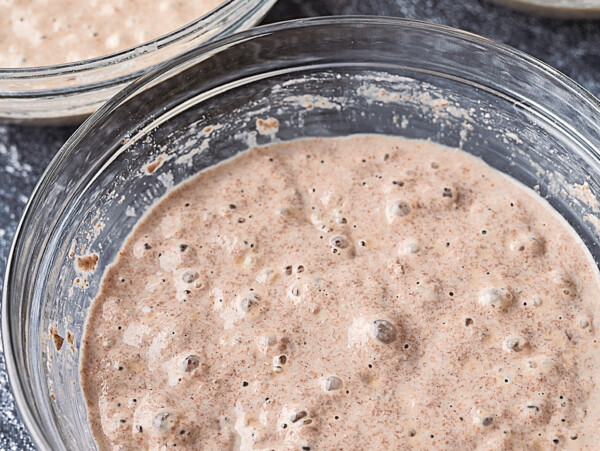
Step 1: In a large mixing bowl, roughly mix together all the ingredients, except the rice flour, until you have a shaggy and rough, but stiff, dough. Cover the bowl with a clean shower cap or your choice of cover and leave the bowl on the counter for 1 hour.
Step 2: After an hour or so, perform the first set of pulls and folds until the dough comes together into a soft ball. This will be a much stiffer dough than those made with water, but also smoother. Cover the bowl again and leave it on your counter.
Step 3: Over the next few hours, do three more sets of pulls and folds on the dough, stopping each time it comes into a firm ball, covering the dough again after each set. Perform the final set before going to bed.
Step 4: Leave the covered bowl on the counter and allow the dough to grow until doubled in size, typically 8 to 10 hours, at 64 to 68°F (18 to 20°C). Doughs made with milk can often take longer than those made with water.
Step 5: Once fully proofed, the surface of the dough will be smooth and lightly domed upwards; firmly perform a final set of pulls and folds on the dough to pull it into a ball.
Place the dough, smooth side down, in the banneton, sprinkle extra rice flour down the sides and across the top, cover with the same shower cap and place in the fridge for at least 3 hours, maximum 24 hours.
Step 6: When you are ready to bake, decide whether you would like to bake in a preheated oven or from a cold start. If preheating, set the oven to 425°F (220°C) convection or 450°F (230°C) conventional.
Remove the cover from the banneton, then place the paper over the top of the banneton and the pan upside down over the top of them both. With one hand under the banneton and one on the pan, turn it all over together to turn the dough out of the banneton and into the pan. Score the dome of dough.
If you preheated the oven, put the lid on and bake for 40 minutes. If using a cold start, place the covered pan of dough in the oven, set the temperature as directed and set a timer for 45 minutes.
After the baking time for either option, remove the covered pan from the oven. Open the lid to check the loaf; if you feel that your loaf is looking paler than you would like, place it back in the hot oven, in its pan, minus the lid, for 5 to 10 minutes to brown the loaf to the color of your choice.
Step 7: Once baked, carefully remove the loaf from the pan, saving the parchment paper for next time, and allow the baked loaf to cool on a wire rack for at least an hour before slicing.
Soft Sourdough Bread
Equipment
- Small Banneton, 7 inch round
Ingredients
- 1/8 cup sourdough starter, active and bubbly
- 1/2 cup water
- 1/2 cup milk, dairy or plant-based; reduced-fat, whole, oat, or nut milk all work great
- 2 1/2 cups white bread flour
- 1 tsp salt, or to taste
- Rice flour or regular flour for dusting
Instructions
- Mix the Dough: In a large mixing bowl, combine the starter, water, milk, flour, and salt. Stir until you have a shaggy, rough dough. It will feel stiffer than a typical water-based dough but will be smooth nonetheless. Cover the bowl with a clean shower cap or cloth, and let it rest on the counter for about 1 hour.
- Pulls and Folds: After the hour, begin your first set of pulls and folds. To do this, gently stretch and fold the dough over itself until it starts to come together into a smoother, firmer ball. Cover the bowl again and leave it on the counter.
- Repeat Pulls and Folds: Over the next few hours, perform three more sets of pulls and folds, letting the dough rest between each set. After each fold, the dough should feel tighter and more cohesive. Aim to finish the last set just before bed.
- Bulk Fermentation: After the final set of folds, let the dough sit at room temperature (64-68°F / 18-20°C) for 8-10 hours to rise. It should double in size during this time. Since this recipe uses milk, it may take a bit longer to proof than water-based doughs.
- Shape the Dough: Once the dough has doubled, give it one final set of pulls and folds to shape it into a ball. Lightly dust your banneton with rice flour, then place the dough, smooth side down, inside. Dust the top with more rice flour, cover the banneton with a shower cap or cloth, and place it in the fridge for at least 3 hours (or up to 24 hours) to proof.
- Prepare to Bake: When you’re ready to bake, preheat your oven to 425°F (220°C) for convection or 450°F (230°C) for conventional baking. If you prefer, you can also bake from a cold start. When using a preheated oven, place parchment paper over the dough, then invert the banneton onto a baking sheet or pan, carefully flipping the dough out. Score the top of the dough.
- Bake the Bread: If you’ve preheated the oven, bake the loaf for 40 minutes with a lid on (or with a covered Dutch oven). If you’re using a cold start, place the dough directly into the oven, and bake for 45 minutes. After the time is up, check the loaf. If it’s paler than you’d like, remove the lid and bake for another 5-10 minutes to allow it to brown more.
- Cool and Slice: Once baked, carefully remove the loaf from the pan, using the parchment paper if needed. Let it cool on a wire rack for at least 1 hour before slicing. This helps set the crumb and ensures the bread has a perfect texture when cut.
Notes
Nutrition
Nutrition information is automatically calculated, so should only be used as an approximation.
Sourdough Recipes
Looking for more Sourdough Recipes?
- Sourdough Pizza Crust (Same Day Recipe)
- Sourdough Discard Crackers
- Sourdough Chocolate Foccaccia
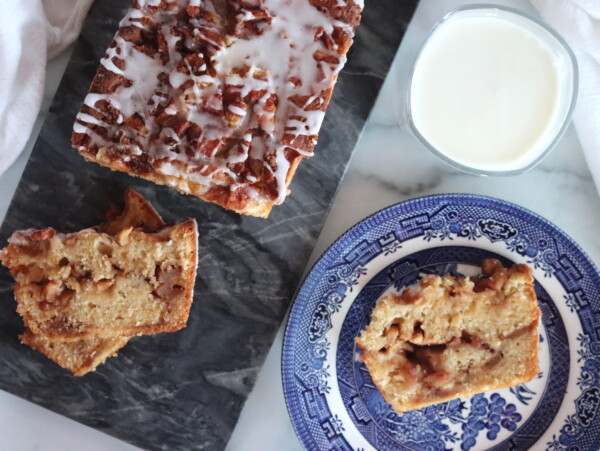
- Sourdough Banana Bread
- Sourdough Chocolate Chip Cookies
Perfect bread for sandwiches! This is now my go to recipe
Wonderful!
This recipe is AMAZING! I’ve been making sourdough for 10 months, and this by FAR yields the best results. Perfect ear, perfect crust and perfect crumb. Wish I could share my pics!
That’s wonderful, I’m so glad you like the recipe!