This post may contain affiliate links. Please see our disclosure policy.
Simple to make and even easier to eat, drømmer cookies are an irresistible Norwegian treat made with browned butter and a handful of other ingredients you probably already have in your pantry.
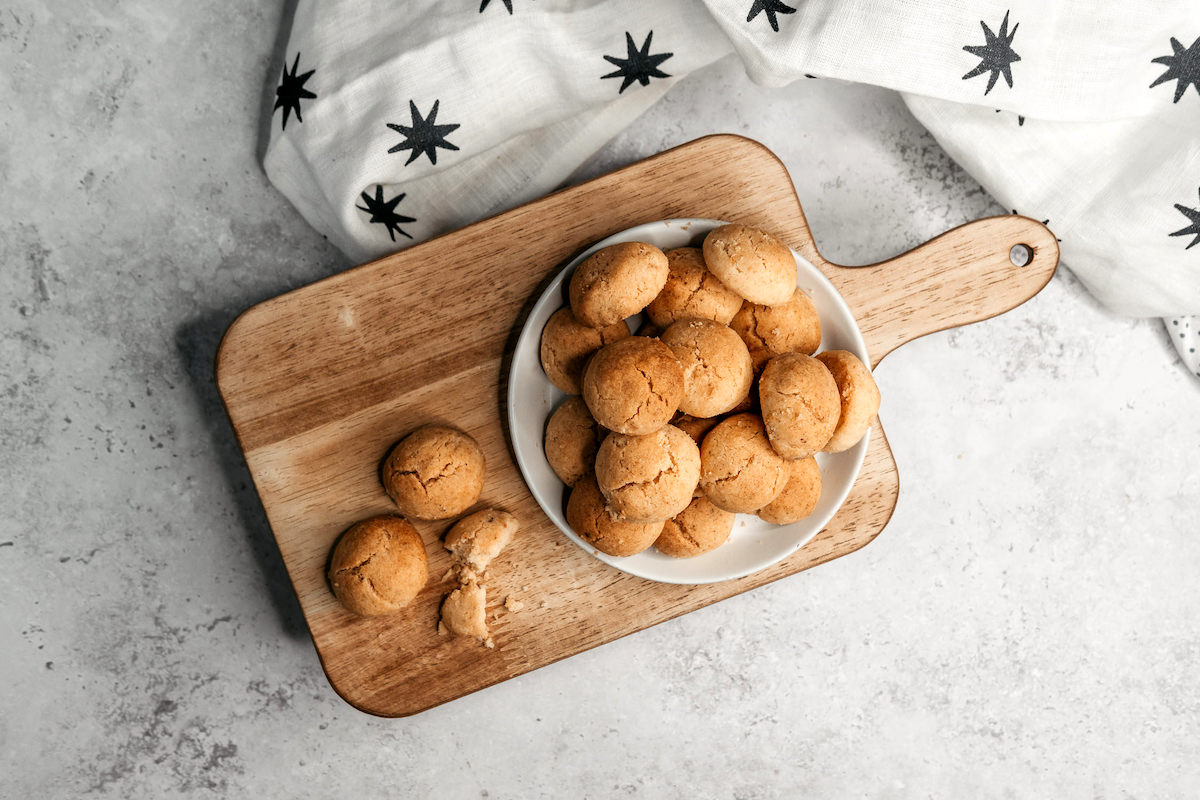
Drømmer cookies (or “dream” cookies as the name translates to English) are simple little Norwegian cookies made with nutty, aromatic browned butter. Delicate and perfectly uncomplicated with a short list of common ingredients, these cookies can be made from scratch by even the most novice of bakers.
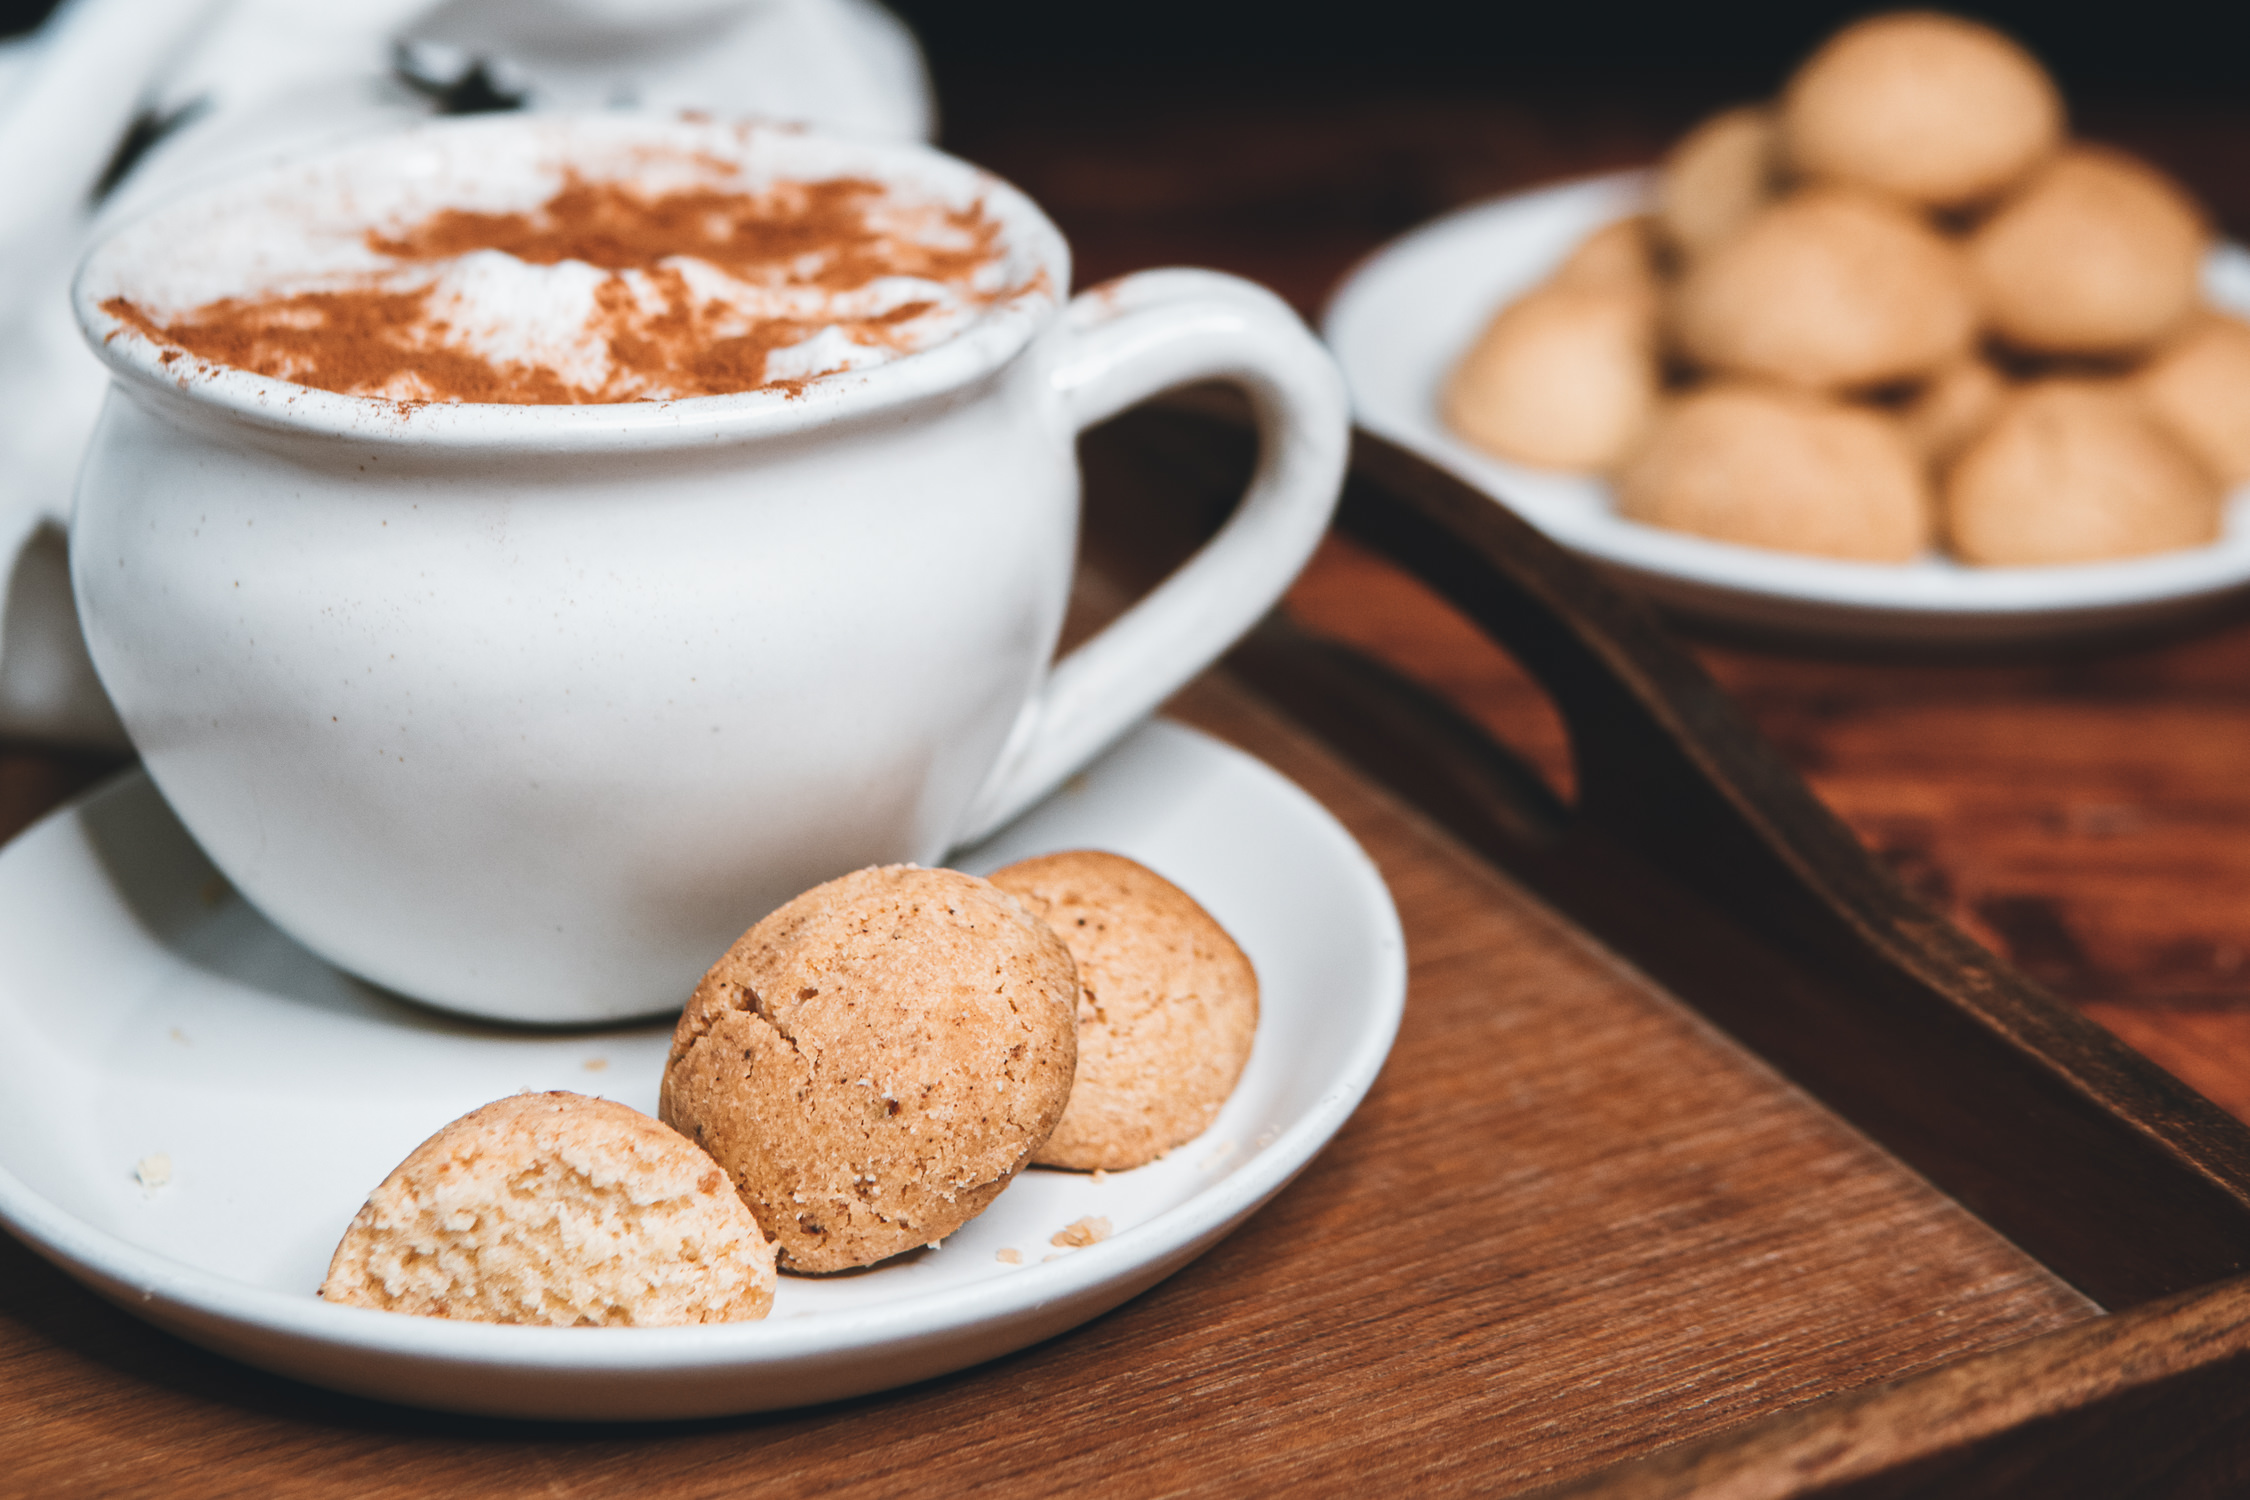
In my mind, there’s nothing better than fresh-from-the-oven drømmer cookies and a hot beverage—whether that’s a mug of tea, coffee, hot chocolate, or a even hot toddy, I’ll let you decide. Because these cookies are so easy to make, especially at a moment’s notice or when you’re hankering for something sweet-but-not-too-sweet, I’ll sometimes double the batch and give some to friends and neighbors (because who wouldn’t enjoy a dozen or so of these dreamy drømmer cookies as a holiday or hostess gift?).
Ingredients for Drømmer
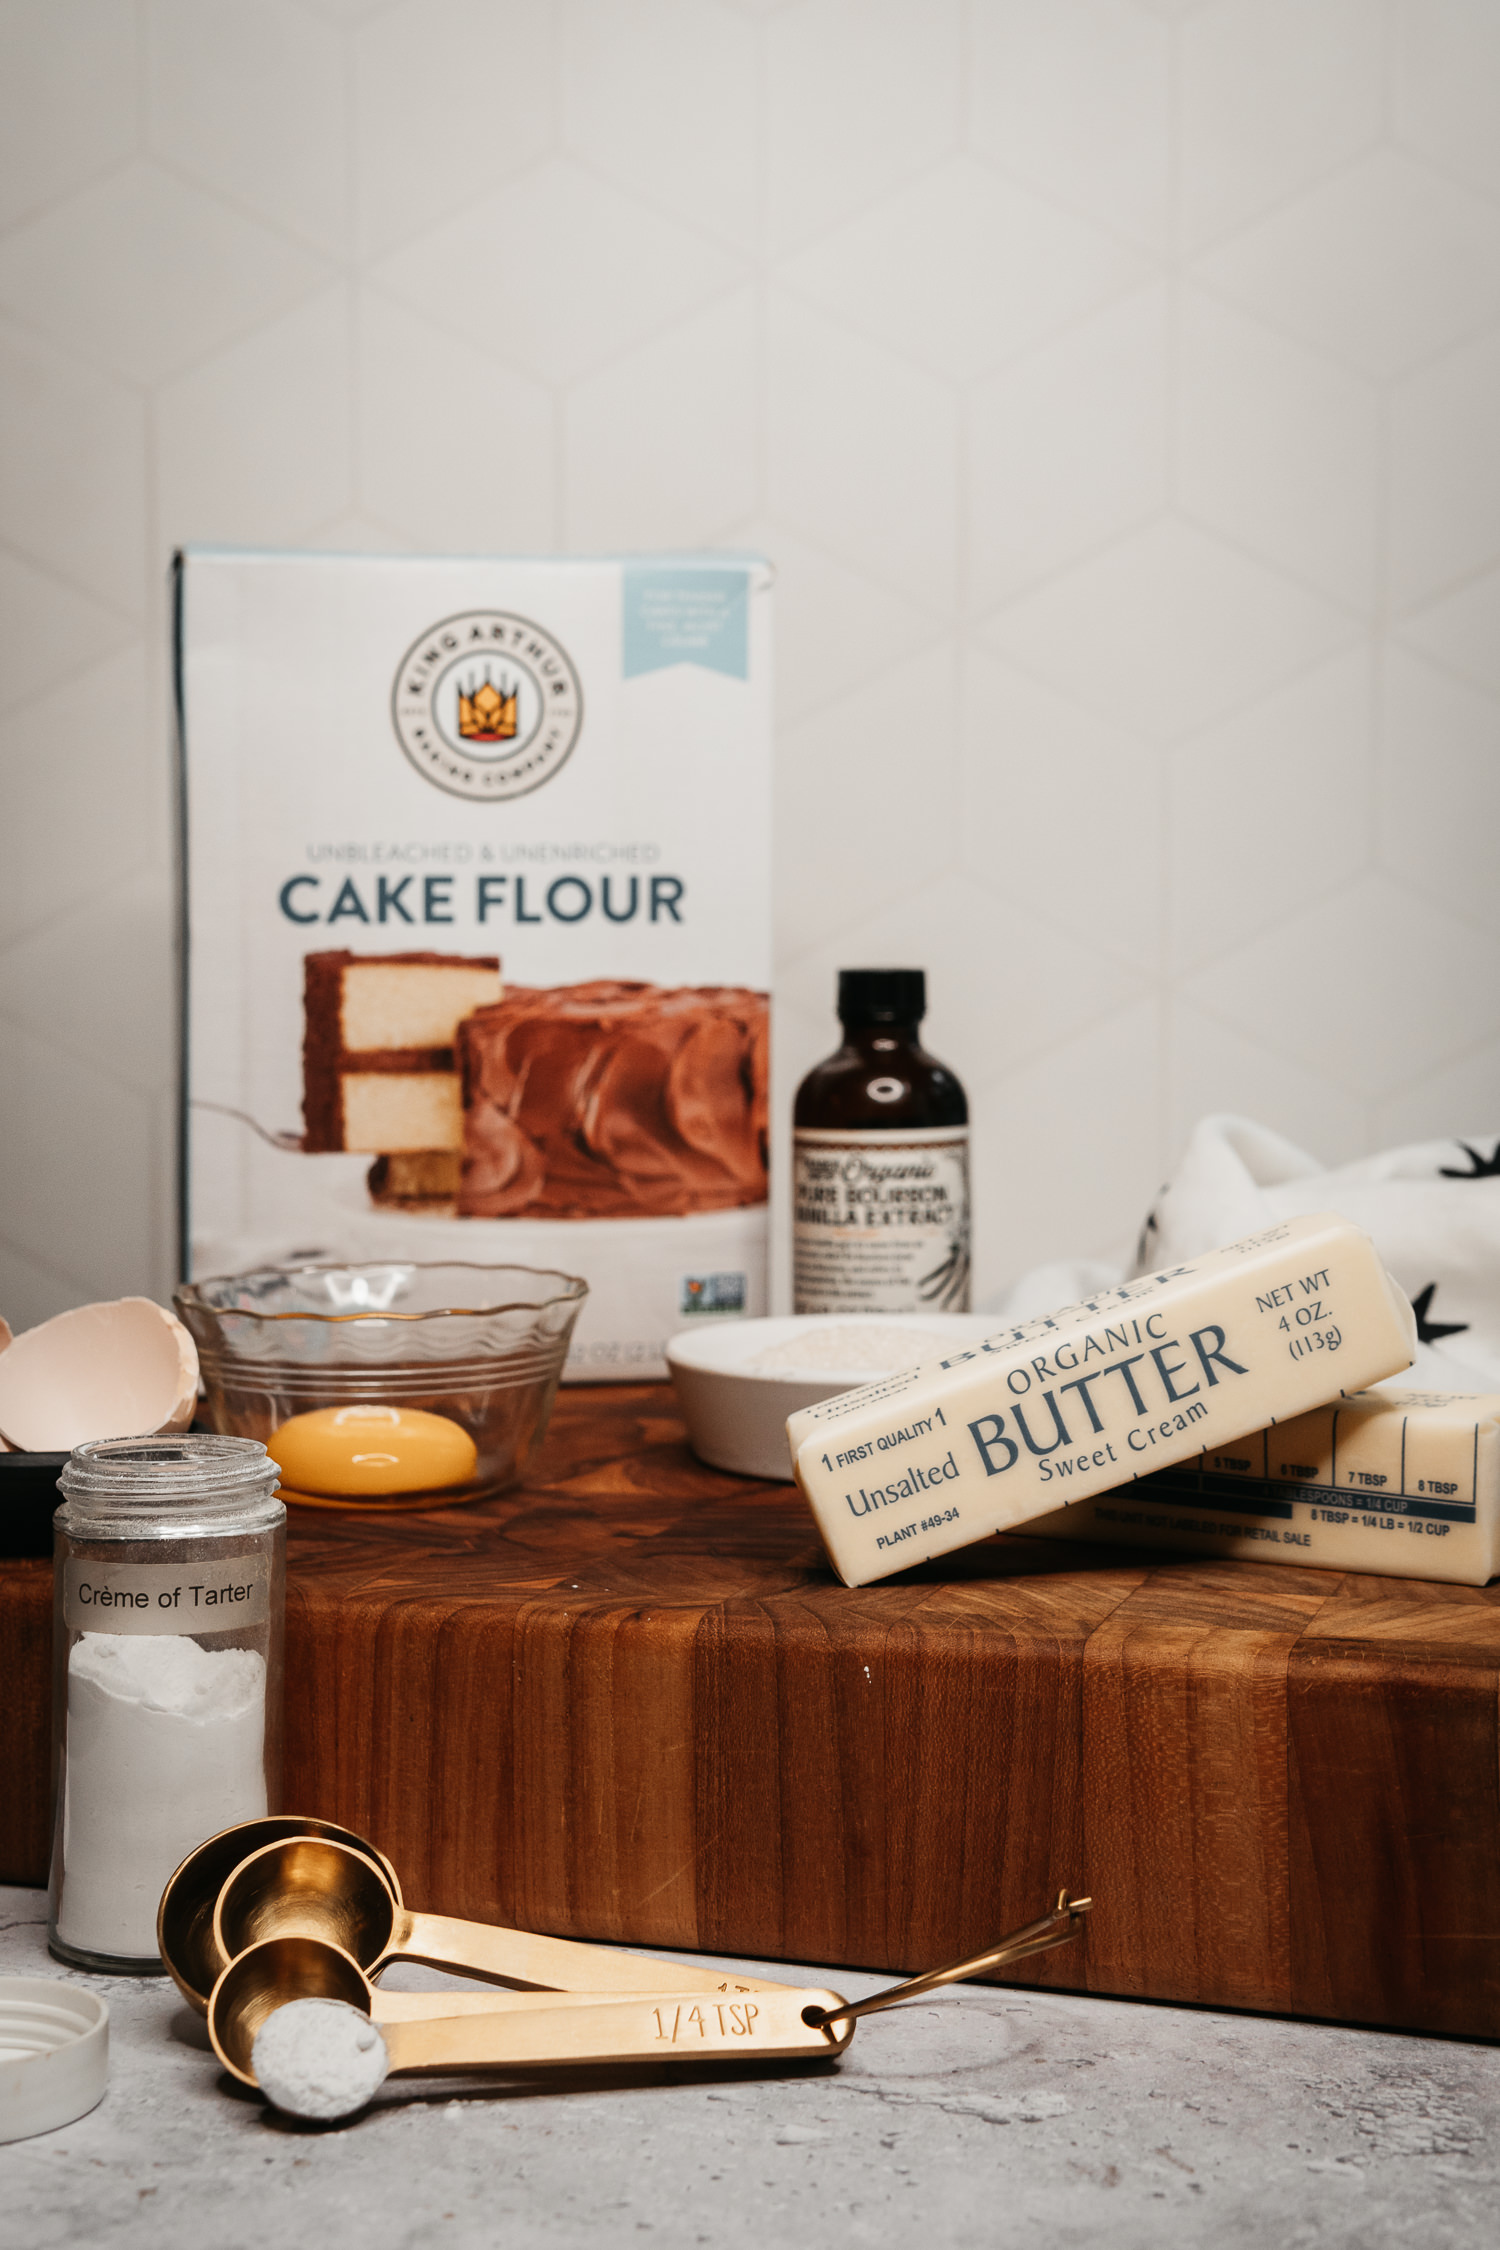
To make these simple Norwegian cookies, you’ll only need a handful of ingredients, most (if not all) of which you probably already have in your pantry.
This recipe calls for cake flour, which gives these cookies the perfect texture. Cake flour is made from low-protein wheat (also called soft-wheat), the main difference between cake flour and other types of flours is the gluten content—about 7-9% compared to all-purpose flour, which has a gluten content of around 10-13%. Because of its low gluten content, cake flour is typically used to make baked goods that have a soft texture such as cakes, pastries, and cookies.
No cake flour? While accurate ingredients yield the best results, you can try making your own using all-purpose flour and cornstarch.
- Butter (I use unsalted, sweet creamery butter)
- White granulated sugar
- Pure vanilla extract (or make your own!)
- Egg yolk (use the remaining egg white in a meringue or to make an extra-fluffy omelet)
- Cream of tartar
- Cake flour
How to Make Drømmer
To make these cookies, we’re going to begin by melting and browning the butter. Browning the butter gives these cookies their signature nutty flavor. The process only takes a few extra minutes, and the resulting cookies are delicious. If you don’t want to bother with a saucepan, you can even brown butter in the microwave.
To brown butter on the stovetop, place 1 cup of butter in a small saucepan or cast iron pan and melt it over medium heat, stirring often. As the melted butter heats up, it will begin to sizzle, and foam will appear around the edges, and it will deepen in color.
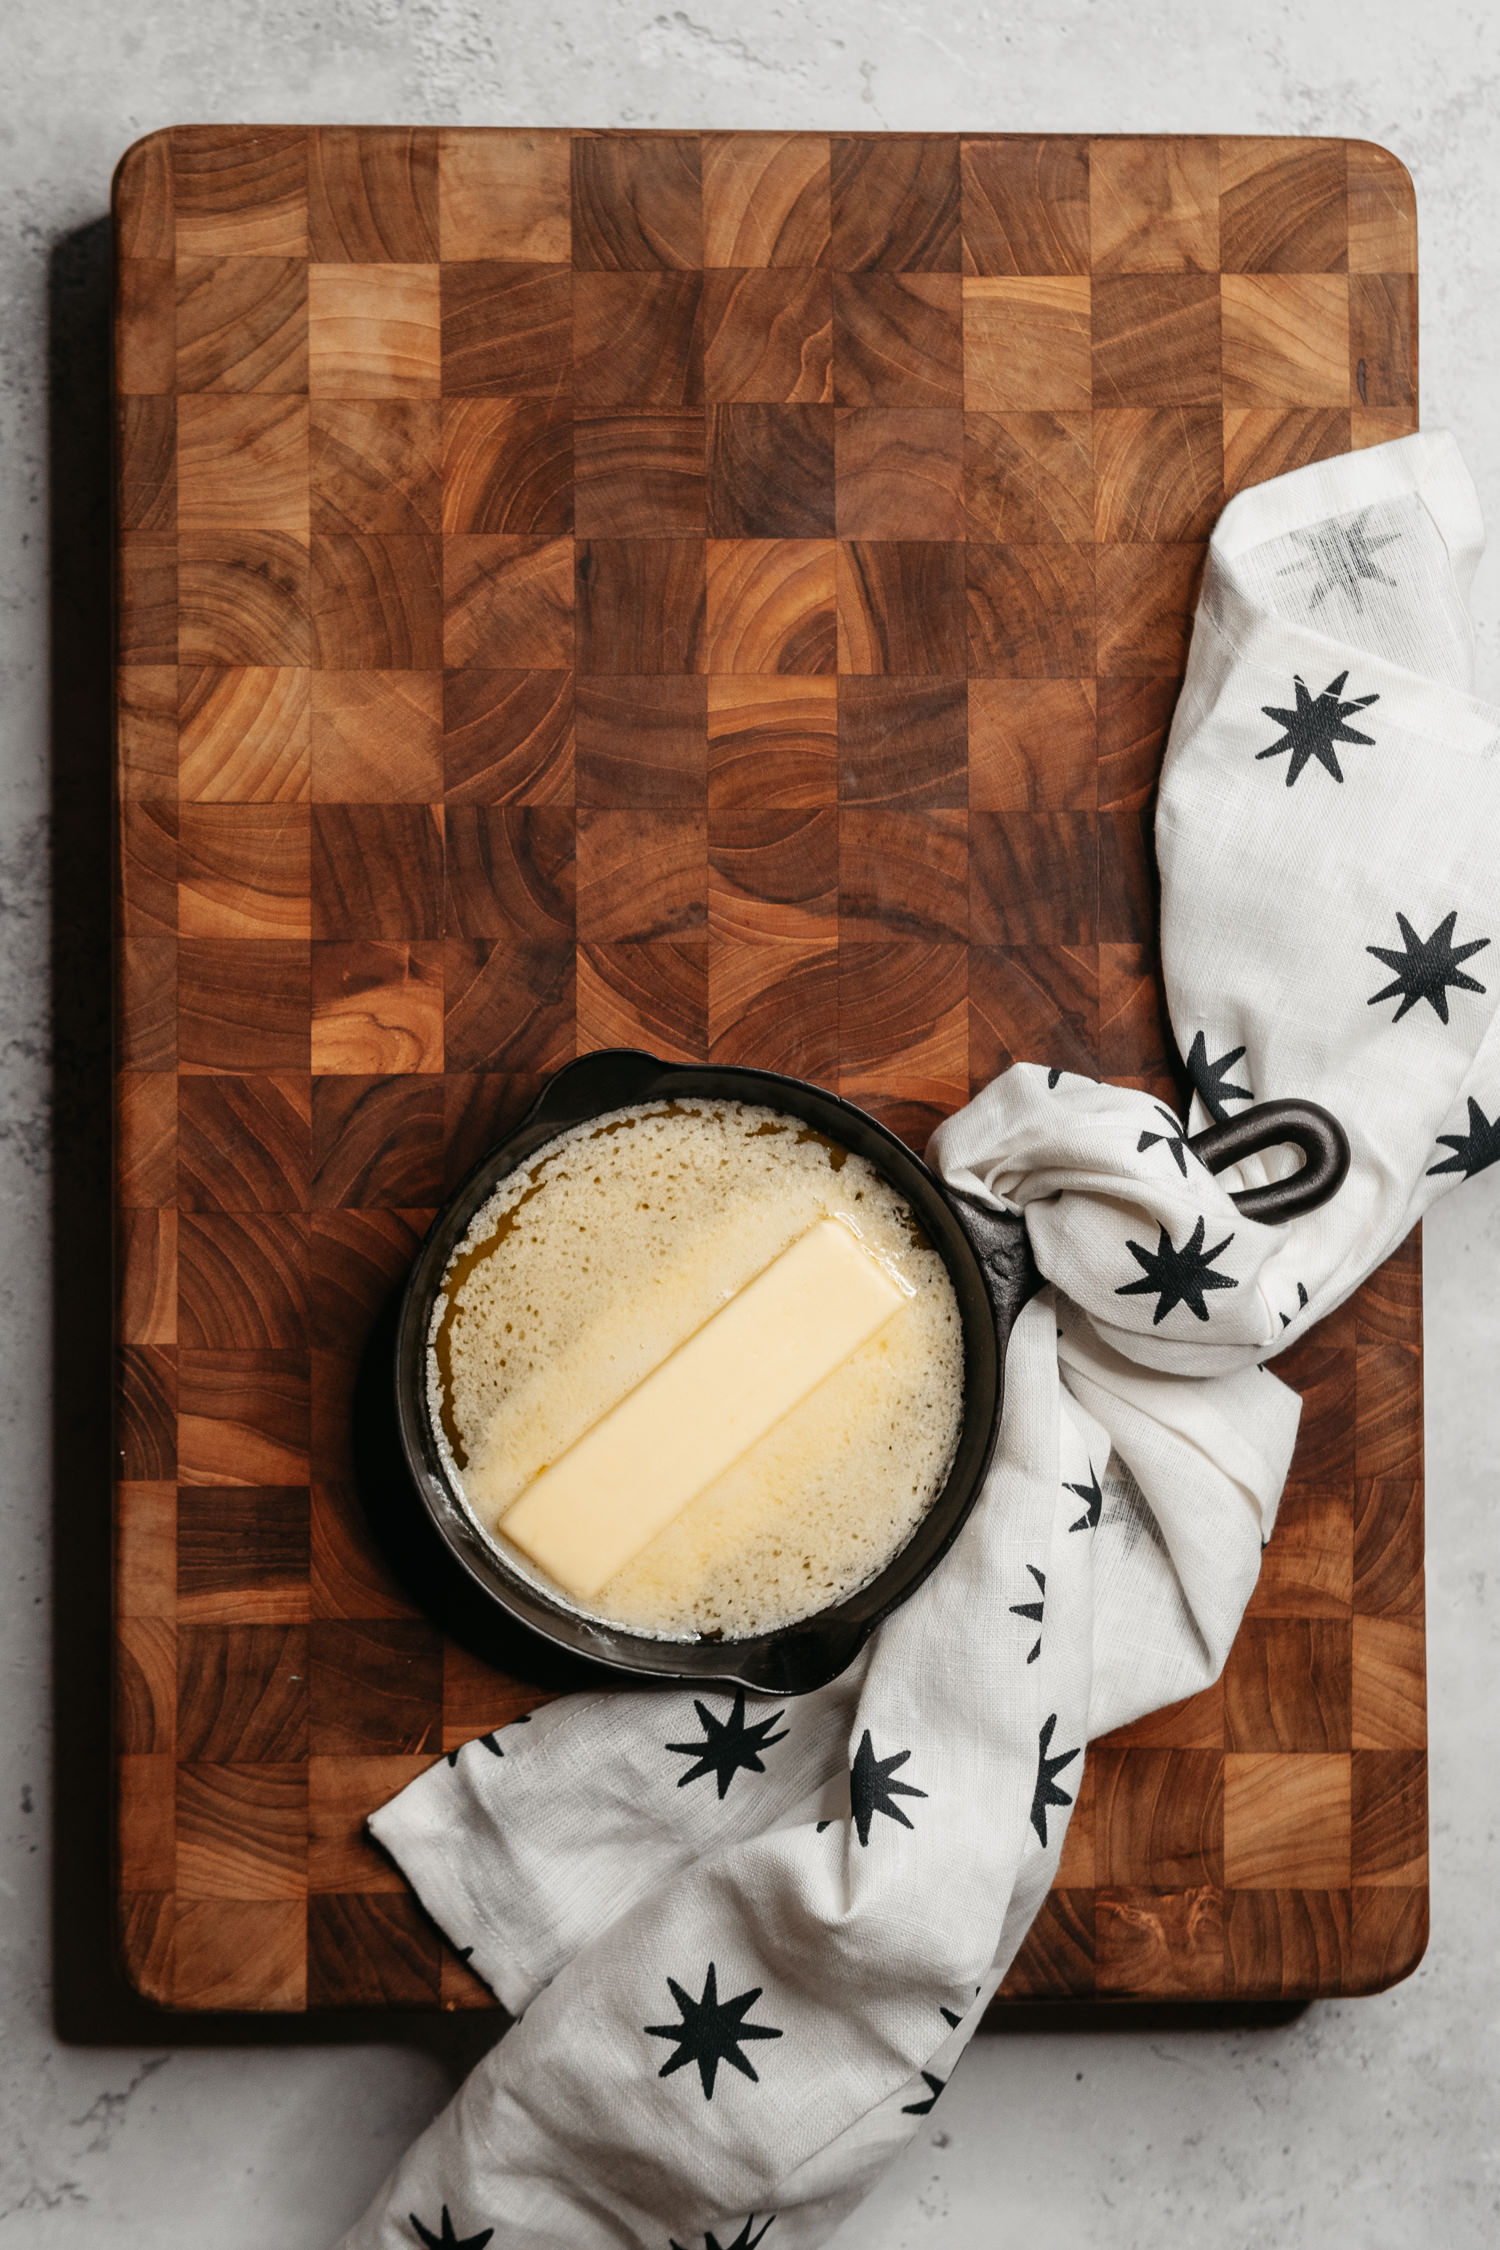
For this amount of butter, it will take about 10 minutes to transform into a beautiful shade of deep gold. As the butter is browning, keep stirring and keep a close eye on the butter to make sure it doesn’t burn.
You’ll know that you’re on the right track with the butter once the foam begins to ease up and you can see toasted milk solids on the bottom of the saucepan. Browned butter has a distinct nutty and buttery aroma—your senses will tell you when the butter has been properly browned.
As I mentioned above, you can also brown butter in the microwave. To do this, simply add the butter to a microwave-safe glass container and cover it with parchment paper cut to fit the shape of the glass. Microwave the butter on high for 5 minutes, at which point you should begin checking the color of the butter, microwaving it in 30-second increments until the butter has turned a deep golden color and develops a nutty aroma (depending on your microwave, you might find that no additional time is needed after the initial 5 minutes).
Regardless of how you choose to make browned butter, keep an eye on it! Burnt butter, which is much different than brown butter, tastes and smells awful and wastes a full cup of butter!
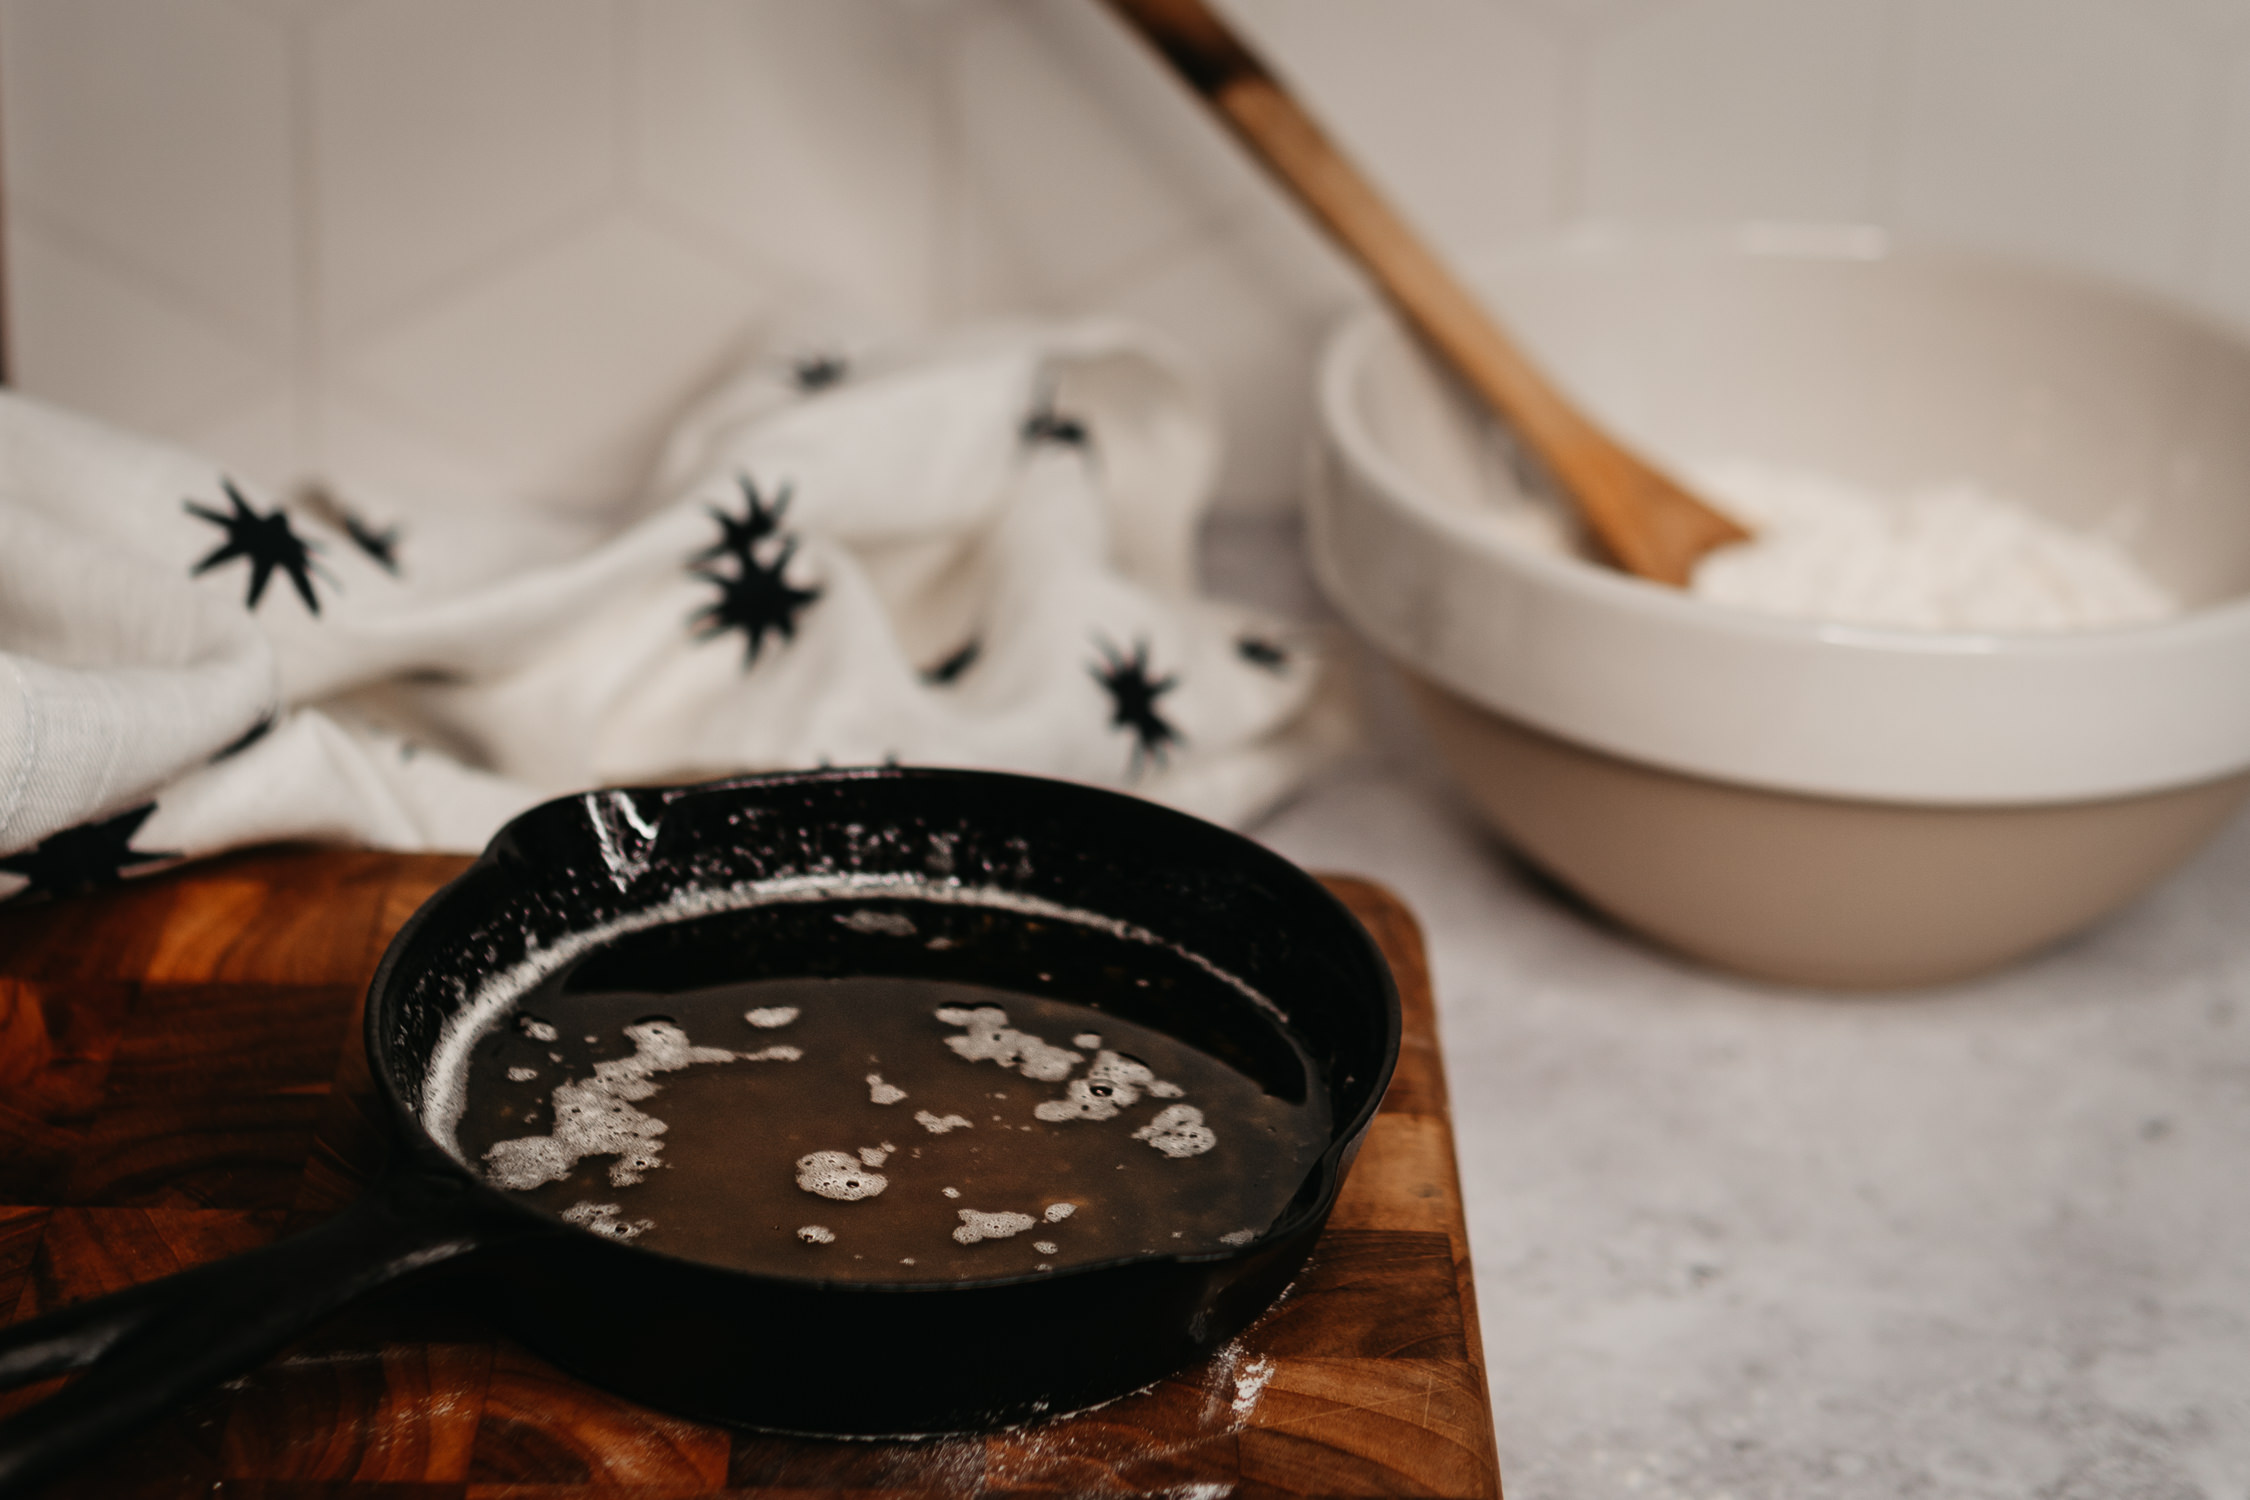
Let the brown butter come to room temperature before using it in the next step, about 30 to 45 minutes.
While the browned butter is cooling, we’re going to mix the rest of the ingredients together. In a medium- or large-sized mixing bowl, whisk together 1/3 cup white granulated sugar, 1/2 teaspoon vanilla, and 1 egg yolk (use a room temperature yolk when baking these cookies for best results). Add the browned butter and stir the mixture with a fork until completely mixed.
Next, sift 1/4 teaspoon of cream of tartar with 2 cups of cake flour. You can sift these together directly into the bowl with the other ingredients.
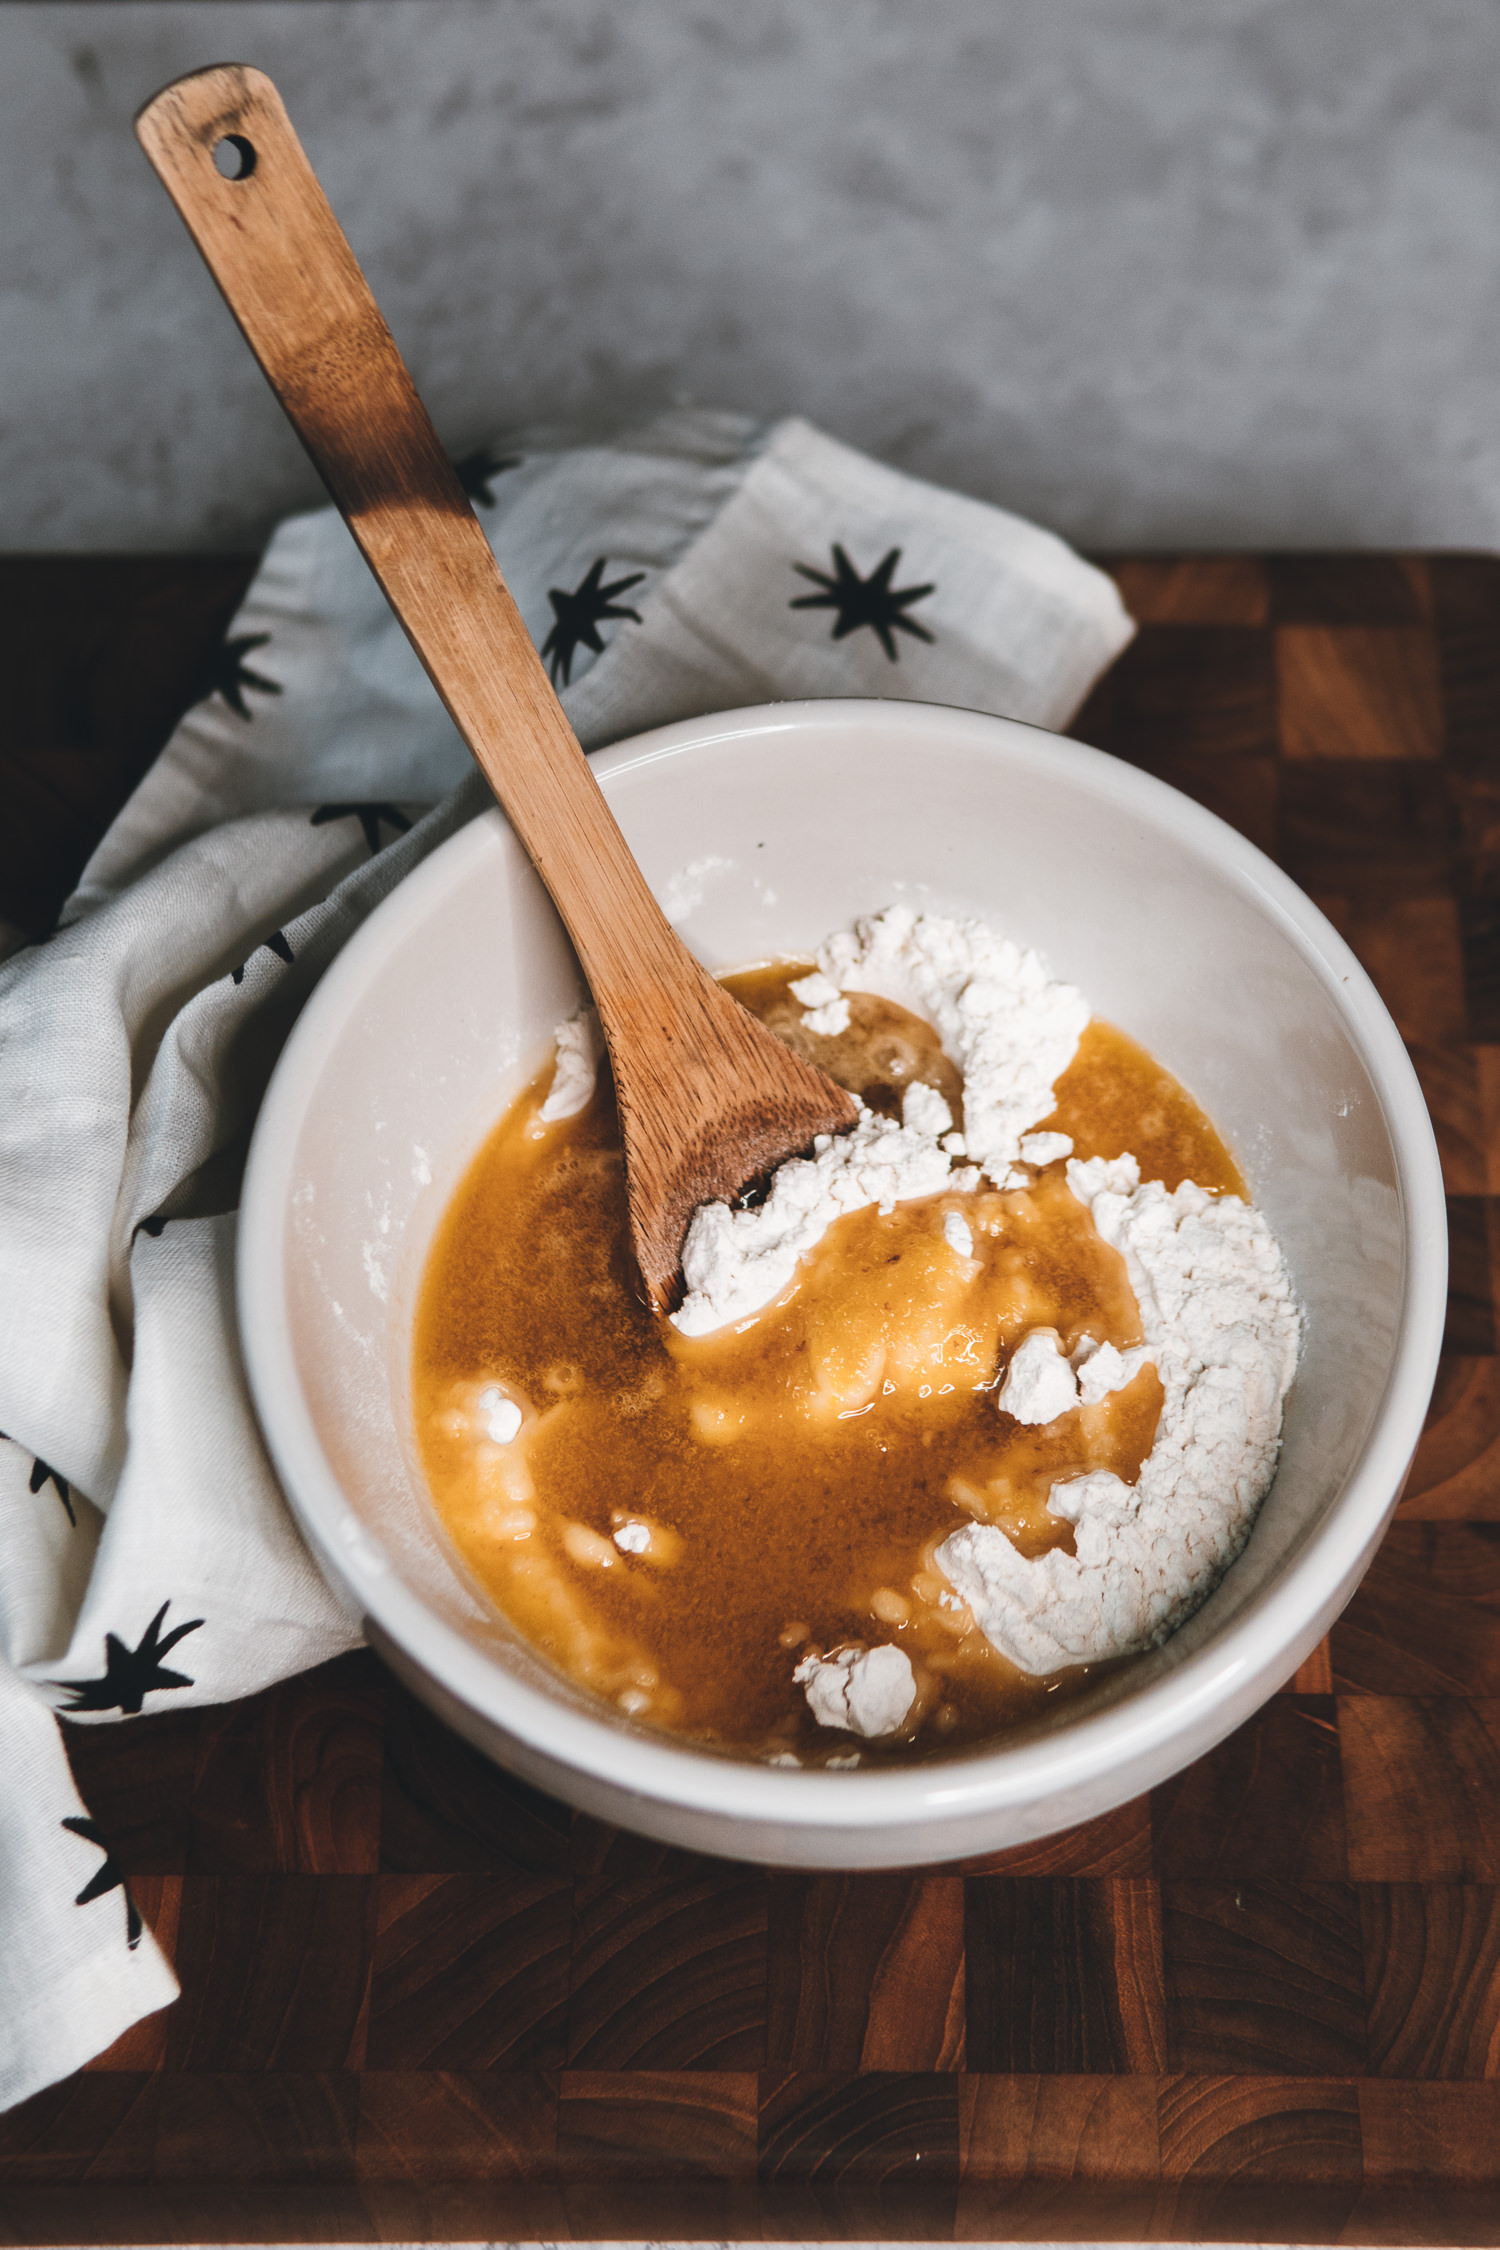
Using a large wooden spoon, stir all of the ingredients together until a stiff dough is formed. The dough should come together fairly easily, but you can always use your hands to incorporate any remaining flour on the sides and bottom of the bowl.
Prepare a baking sheet by lining it with parchment paper or lightly greasing it and flouring it. Preheat the oven to 375 degrees F and position the oven rack so that it’s in the middle slot of your oven.
If you’re using parchment paper and can’t get it to lie flat, try crumpling it up into a ball, un-crumpling it, and then spreading it out—it should lie perfectly flat on the baking sheet.
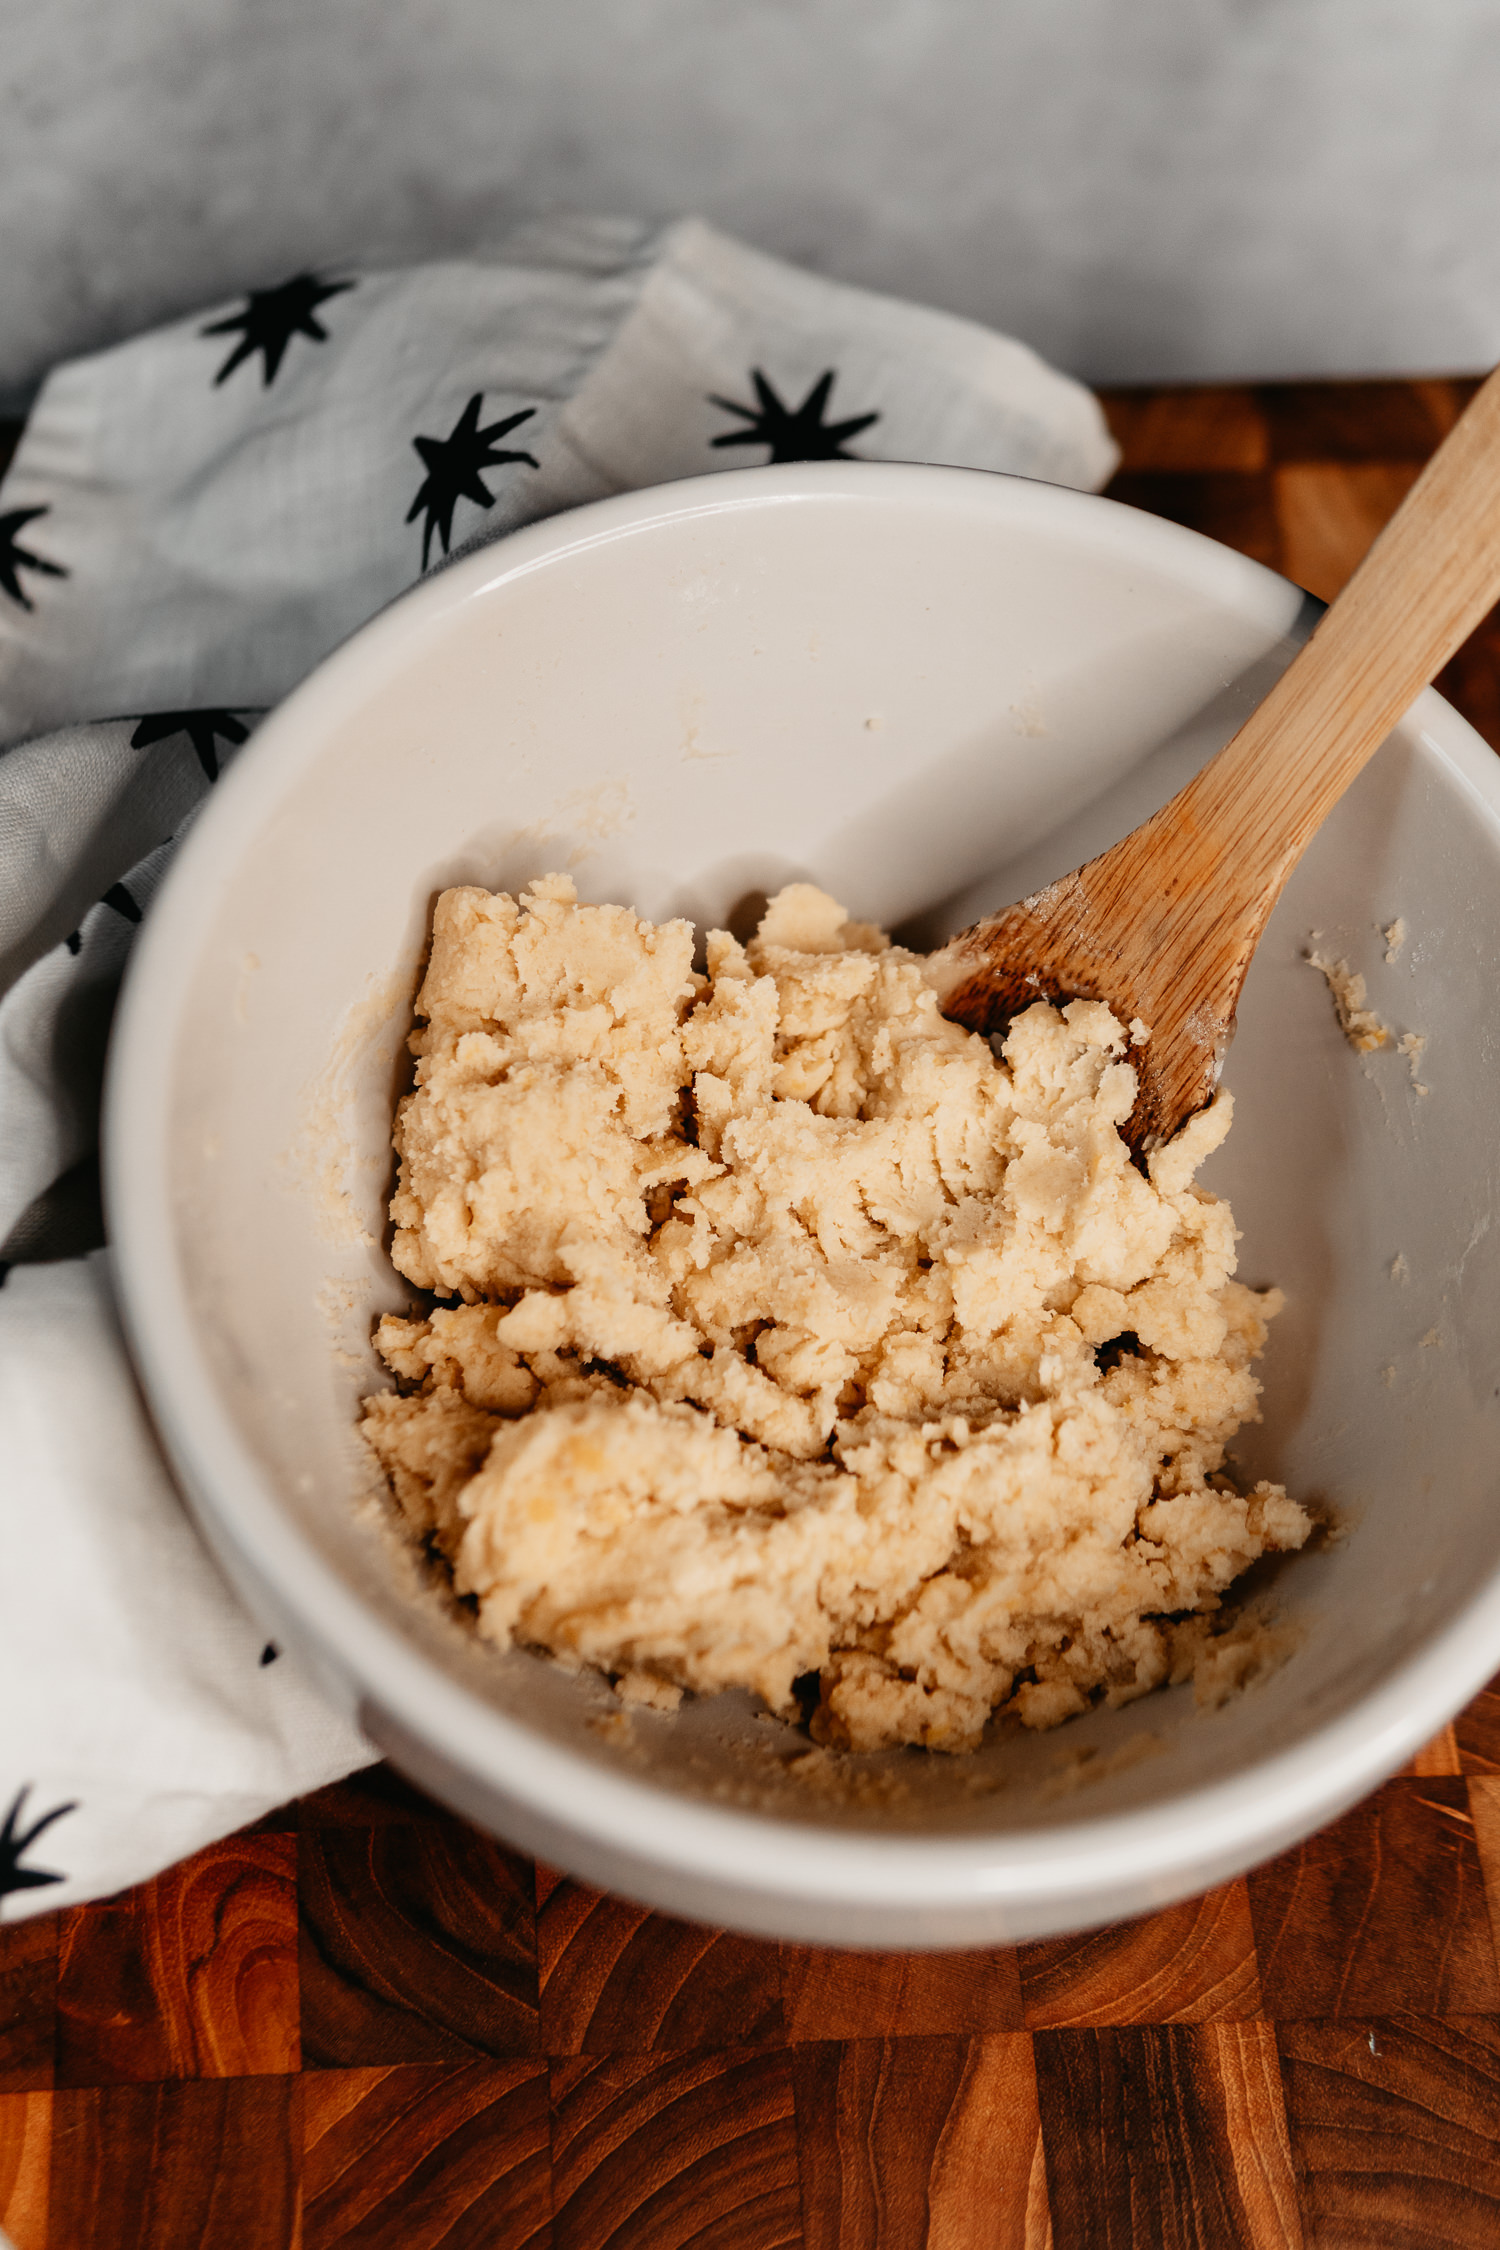
This dough doesn’t need to be chilled before forming the cookies, it can be rolled into small balls as soon as all of the ingredients are mixed together. No waiting required!
One of the many reasons I love this recipe is that the dough doesn’t spread very much as it bakes. In other words, you can get a lot of cookies (if not all of them), on a single baking sheet in a single bake.
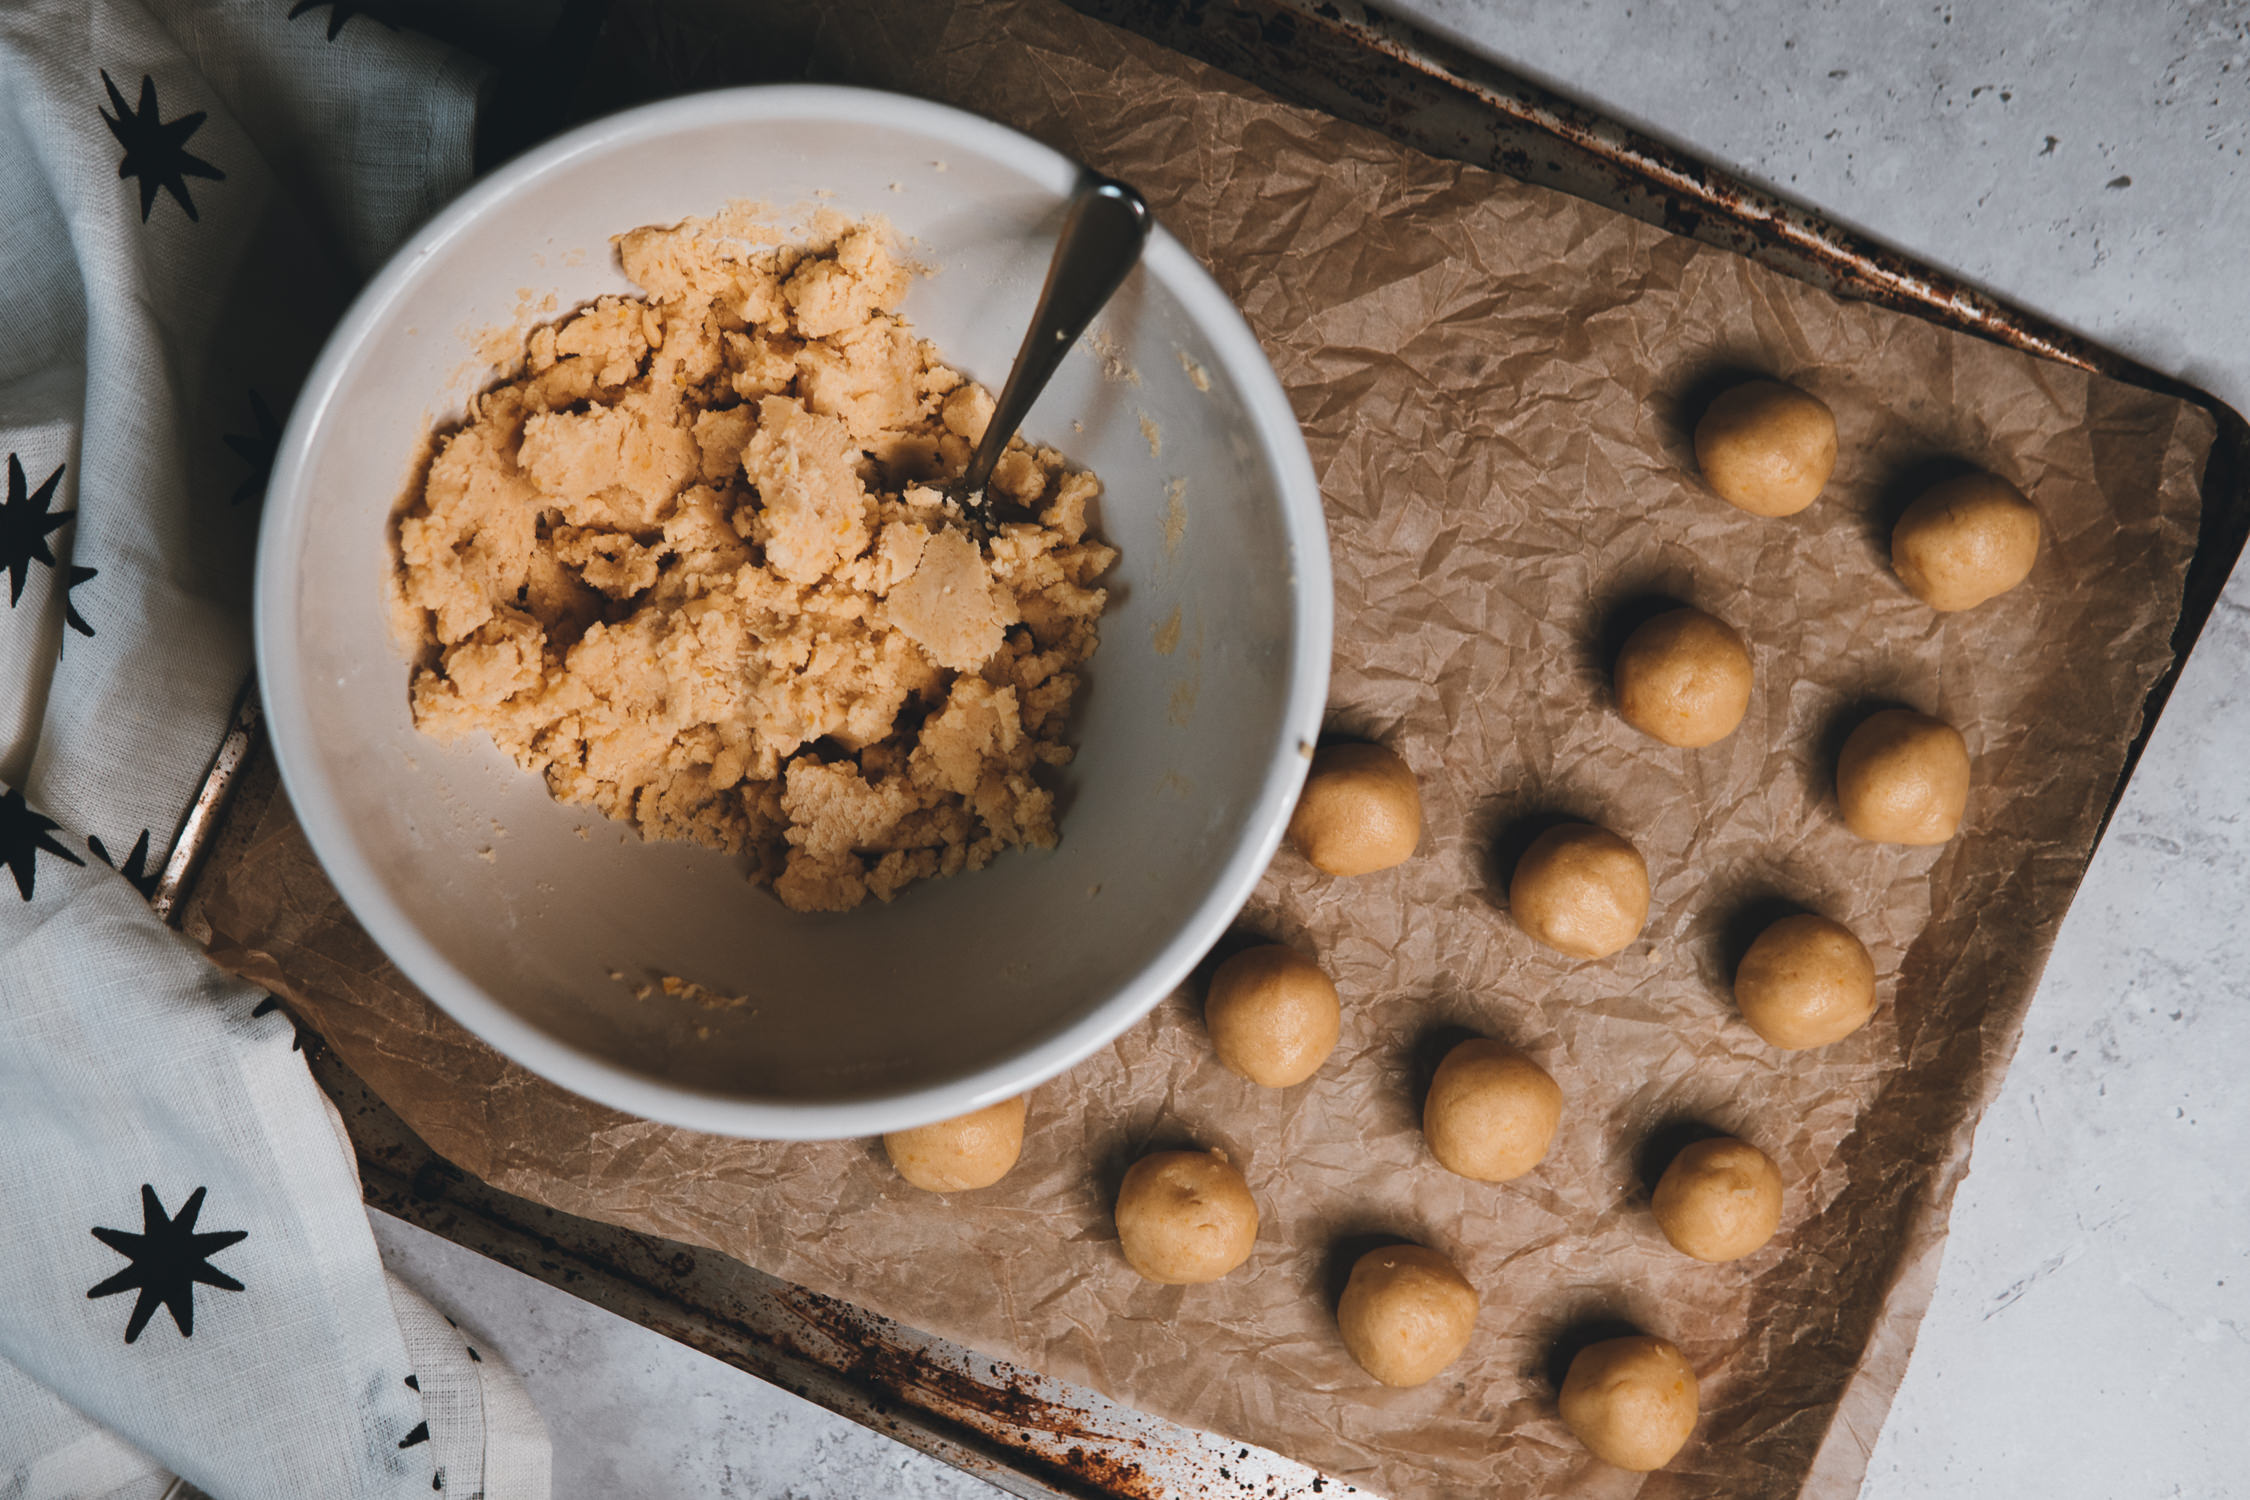 When I make these cookies I try to roll the dough into walnut-sized pieces. I find that the image of a walnut is a more tangible unit of measurement compared to 1-1/2 inches or any numerical measurement (but if 1-1/2 inches makes more sense to you, use that as a guideline).
In terms of how space to leave between the rolled up pieces of dough, I aim for about the length of one cookie or unbaked ball of dough. When drømmer are baked, they form more of a dome shape versus spreading out into a thin, flat cookie.
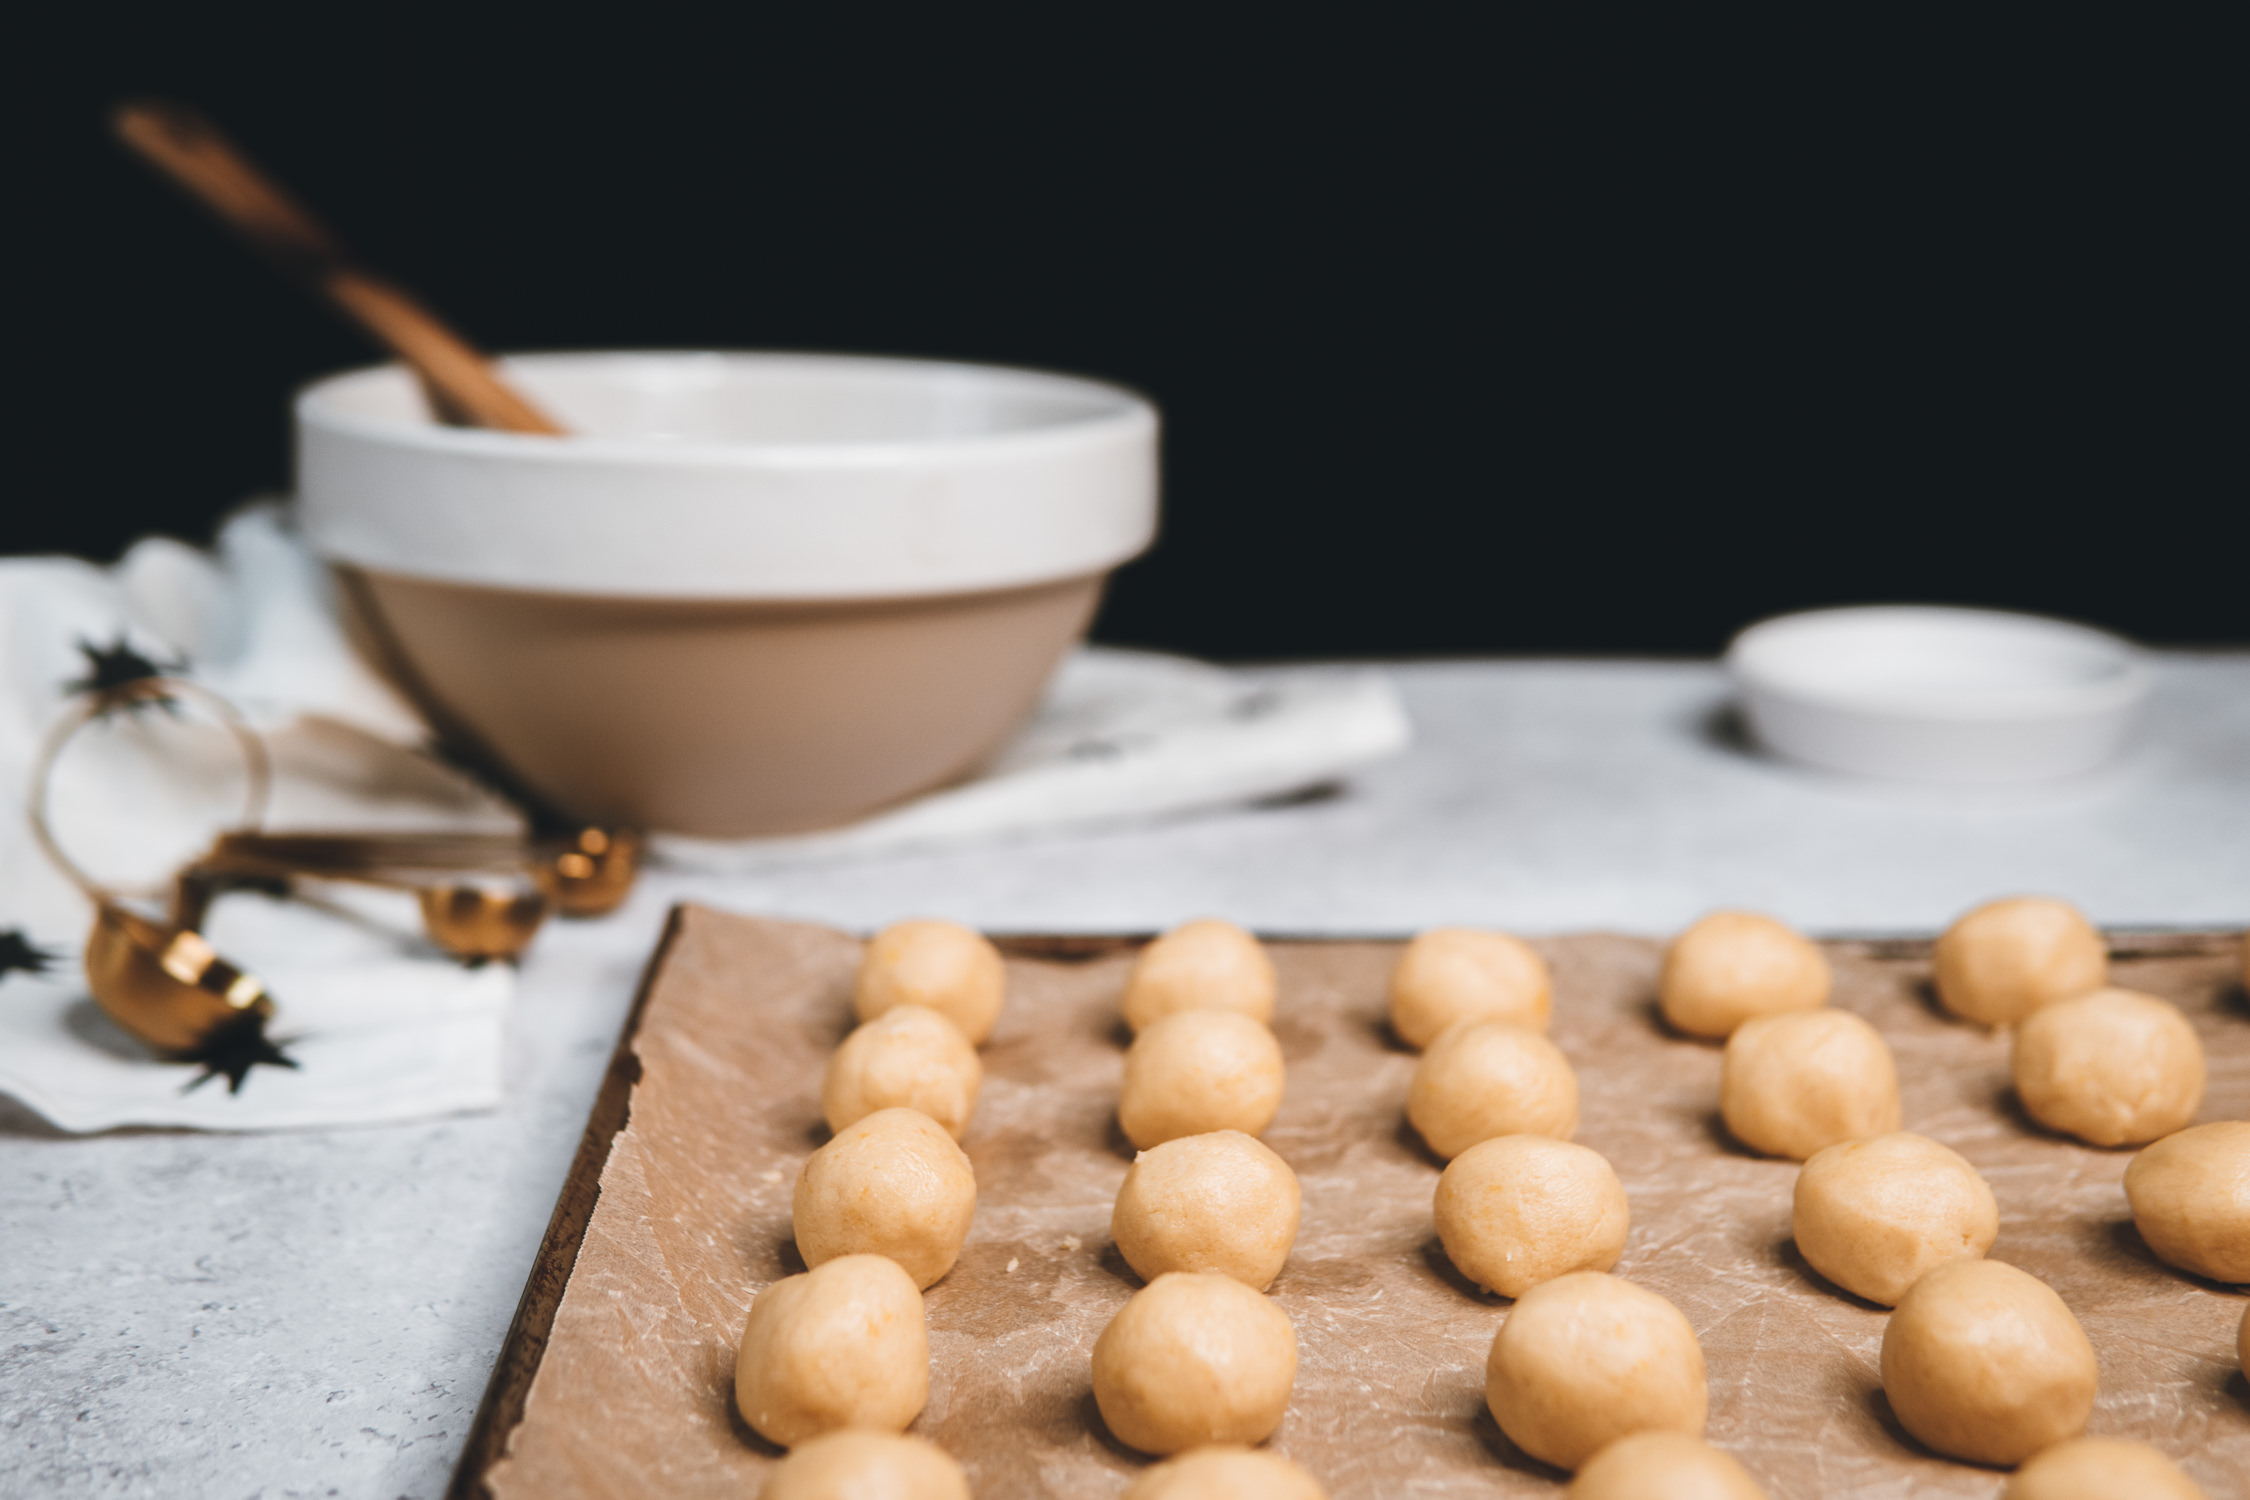
At this point, the cookies are ready to go in the oven! You also have the option of refrigerating the cookies, covering them loosely with a tea towel or plastic wrap, and baking them later in the day if you want them fresh for a later time.
The exact yield will slightly differ depending on the size of the dough balls, but I can usually get a out 30 cookies from this recipe. The number of cookies doesn’t matter as much as keeping the balls of dough uniform and walnut-sized.
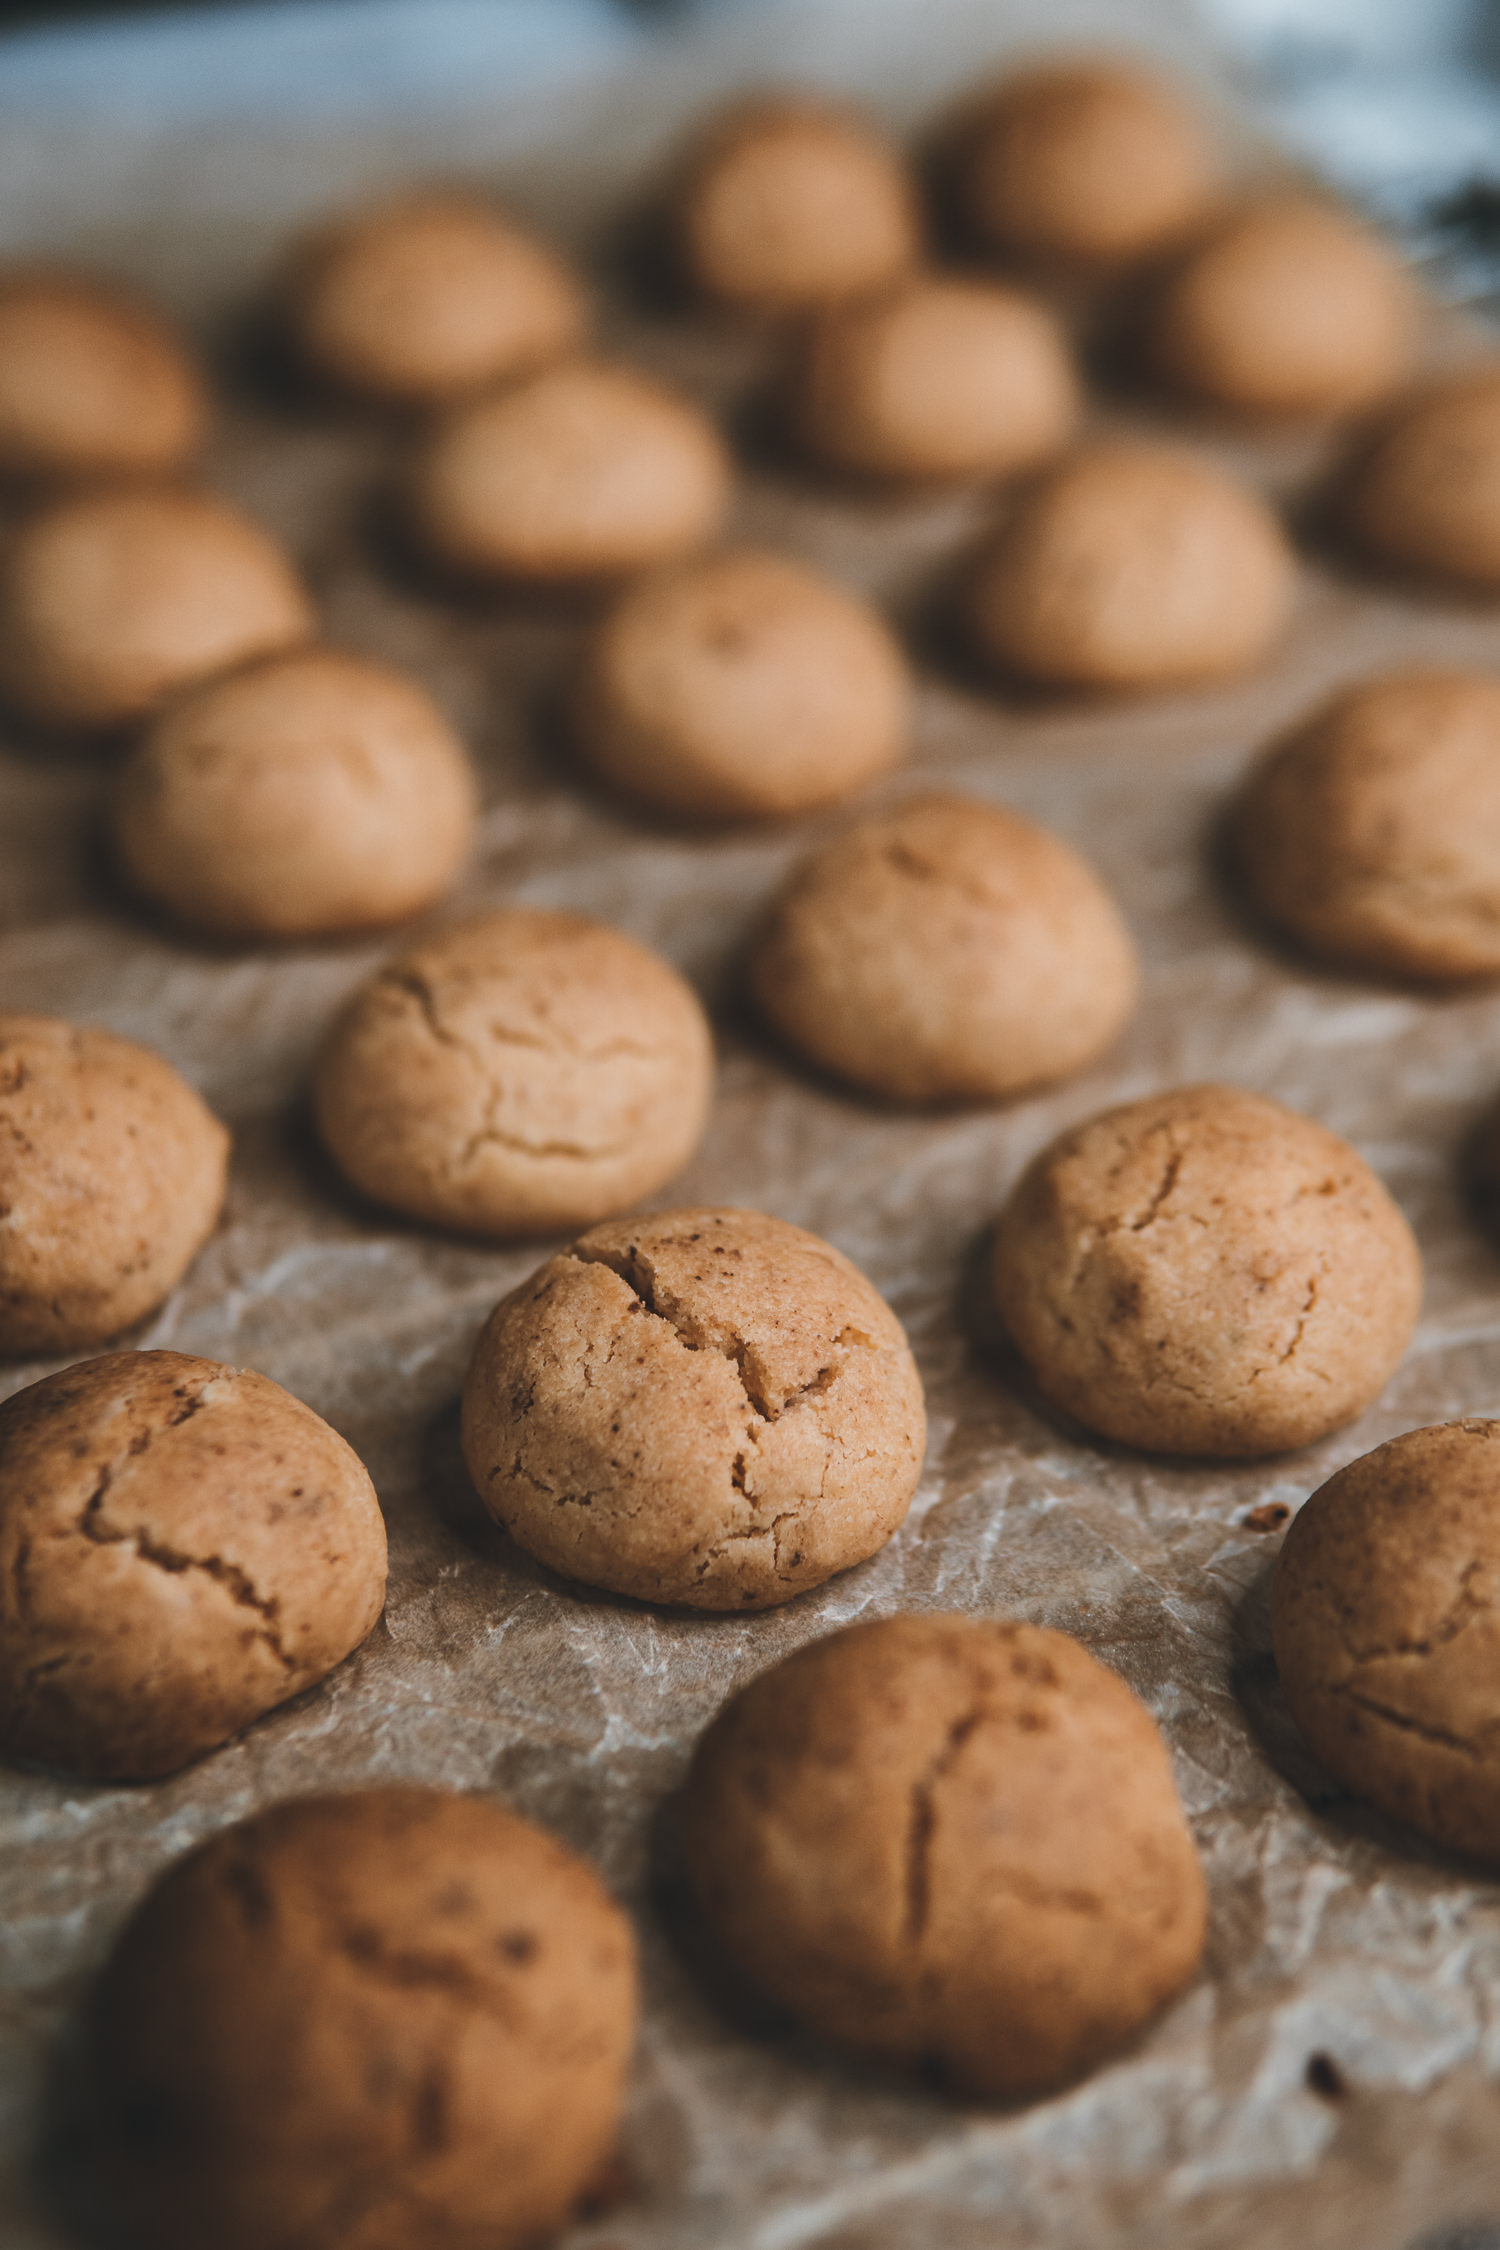 Another idea for make-ahead cookies or if you don’t need a large yield of freshly baked cookies all at once, is to freeze the rolled dough balls in a single layer before moving them to a freezer-safe container or bag. Frozen drømmer dough will keep in the freezer for up to 6 months.
You can bake the cookies straight from frozen, too! Just add a couple of extra minutes to the final cooking time to compensate for the difference in temperature going into the hot oven.
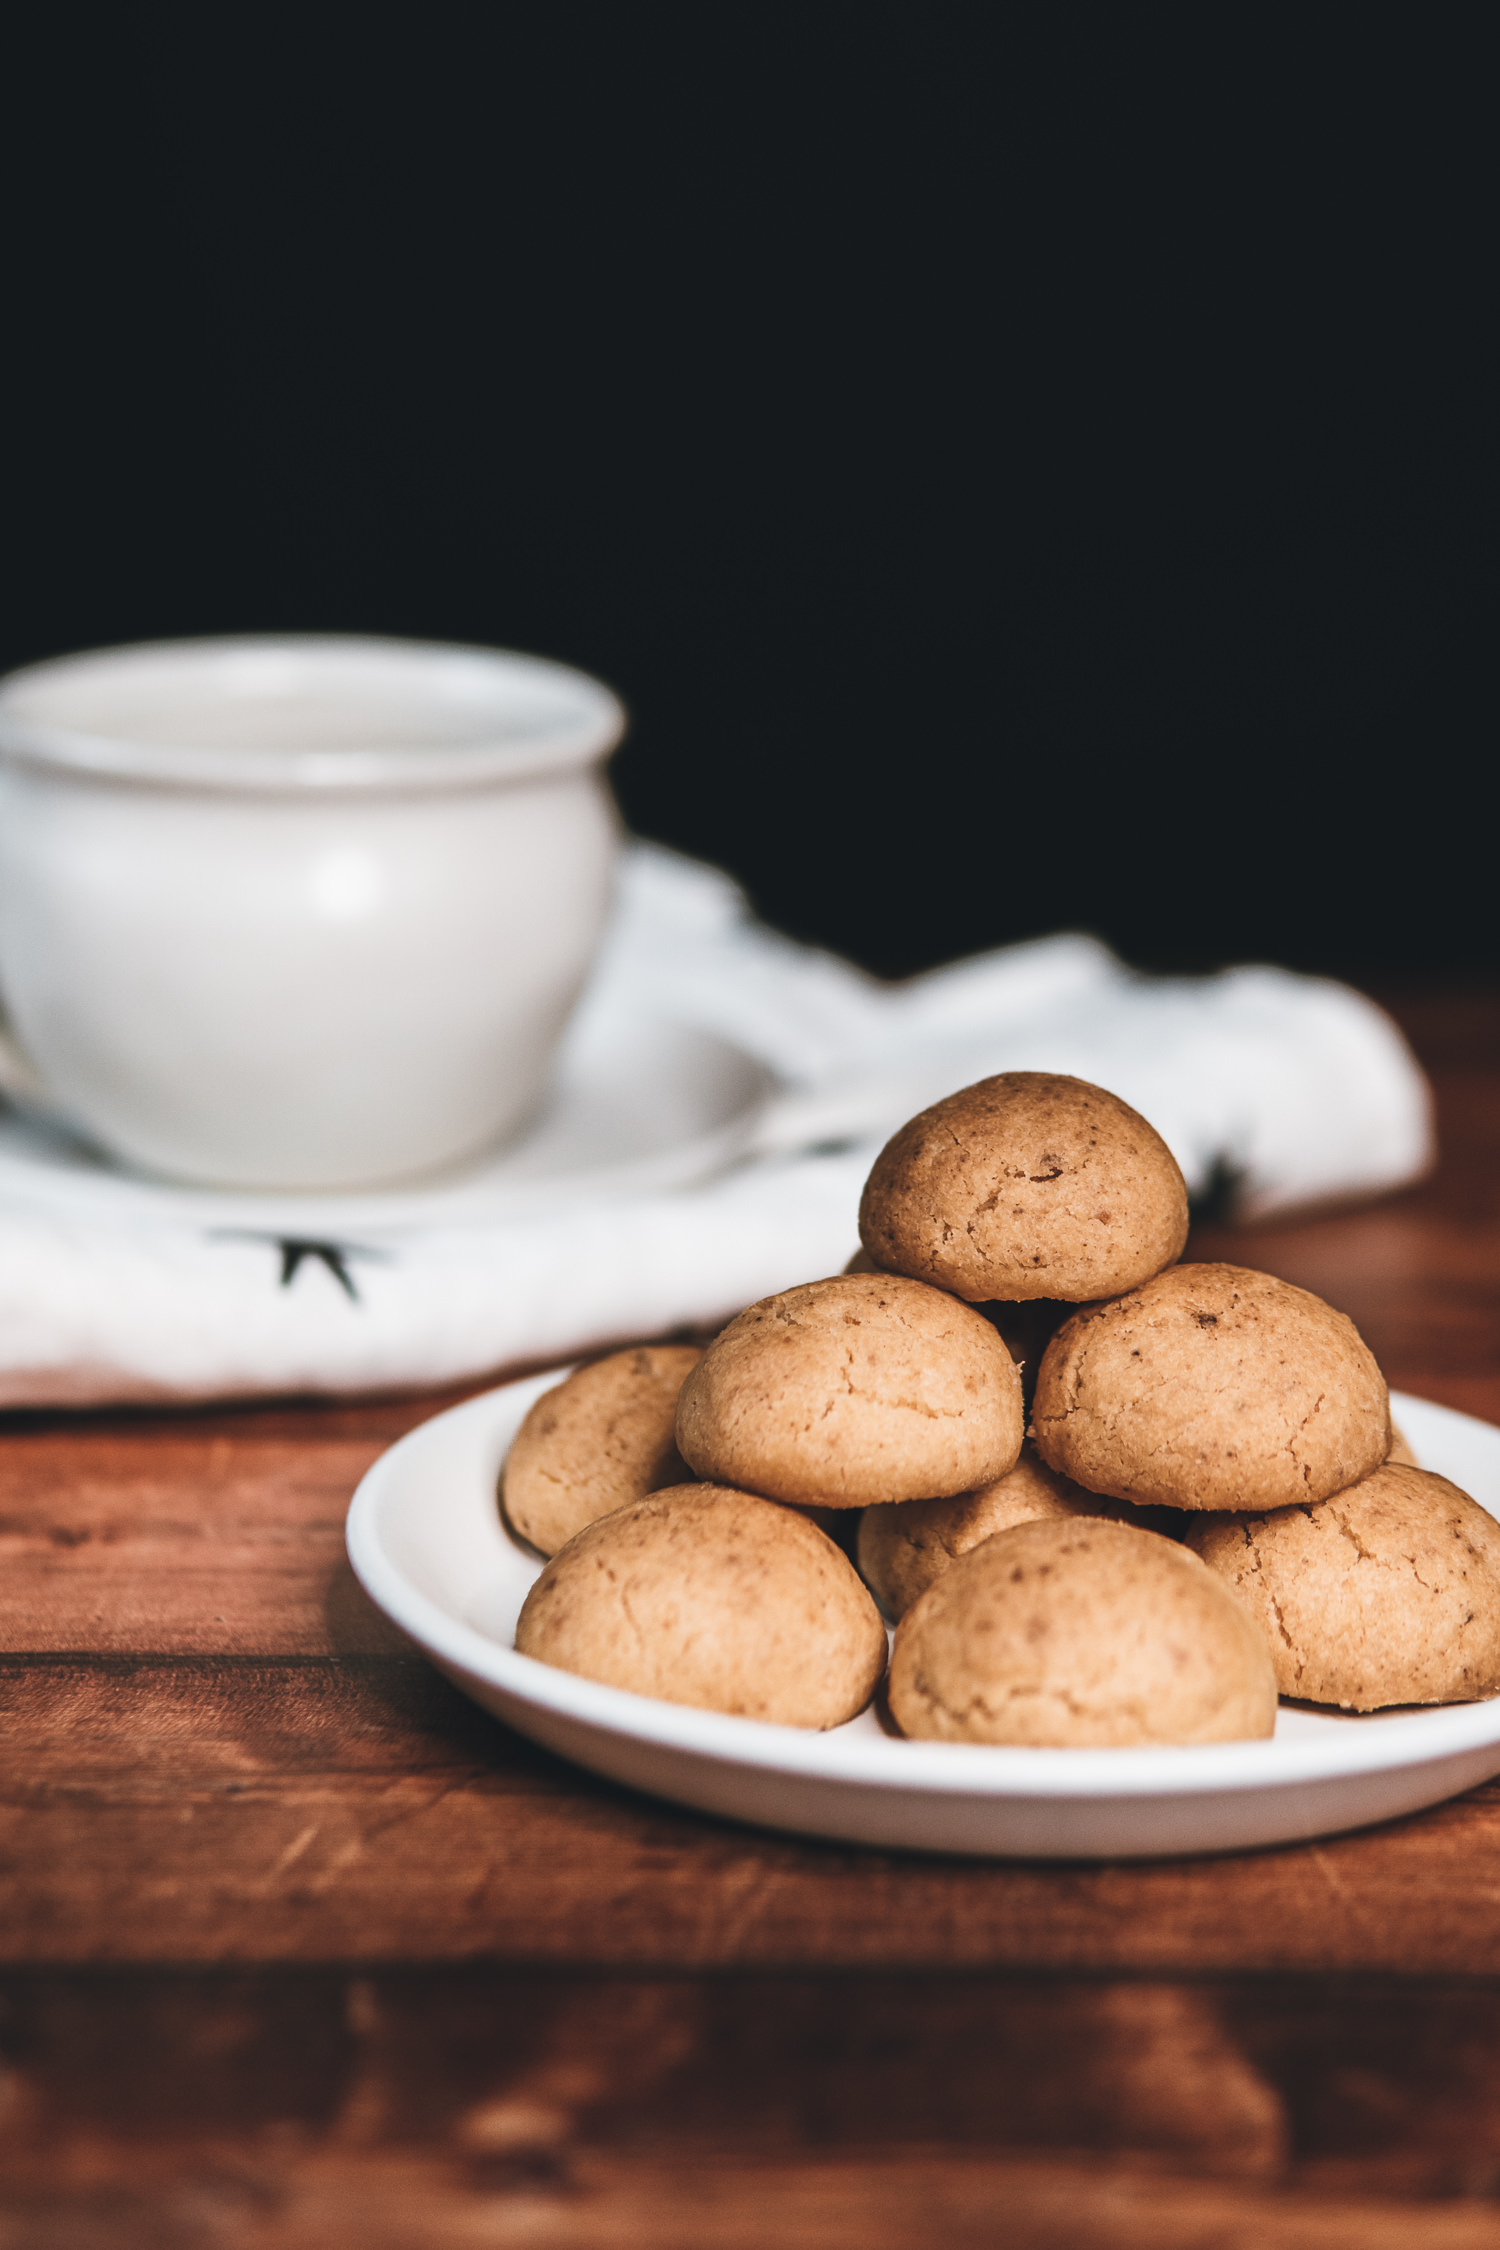
Bake the cookies for 15 to 20 minutes or until they turn a deep golden color. Like the browned butter, when the cookies are done baking they’ll have a unmistakable and mouthwatering nutty, buttery aroma.
When the drømmer have finished cooking, remove the cookies from the oven. As difficult as it might be, give them at least 5 minutes out of the oven to set before sampling. Transfer the finished drømmer to a cooling rack and enjoy while still warm, if possible.
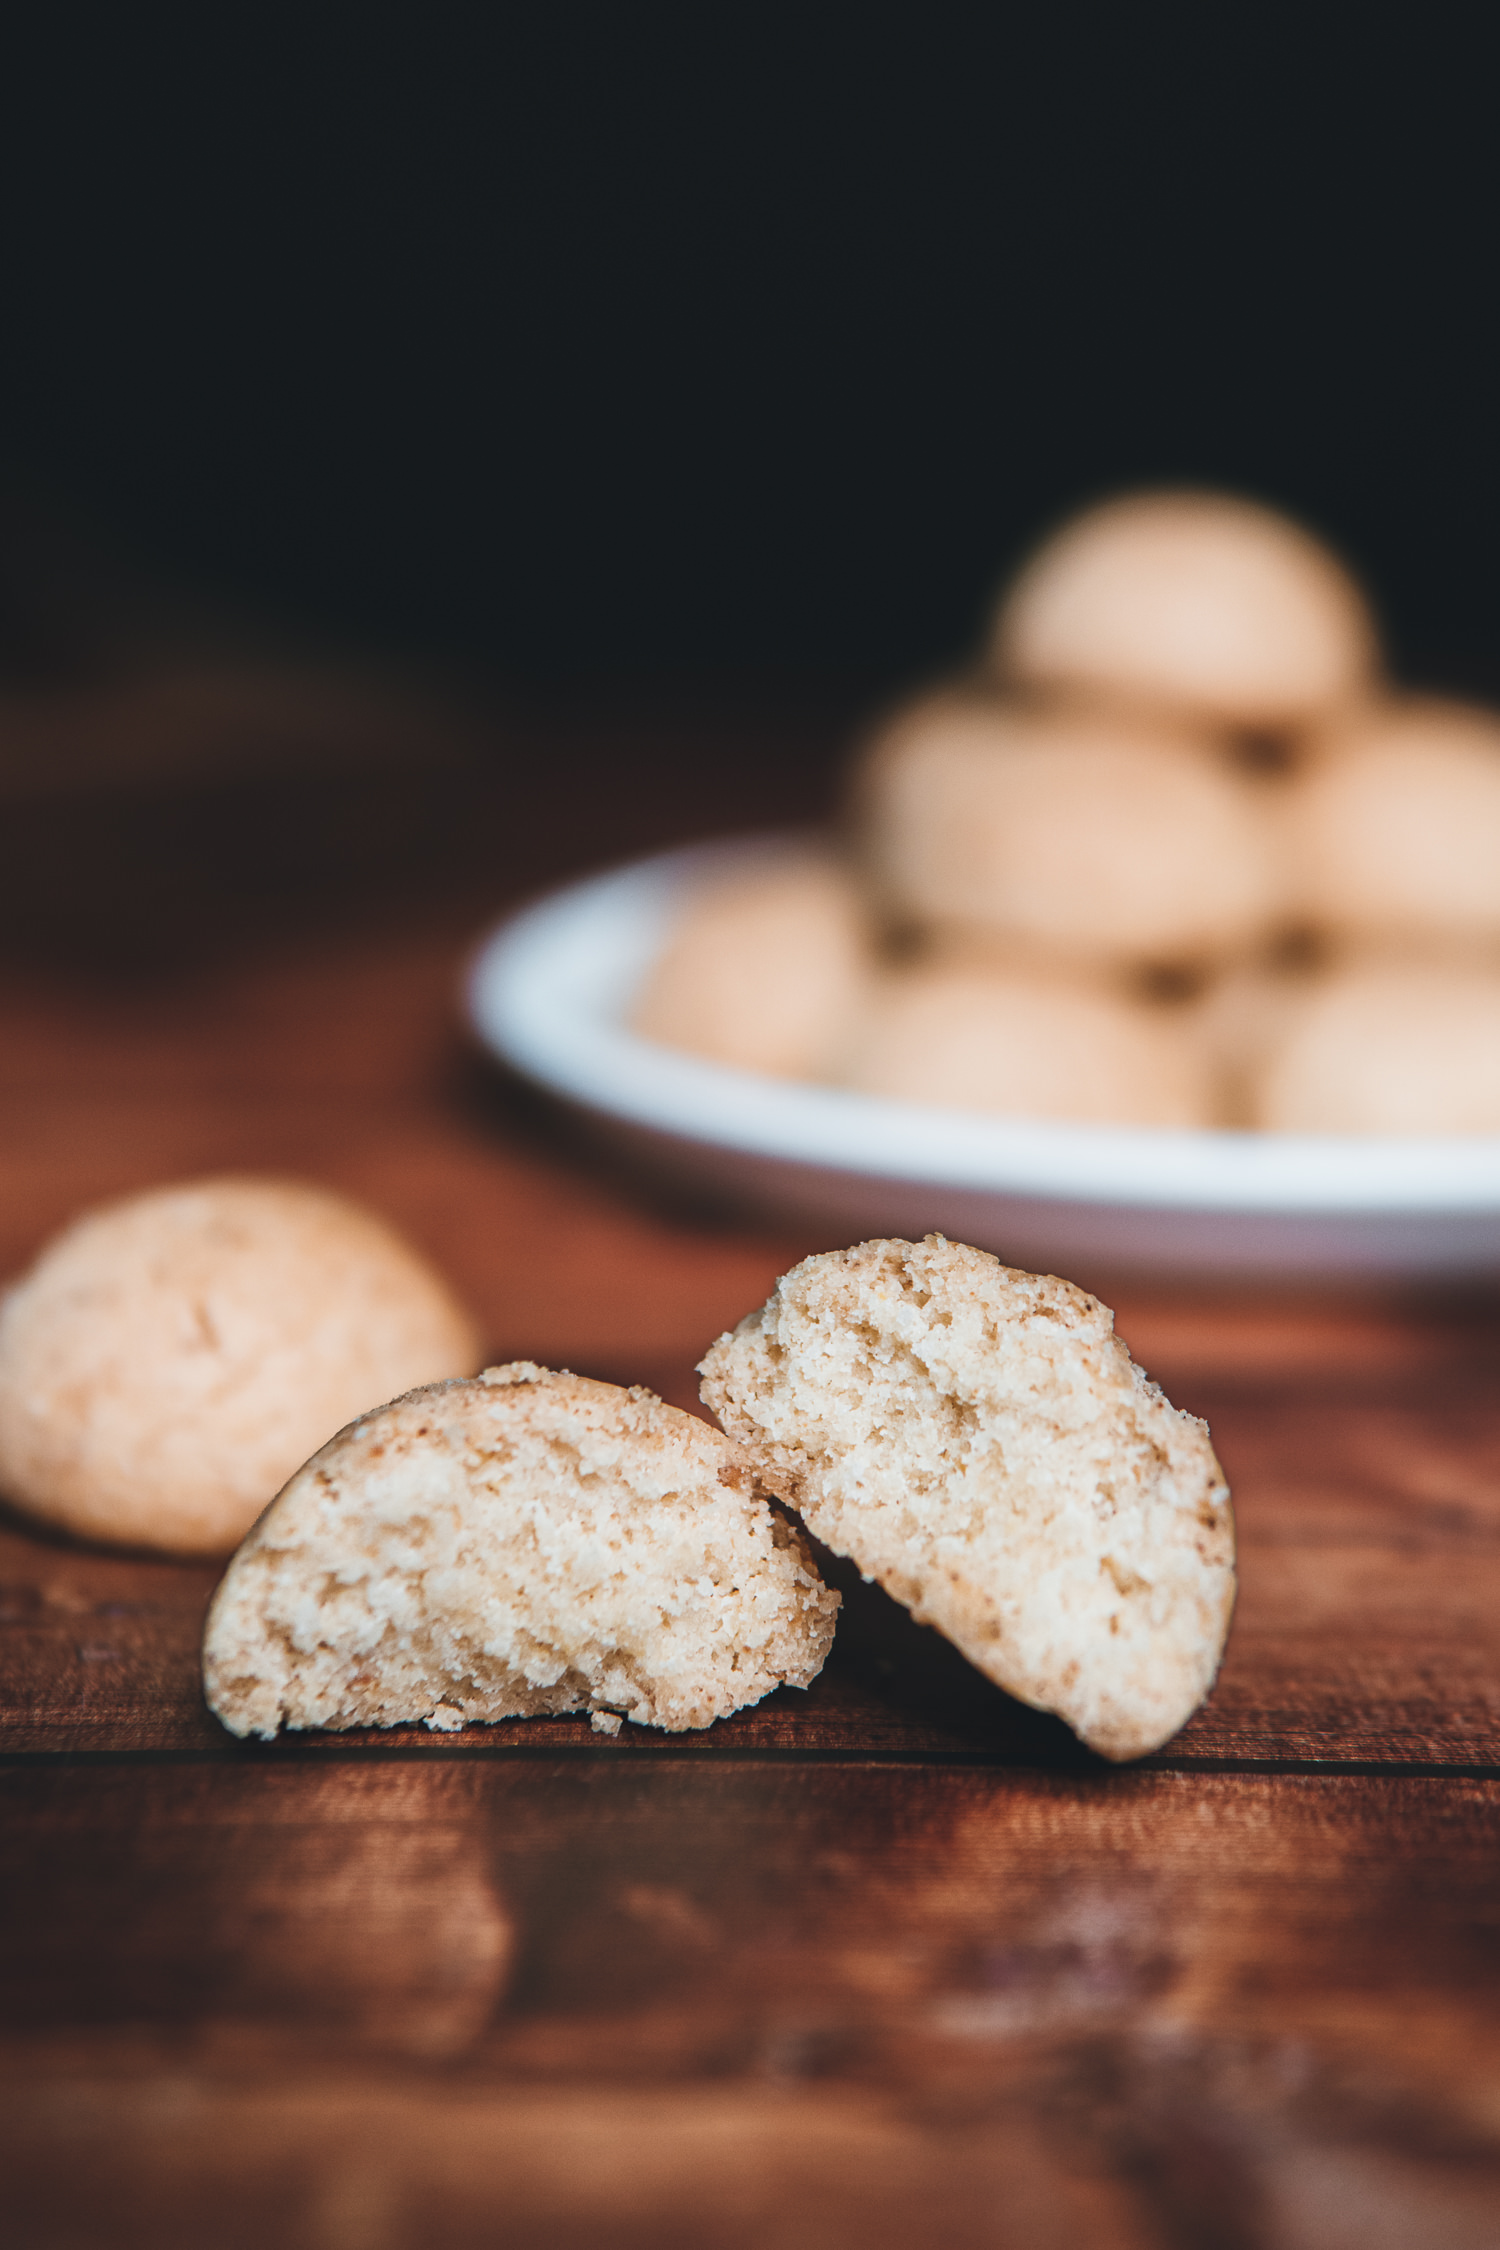
These cookies will keep at room temperature for about 3 days. I love to wrap them tightly in colorful parchment paper, tie the package with a ribbon for a beautiful and delicious homemade holiday or hostess gift.
Once baked, drømmer can be frozen for up to 6 months and then gently warmed in the oven before serving. For best results and to prevent freezer burn, wrap the cookies in parchment paper or plastic wrap before storing them in a freezer-safe sealed container or resealable bag.
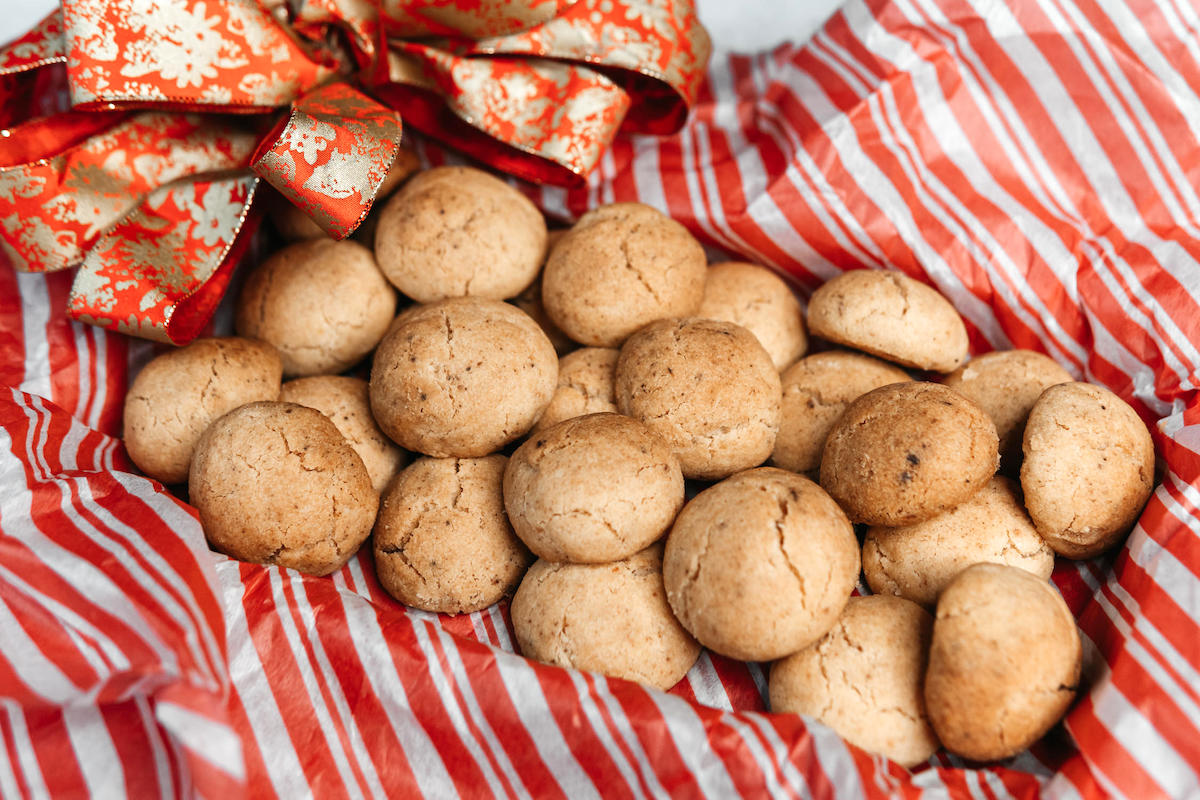

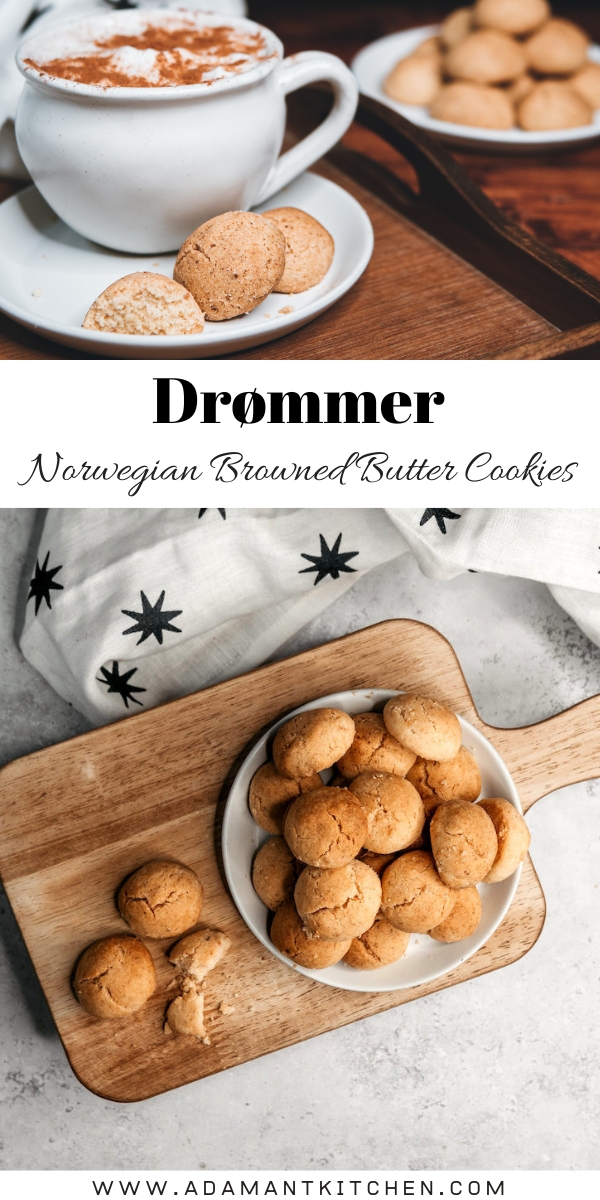
Drømmer (Norwegian Browned Butter Cookies)
Ingredients
- 1 cup butter, unsalted
- 1/3 cup white granulated sugar
- 1/2 tsp. pure vanilla extract
- 1 egg yolk, at room temperature
- 1/4 tsp. cream of tartar
- 2 cups cake flour
Instructions
- 1. In a small saucepan or cast iron pan, melt butter over medium heat.
- 2. Stir the butter as it melts for about 10 minutes. The butter will begin to foam and turn a deep golden color. When the butter has finished browning, the foam will have subsided and there will be milk solids at the bottom of the saucepan.
- 3. Allow the browned butter to come to room temperature.
- 4. Preheat the oven to 375 degrees F. Position an oven rack in the middle of the oven.
- 5. In a medium-sized bowl, combine the browned butter with the sugar, vanilla, and egg yolk. Mix together with a fork.
- 6. Sift the cake flour and cream of tartar together, directly into the bowl with the other ingredients.
- 7. Using a large wooden spoon, mix the ingredients together until a stiff dough forms.
- 8. Cover a baking sheet with parchment paper or grease and flour it.
- 9. Using your hands, roll the dough into walnut-sized balls. Space the balls of dough over the baking sheet, leaving a walnut-sized space between each ball.
- 10. Bake the cookies for 15 to 20 minutes or until golden.
- 11. Let the cookies cool for 5 minutes before transferring to a cooling rack (or eating immediately!)
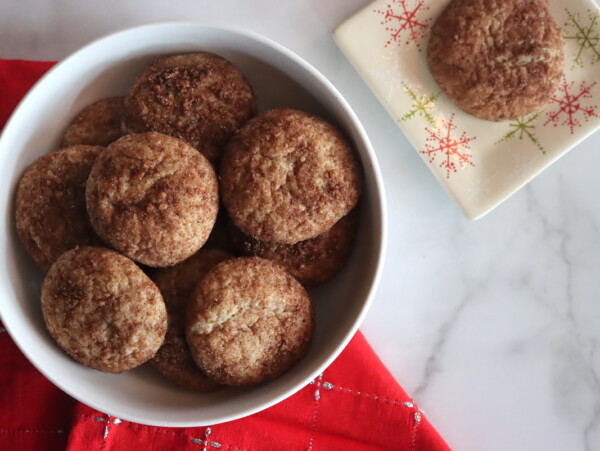


The texture of the cookie was very crumbly, like shortbread, overall fairly easy recipe to follow. I rolled the cookies in almond sugar before baking and they came out really good. I’m not sure why this doesn’t have ratings.
Thanks for being the first!