This post may contain affiliate links. Please see our disclosure policy.
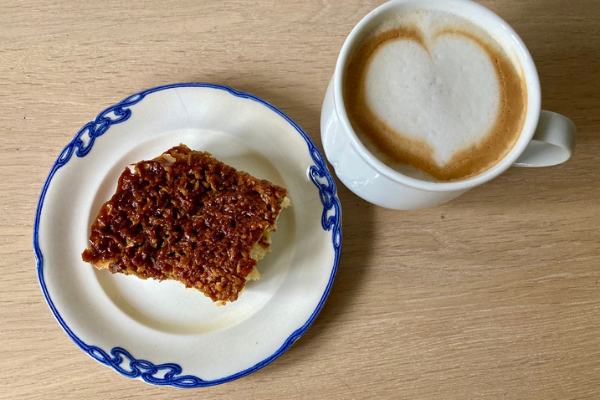
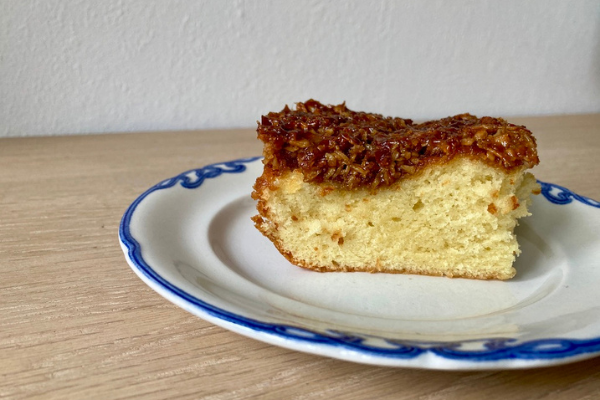
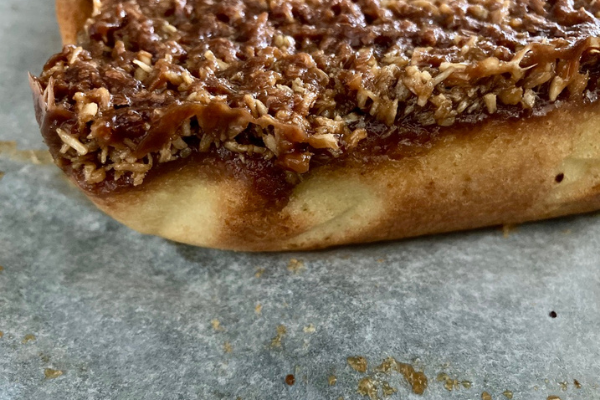
Drømmekage is among the top five of Danes most beloved cakes. As a sponge cake, it’s nothing special but the sugary coconut topping makes it, quite literally, a dream(y) cake.
(This post is written by Pia Sonne, a native of Denmark and the writer behind the blog Busy Hands, Quiet Hearts.)
Danes eat Drømmekage (dream cake) at every opportunity. It’s not connected to any particular holiday.
Instead, it’s a cake Danes of all ages enjoy year-round.
It’s served for birthdays when Danes bring a cake for their colleges or classmates.
It’s served for coffee chats and fun get-togethers with family and friends.
You can even find it at many cafes. It’s usually eaten alone with a cup of coffee or tea to accompany it.
The History of Drømmekage
Drømmekage is known in Denmark as drømmekage fra Brovst. Brovst is a town in Jutland and it was the flour and bakingmix company AMO, which popularised the name.
In reality, the cake stems from Klokkerholm, which is 31 miles further north than Brovst.
The cake first became publically known when the then 12-year-old Jytte Andersen brought it to Brovst husmoderforening (a local housewives association) in 1960. Jytte may have called it Mormors kage (grandma’s cake) as it was her grandmother’s recipe.
It later became known as Østergaardskagen. Østergaard was the farm her grandmother had grown up on.
That night, a representative from AMO had asked ladies to bring their favorite cakes to the meeting. The representative liked Østergaardskagen so much he took the recipe with him.
Jytte wasn’t actually informed they had done anything with the recipe but stumbled upon it in a local store 6 months later. To this day the company claims she won a competition, but that’s not the real story.
The local store owner took it upon himself to complain to the company. They sent a box set of recipes to Jytte as a thank you for the recipe that would go on to earn them untold amounts of money.
As with many of the Danish Christmas cookies, drømmekage was originally a special treat for holidays. Around 1900, when Jyttes grandma was a child, coconut flour and oranges were expensive and rare treats in Denmark.
Drømmekage was an indulgent Christmas treat for the family that invented the cake.
Specialty Equipment, Ingredients & Techniques
In the original recipe, eggs and sugar are whisked together over steam to make the cake extra fluffy and to give the cake a longer shelf life.
This step is almost always skipped nowadays, but do give it a try at least once to see what a difference it makes for the texture of the cake.
Variations in Denmark
Some people like using muscovado sugar instead of brown sugar for the topping.
Sometimes, the juice or about half an orange is added to the topping and sometimes, grated zest is even included.
This is seen as heresy by some, but as always do your own experiments before you rule it out.
Drømmekage in Other Countries
Drømmekage is a unique Danish cake, but that doesn’t mean others haven’t had the bright idea of combining sugar and coconut to top a cake.
In Sweden, they make a cake called Kladdkaka med kokostosca. This is similar to a drømmekage but still very different as they add cacao to the sponge and light-colored syrup (a simple syrup) to the topping.
Drømmekage Ingredients
Flour – For a light and airy cake, use all-purpose or pastry flour. Don’t use self-rising flour as this cake is made with baking powder.
Butter – Real, raw, and organic butter is preferable. Always use the best ingredients you can.
Milk – Whole milk is best. Again, fresh, raw, organic is your best option. You want the fat to deepen the flavor.
Sugar – for this cake, refined white sugar is traditionally used to keep the sponge light in color.
Eggs – Buy the best you can get your hands on. Farm fresh organic eggs will make this cake glorious.
Baking powder – make sure to use baking powder and not baking soda.
Vanilla sugar – You can buy vanilla sugar, but it’s by no means as good as the homemade kind. You can learn how to make your own in this risalamande recipe.
Coconut flour – You will want coconut flour where the coconut flakes are roughly the size of rice grains.
Brown sugar – Brown sugar is a must for the topping. It just won’t taste the same without it.
How to Make Drømmekage
To make a drømmekage, you first make a sponge, then the topping, which is then added to the sponge before it’s fully done baking.
Sponge
Turn on the oven to 350F (175C) and let it preheat.
Cream the eggs, sugar and vanilla sugar together until really light and airy.
This is a crucial step for the sponge. The amount of air you get whisked into the mixture at this point is what determines how light, fluffy and delicious the sponge will be. As the topping is dense, the key is to balance that density well with the airiness of the sponge.
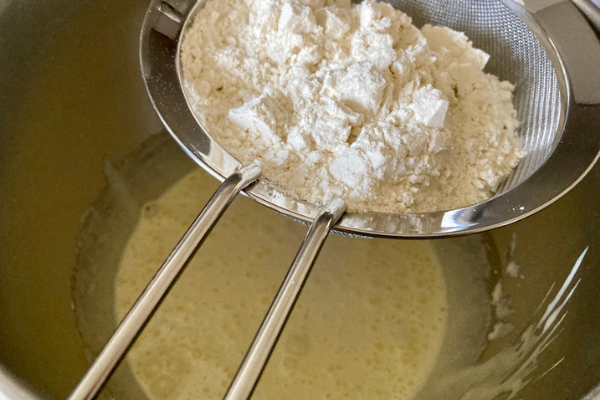
Mix the flour and baking powder. Run it through a sieve to get rid of any clumps. Gently fold in the sieved mixture to preserve as much air in the sponge as possible.
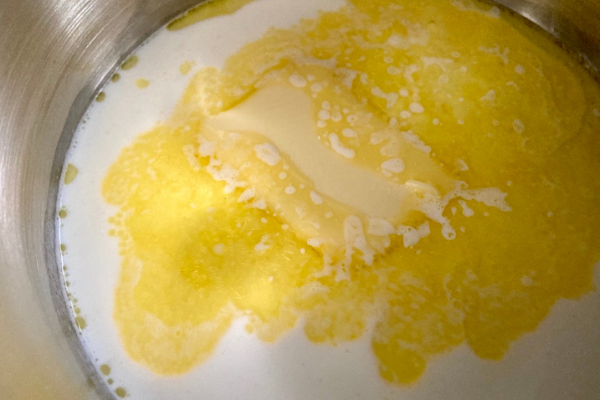
Combine butter and milk in a pot and gently heat it until the butter is fully melted.
Fold in the melted butter and milk mixture into the dough, being careful not to beat out the air.
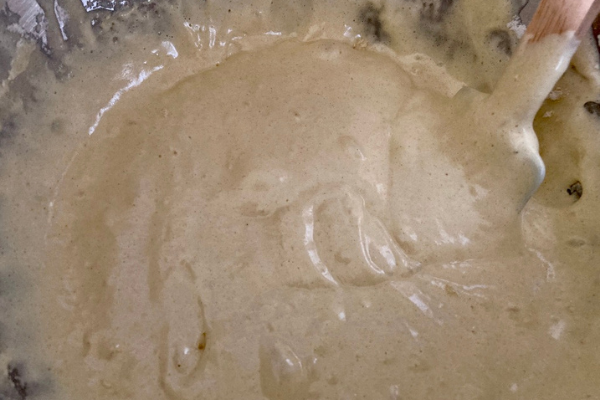
Line a pan 8×12 inches (22×32 cm) with parchment paper or coat it in butter and flour and pour in the dough.
Make sure the pan is tall enough to also include the topping.
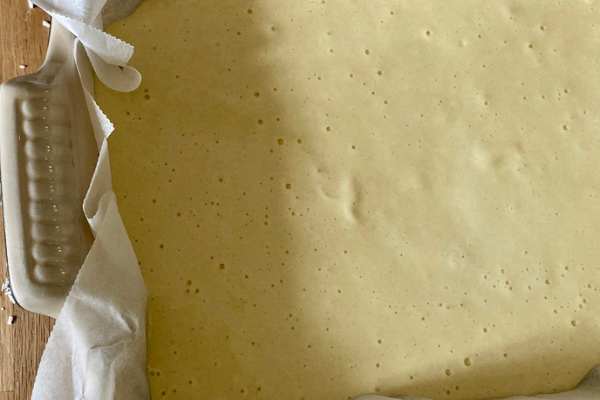
Bake the sponge in the preheated oven at 350F (175C) for about 25-30 min. You want the sponge to be pretty much done but not overcooked as it will go back into the oven for a little longer.
Make the topping while the cake is in the oven. This is very important. Don’t wait as you’ll need to add the topping to the cake before you finish baking it.
Topping
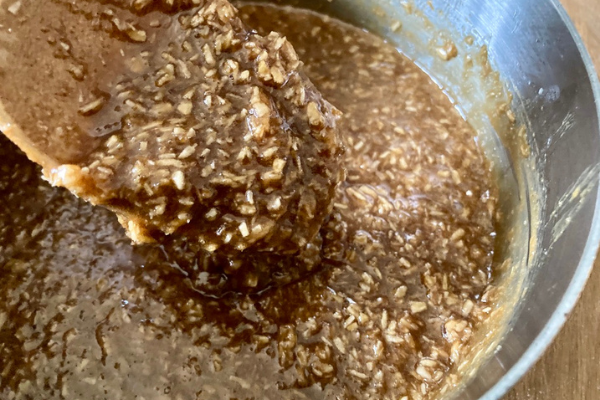
Combine all the ingredients for the topping, the butter, coconut flour, brown sugar, and milk, in a pot and let it come to the boiling point while constantly stirring. The constant stirring will prevent it from burning on the bottom of the pot.
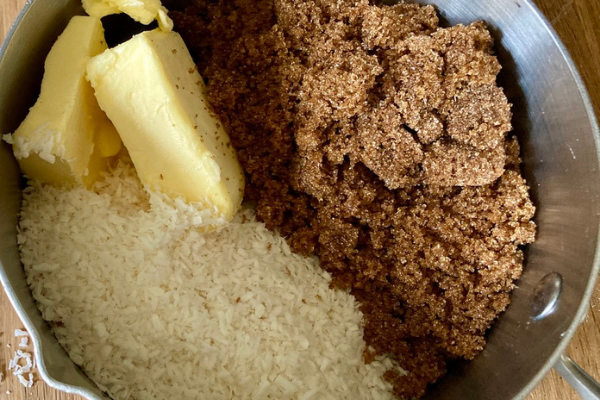
Immediately remove the pot from the heat once the mixture reaches the boiling point. There’s no need to keep it over the heat any longer and there’s a high risk of burning the mixture.
Should you accidentally burn the mixture, there’s only one option: redo the entire thing. Never, ever, add burned topping to a drømmekage, it will turn the cake into a regular nightmare.
Set the pot aside until the cake is done baking.
Final cake
Take the sponge out of the oven and turn the oven up to 440F (225C)
Spread the topping all over the cake, making sure you have an even layer everywhere.
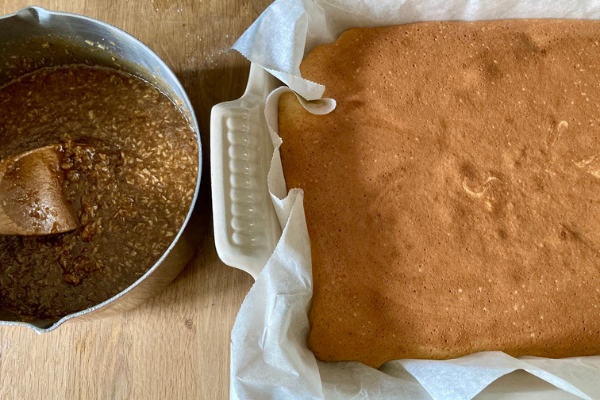
Place the cake back in the oven at 440F (225C) and let it bake for 5 more minutes.
Watch it so it doesn’t get too dark or worse yet burned.
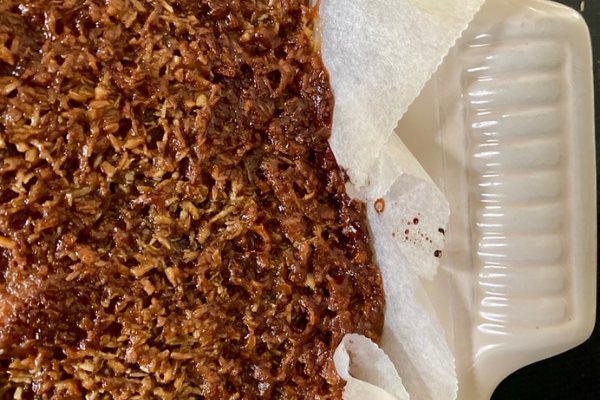
Let the cake cool before serving.
This cake keeps well for several days in an air-tight container.
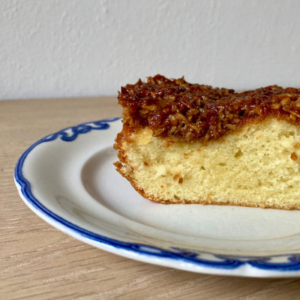
Danish Drømmekage (Dream Cake)
Ingredients
Cake:
- 8.8 oz 250 g flour
- 1.8 oz 50 g butter
- 6.7 oz 2 dl milk
- 10.5 oz 300 g sugar
- 4 eggs
- 3 tsp baking powder
- 1 tsp vanilla sugar
Topping:
- 4.4 oz 125g butter
- 3.5 oz 100g coconut flour
- 8.8 oz 250 g brown sugar
- 1.7 oz 0.5 dl milk
Instructions
- Cake:
- Cream the eggs, sugar and vanilla sugar together until light and airy.
- Mix the flour and baking powder and add it to the dough using a sieve to get rid of any clumps.
- Melt the butter in a pot and add the milk.
- Fold in the melted butter and milk mixture into the dough.
- Line a pan tall enough to include the topping 8x12 inches (22x32 cm) with parchment paper or coat it in butter and flour and pour in the dough.
- Bake in a preheated oven at 350 F (175 C) for about 25-30 min. Make the topping while the cake is in the oven.
- Take the cake out of the oven and turn the oven up to 440 F (225 C).
- Spread the topping over the cake.
- Put the cake back in the oven and let it bake for 5 more minutes.
- Let the cake cool before serving or storing it in an air-tight container for later use.
Topping:
- Put the butter, coconut flour, brown sugar and milk in a pot and let it come to the boiling point while constantly stirring.
- Immediately remove the pot from the heat once the mixture reaches the boiling point.
- Set aside until step 6 in the cake making is completed, then continue with step 7 of making the cake.

