This post may contain affiliate links. Please see our disclosure policy.
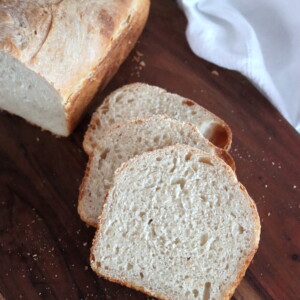
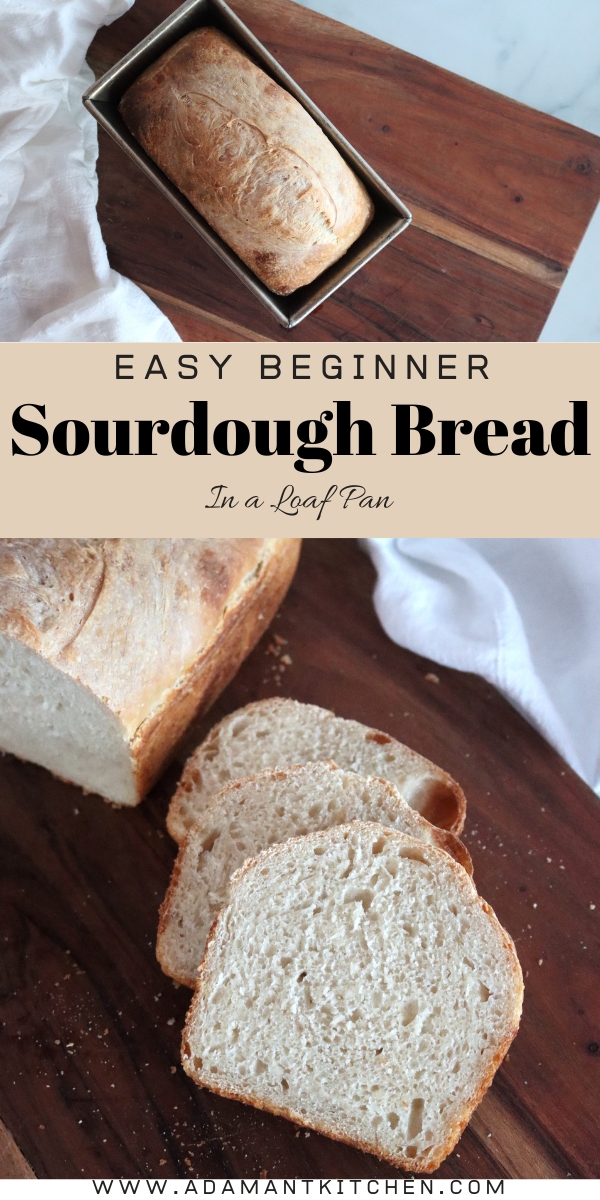
Homemade sourdough bread doesn’t get any easier than this easy beginner sourdough loaf bread. It comes together in a loaf pan without any special equipment or ingredients.
If you’re new to baking bread or want to try making your own sourdough at home, this recipe is for you. My easy beginner sourdough bread is perfect for those looking for a straightforward, no-fuss way to bake delicious, homemade bread with minimal equipment. You don’t need any fancy Dutch ovens, and there’s no kneading involved—just a few simple techniques that will have you making perfect sourdough loaves in no time. And trust me, once you taste this bread, you’ll want to make it all the time!
Why You’ll Love This Sourdough Bread Recipe
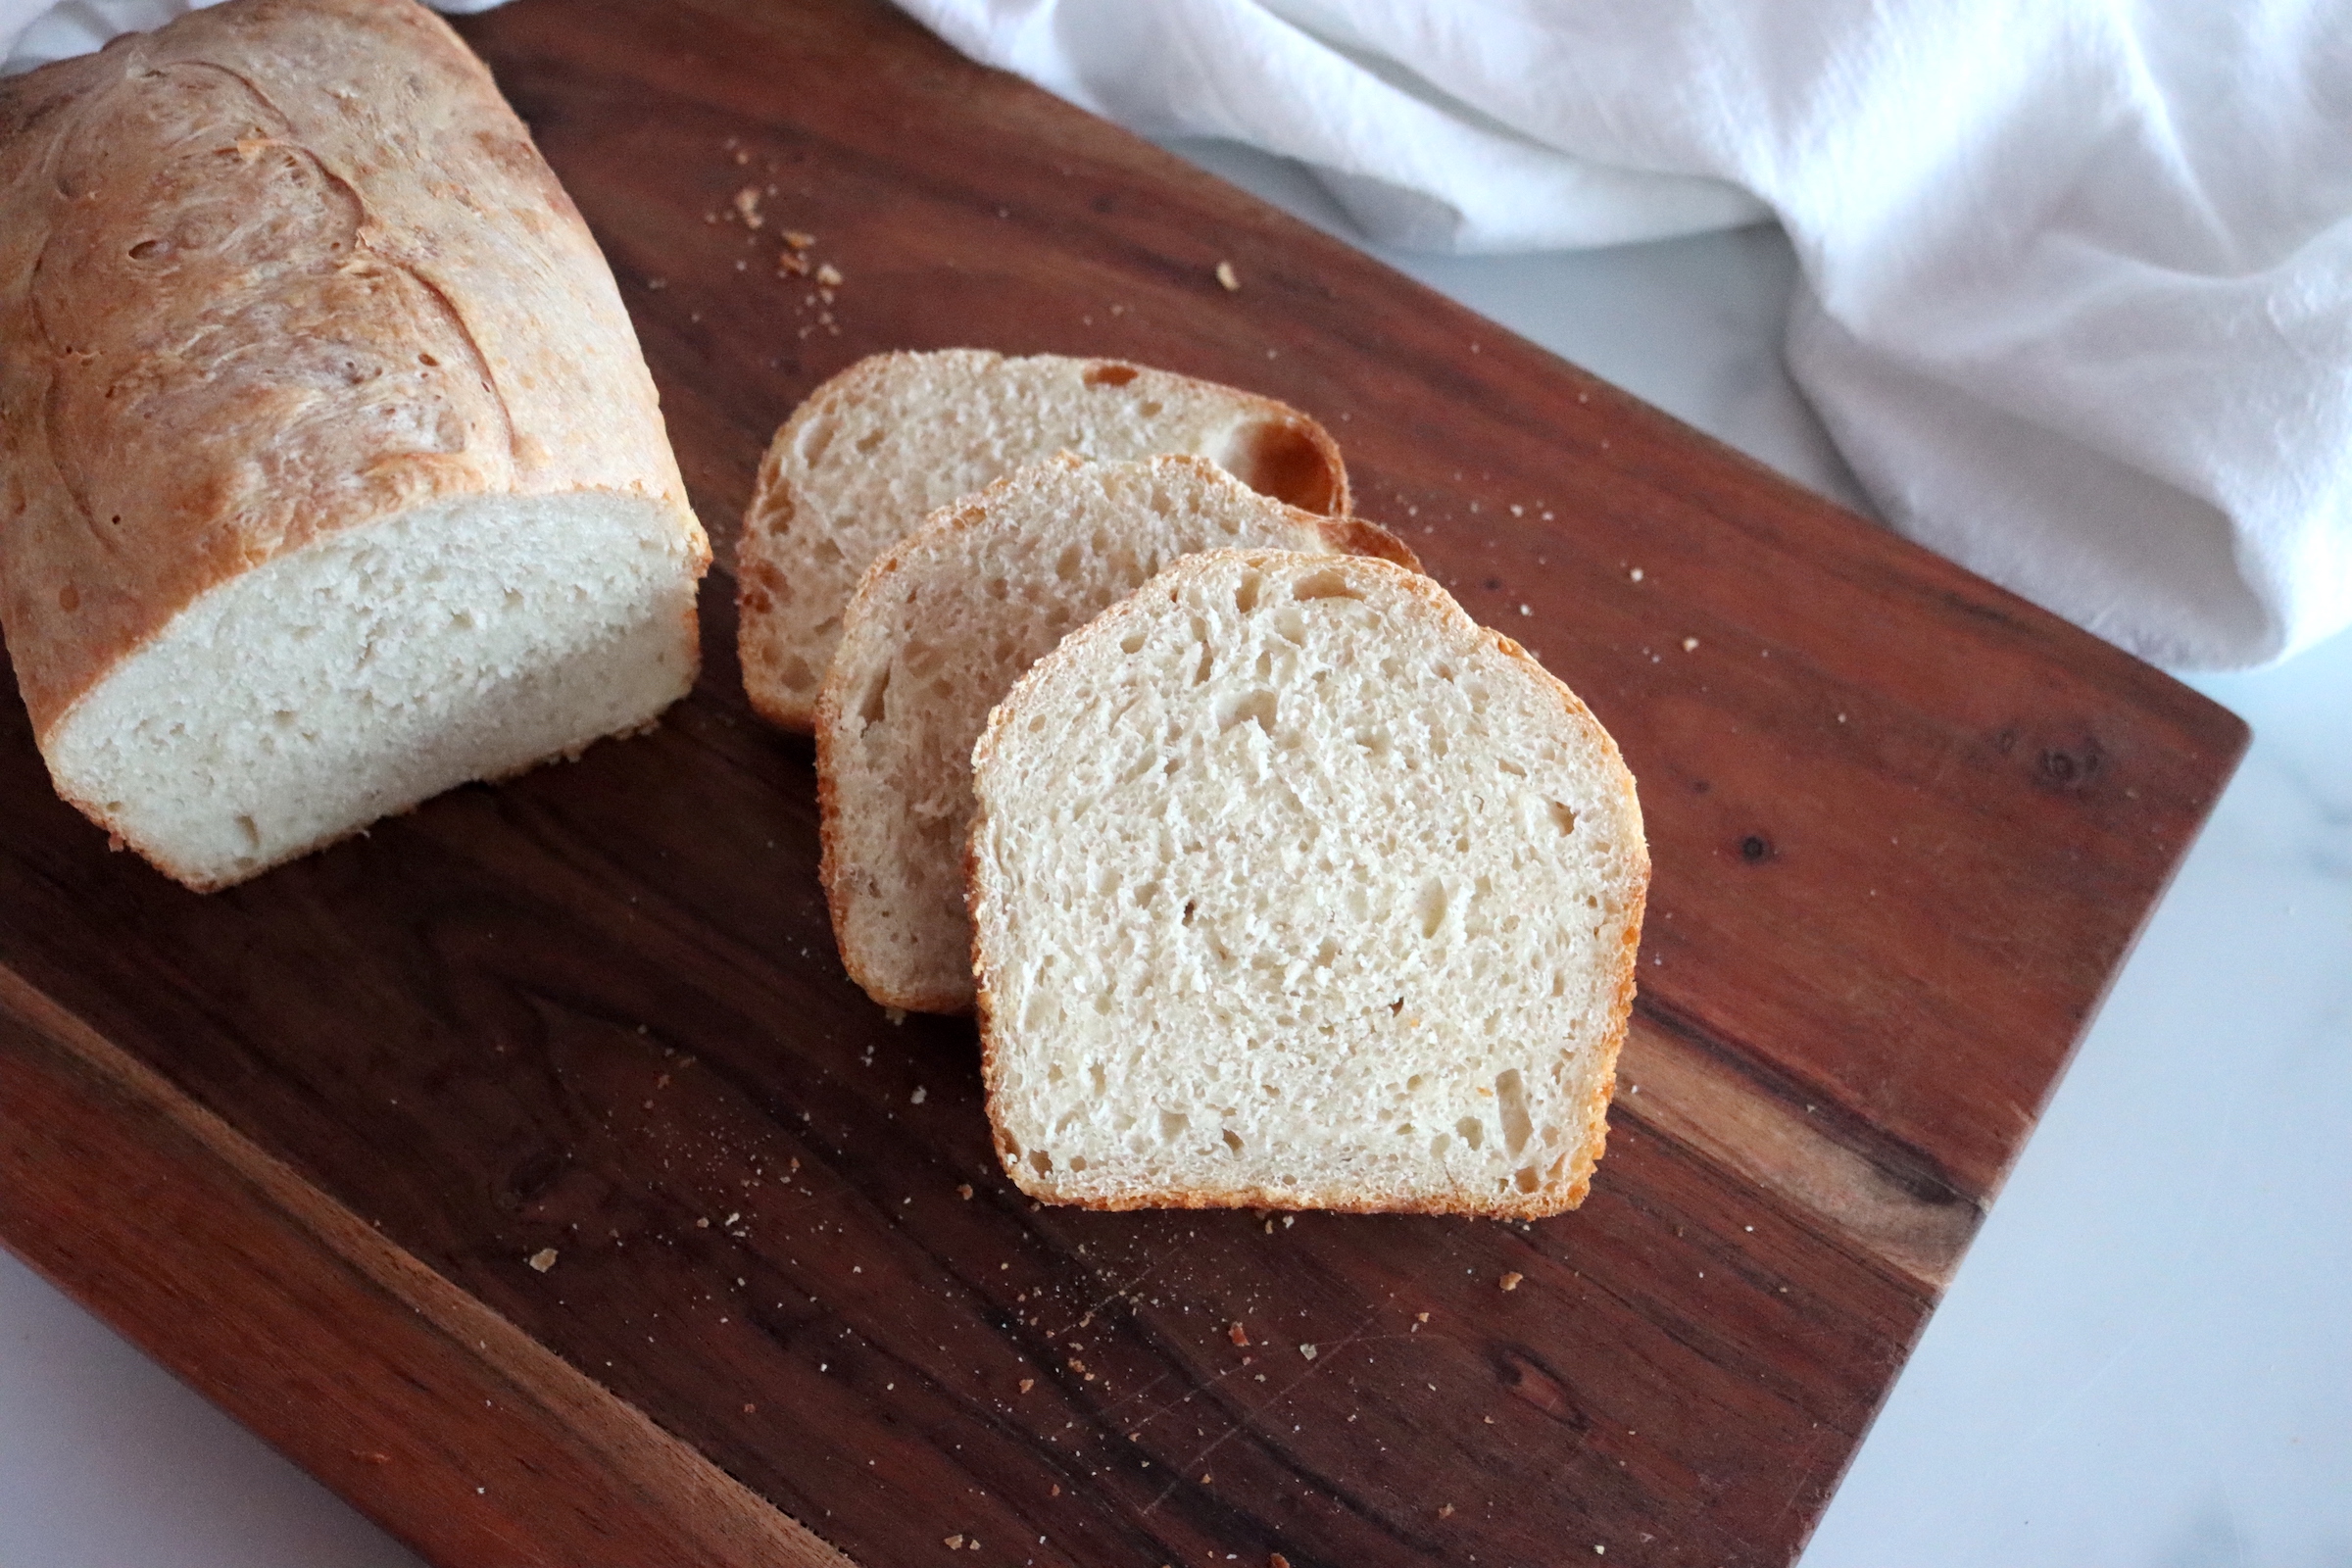
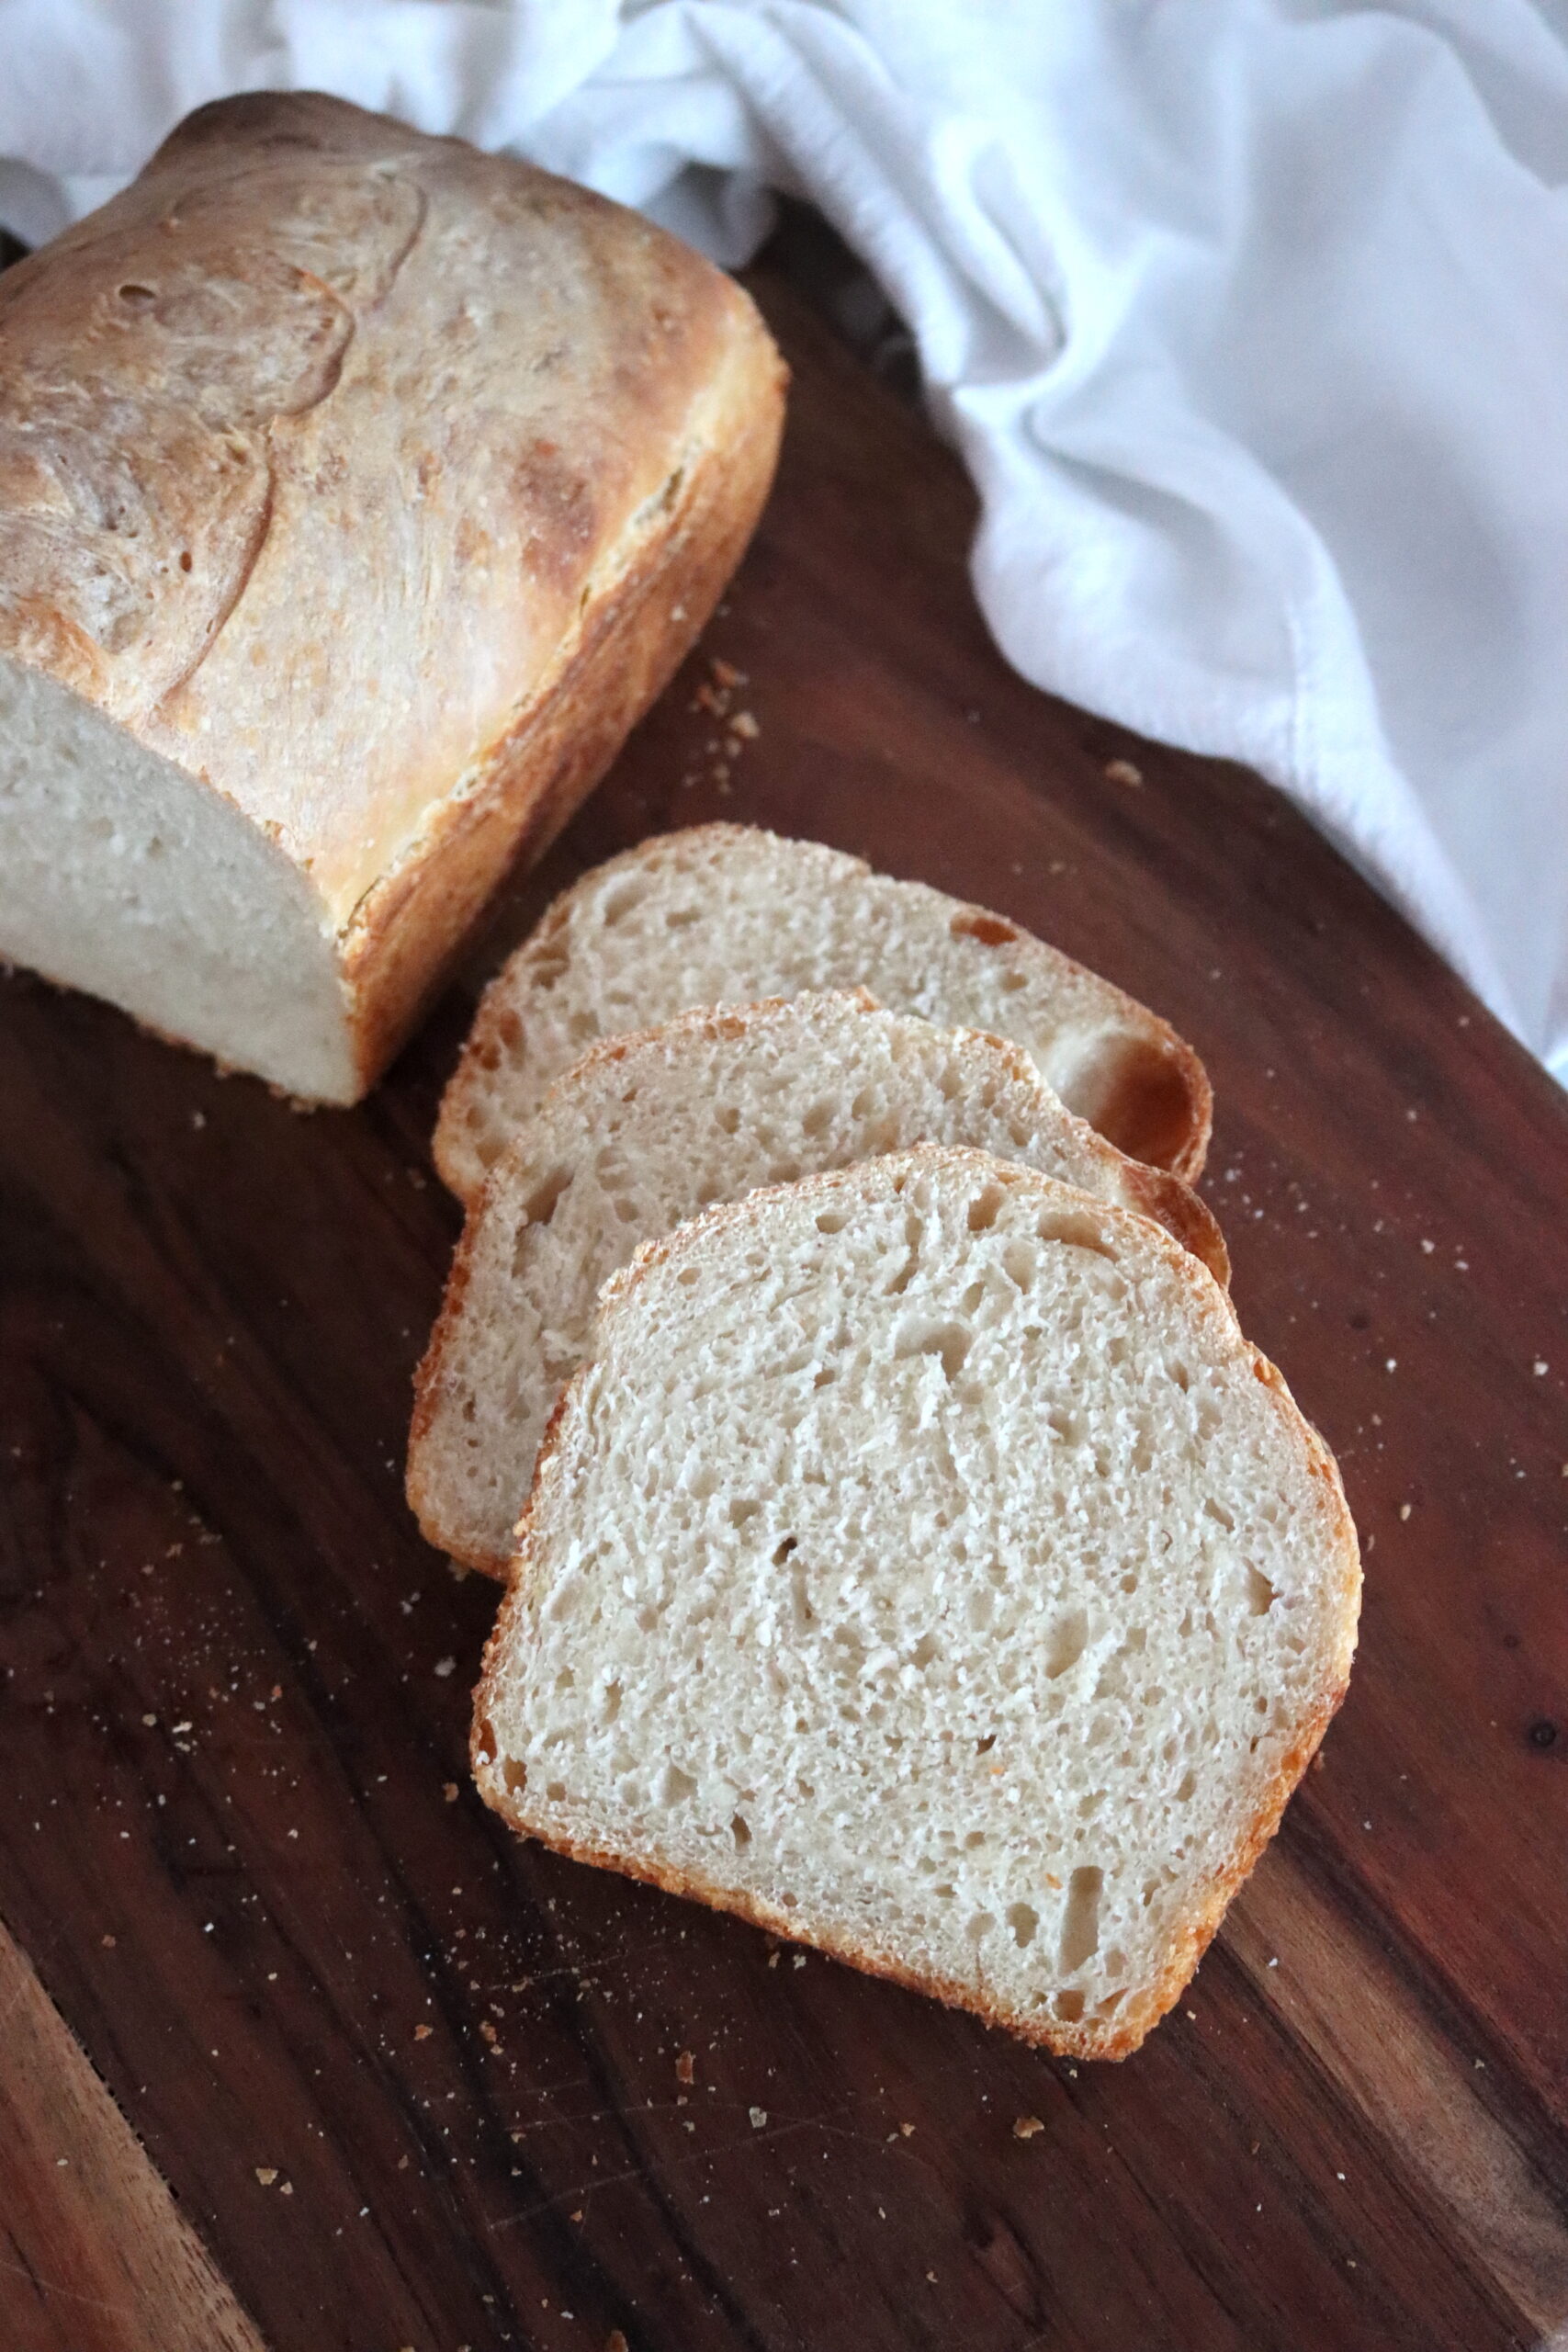
This sourdough bread is everything. It has the perfect chewy interior with a thick, golden-brown crust, and it’s made with just a handful of ingredients. Whether you’re enjoying it with butter, using it for a sandwich, or making the best grilled cheese, it’s versatile and delicious. Plus, I walk you through every step of the process so you can make it with confidence.
I also bake 2-3 loaves of this bread every week and always keep some in the freezer. The best part? The longer the dough sits in the fridge, the better the flavor, so you can enjoy fresh, homemade bread even if you’re busy.
Let’s get started!
Making sourdough bread at home may sound intimidating, but once you try it, you’ll see just how simple it can be. Plus, you get that delicious homemade bread with all the flavor and none of the additives you find in store-bought loaves.
I hope you’ll give this easy sourdough recipe a try—I’m sure it will become a favorite in your household, too! Happy baking!
Now you’re ready to enjoy homemade sourdough bread with a delicious crust and soft, flavorful crumb! This recipe is simple enough for beginners, yet it yields a professional-quality loaf that you can be proud of.
Ingredients
- ⅔ cup (150 g) active sourdough starter, bubbly and fed
- 1 ⅓ cups (315 g) warm water (around 90°F)
- 1 ½ Tablespoons (18 g) olive oil
- 3 ⅔ cups (450 g) bread flour
- 1 1/2 teaspoons (9 g) salt
- Oil for greasing pan
- Extra flour for dusting your work surface
Weighing your ingredients on a gram scale is the best way to get a consistent loaf every time, and honestly, it’s a lot easier to just put your mixing bowl on a scale and pour in the ingredients. I’ve also included volume measurements in case you don’t have a scale.
Keep in mind, it’s hard to measure sourdough starter by volume, as it often has big air bubbles, and similarly, salt with different grain sizes can vary dramatically in volume.
That said, this recipe is pretty forgiving, and you don’t have to be exact.
Recommended Equipment
- 1 loaf pan (9×5 inches)
- Mixing bowls
- Bench scraper (optional)
- Bread lame or sharp knife (optional for scoring)
Lacking a bread lame, you can use a very sharp knife, or honestly, it works just fine to snip along the top of the loaf with a sharp pair of kitchen scissors. I’ve actually found that scissors work a lot better than anything but the sharpest knives.
Making Beginner’s Sourdough Bread
This bread is an overnight recipe, where you mix the dough on the first day, and then periodically stretch and fold it before allowing it to rest overnight. It’s then baked the second day.
For two day baking, it’s helpful to start around mid-day. If you want to do a single-day bake, you can start in the morning and then bake it in the evening around dinnertime. I’ve provided instructions at the end for changing this to a one day bake.
Make the Dough
In a large mixing bowl, combine your active sourdough starter, warm water, and olive oil. Stir everything together until well-mixed. Then, add the bread flour and sprinkle the salt over the top. Use your hands (or a wooden spoon) to mix until the dough is mostly combined. It will be a bit shaggy, but that’s okay—don’t over-mix! No dry flour should remain, though.
Cover the bowl with plastic wrap or a towel, and let it sit undisturbed for 1 hour. This is called the “autolyse” period, which helps to hydrate the flour and start developing gluten.
Stretch & Fold
After the dough has rested for the first hour, it’s time to begin the stretch & fold technique to develop the dough’s structure. This process helps strengthen the gluten and creates a more airy, open crumb in the finished bread.
Wet your hands with cool water to prevent the dough from sticking to your fingers. Then, gently lift the dough from the bowl and form it into a rough ball by tucking the edges underneath.
Grab the top portion of the dough and gently pull it upward, stretching it as far as it will go without tearing. Once you have a good stretch, fold the top of the dough over toward the center of the dough ball.
Turn the bowl 90 degrees, then repeat the stretching and folding with a new section of the dough.
Continue turning the dough in the bowl, stretching and folding in 90-degree increments, until you’ve completed four stretches and folds—one for each quarter turn of the dough.
After completing one full set of four stretches and folds, cover the bowl with plastic wrap or a damp kitchen towel. Let the dough rest for 30 minutes in a warm place, allowing the gluten to develop further.
Every 30 minutes, wet your hands again, gently turn the dough onto itself, and repeat the stretch & fold process. You’ll continue this for a total of 4-6 hours, depending on the temperature of your kitchen. The dough should gradually rise, becoming noticeably puffier and tighter with each set. Aim for the dough to increase in size by around 80%—it should look plump, airy, and slightly jiggly by the end of the process.
If you forget to stretch and fold, don’t worry! It needs just 2-3 stretch and folds to come together and form a delicious bread that’ll get the job done. If you don’t do them all, the bread will still be delicious, but it won’t have quite as much structure and won’t rise quite as high. It’s still delicious and great bread, though.
Keep an eye on the dough as it rises, not the clock! If you find that your dough has become stronger and more elastic, but hasn’t quite doubled, don’t worry; it’s still on track. With practice, you’ll learn to feel when it’s just right.
Form the Loaf & Overnight Rise
Once your dough has risen sufficiently and is puffy and airy, it’s time to shape it into a loaf. Start by lightly greasing a 9×5-inch loaf pan with olive oil or butter to prevent sticking. Then, gently turn your dough out onto a clean, floured surface. Use your hands to gently deflate the dough and pat it into a rough rectangle.
Next, fold the right and left edges of the dough toward the center, almost like you’re closing a book. Afterward, starting from one short end, tightly roll the dough up, similar to how you would roll a cinnamon roll. Tuck the ends of the dough underneath to create a smooth, even shape.
Place the rolled dough seam-side down into the greased loaf pan. Cover the pan with plastic wrap and transfer it to the refrigerator to rest and rise for 12-24 hours. This slow, overnight fermentation helps develop the bread’s flavor and texture, giving it a subtle tang and ensuring a better rise.
For Same-Day Baking: If you’re short on time or prefer to bake the same day, you can skip the overnight rest. After shaping the dough and placing it in the loaf pan, let it sit at room temperature for 30-45 minutes while you preheat the oven to 450°F (230°C). The dough will rise a little during this time, but it won’t develop the depth of flavor or as much loft as it would with the longer, overnight rest. That said, it will still bake up beautifully, with a slightly less complex flavor and texture.
Baking Time
When you’re ready to bake, remove the dough from the fridge and preheat your oven to 450°F (230°C). Let the dough sit for about 30-35 minutes as the oven preheats.
Once the oven is hot, score the dough with a sharp knife or bread lame, making a clean ¼-inch deep slice down the center. Then, cover the pan with a second loaf pan (or use a makeshift tent with aluminum foil) to trap the steam during the first part of baking.
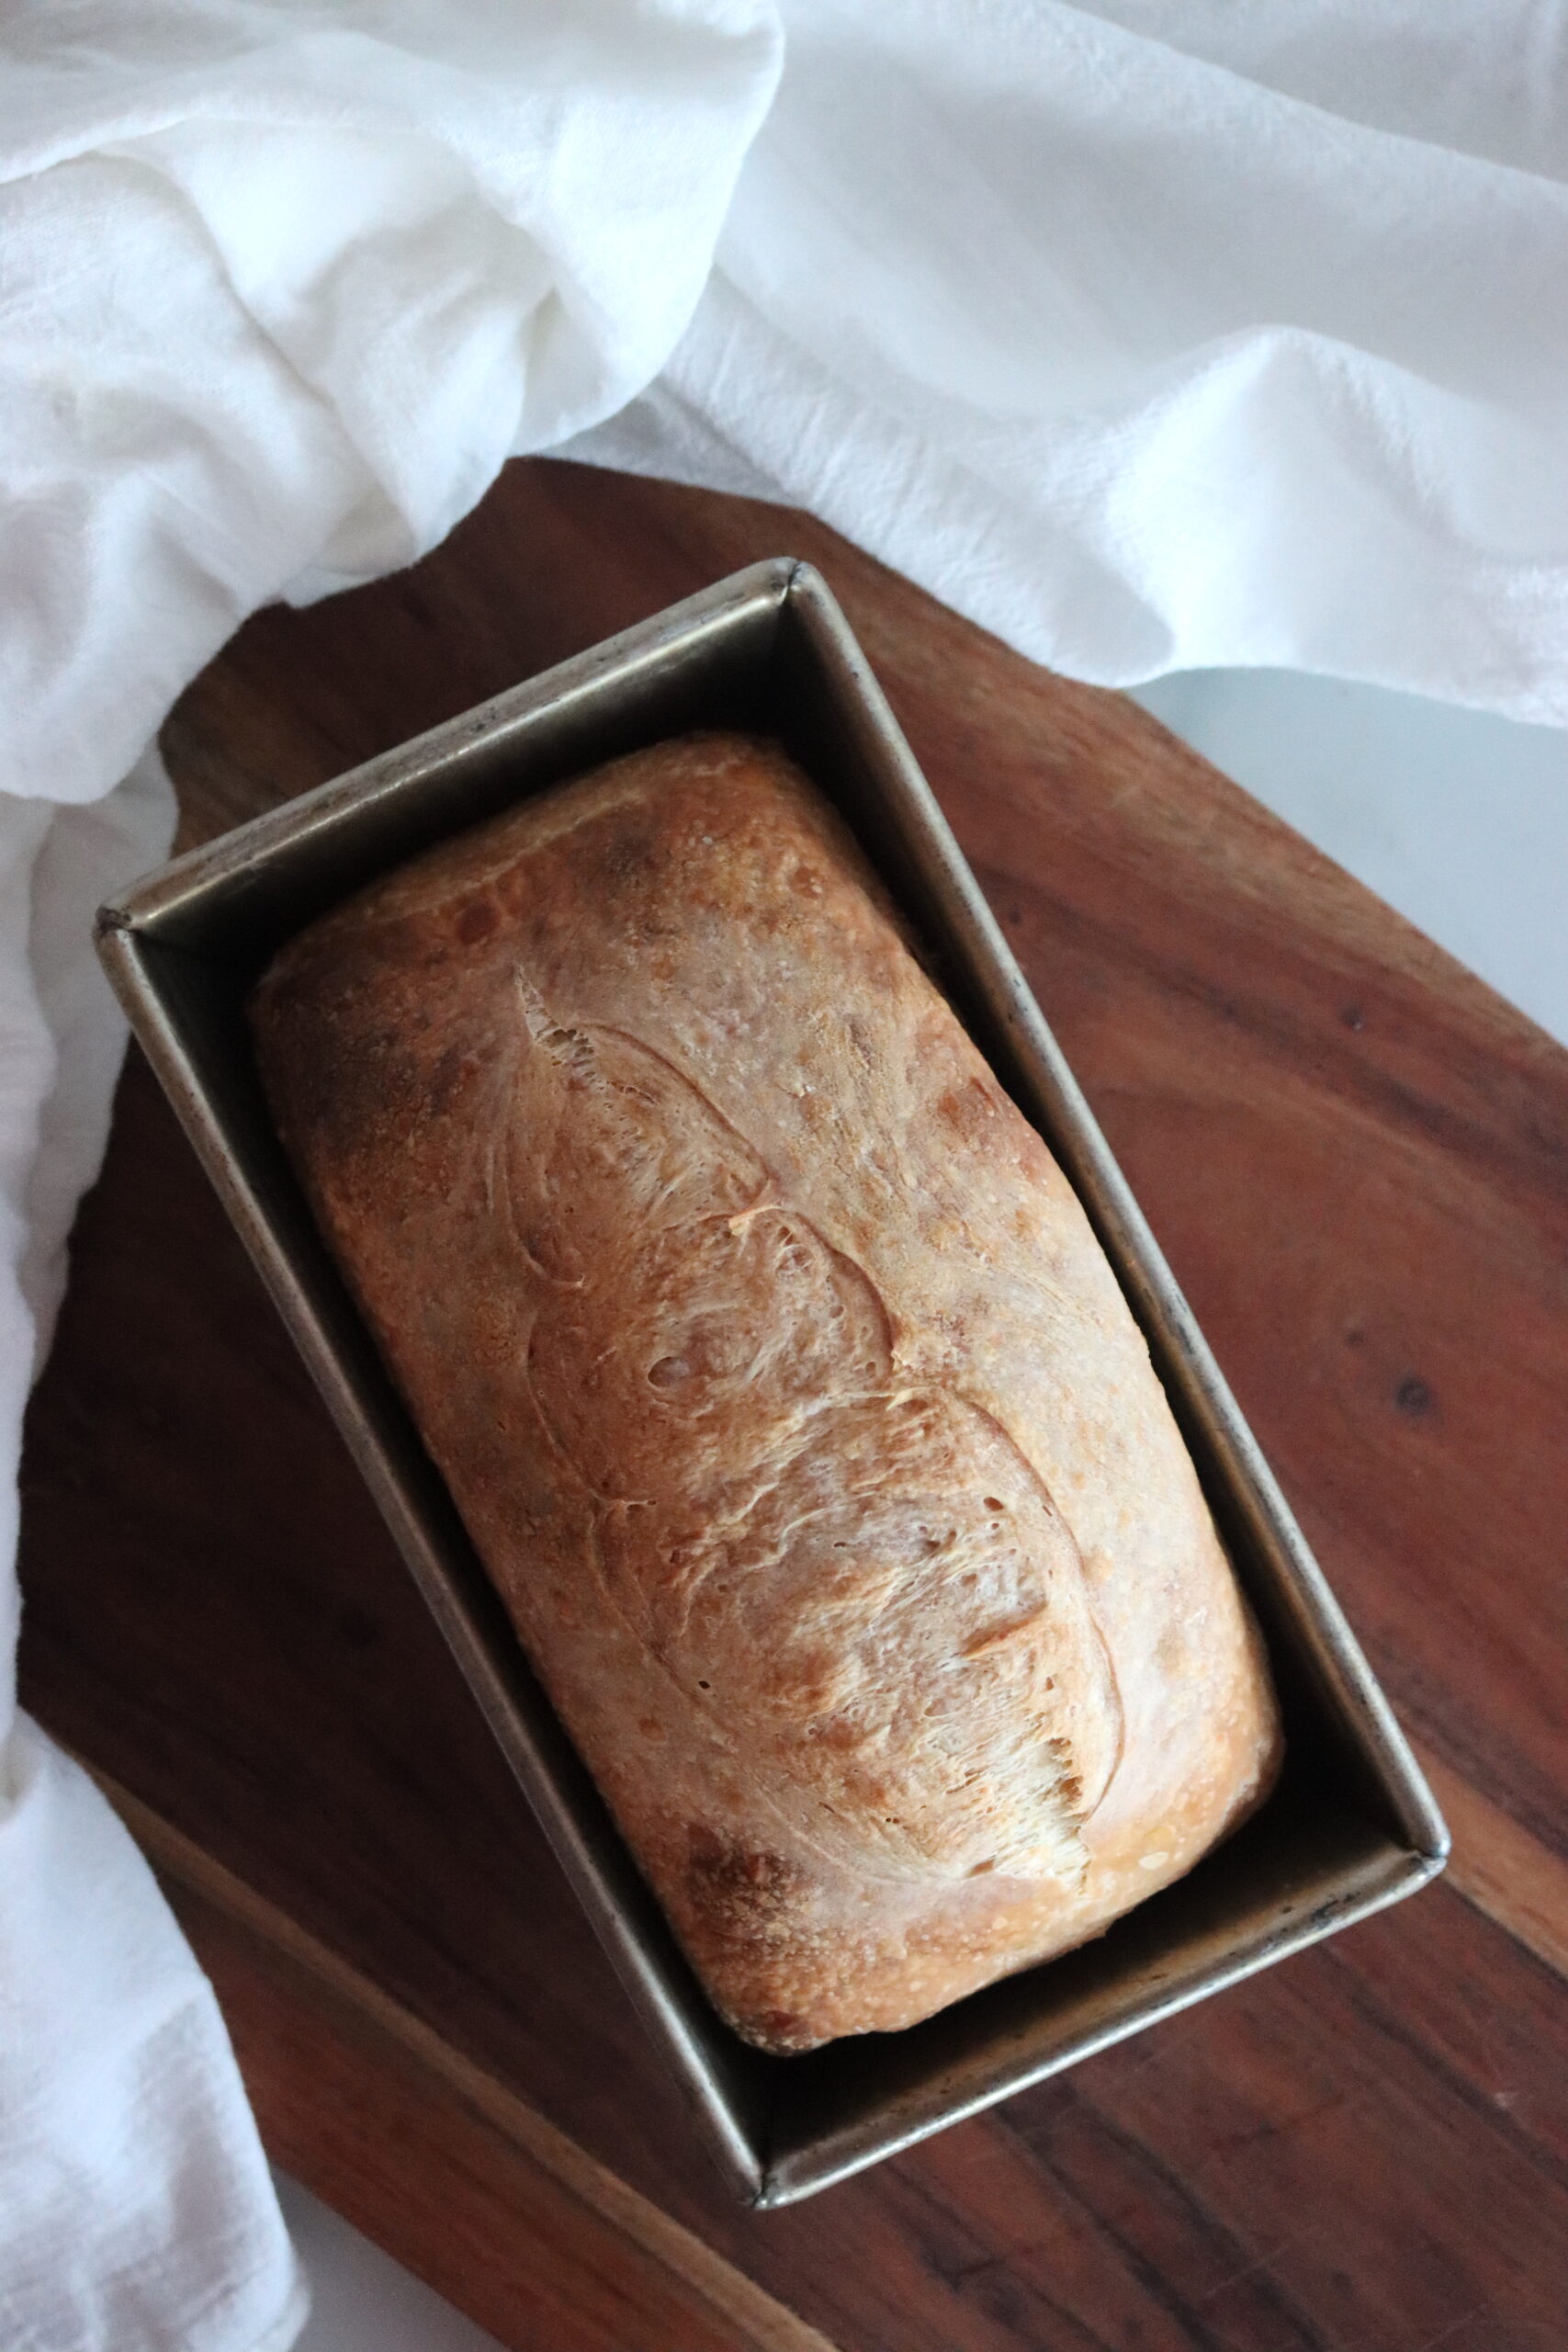
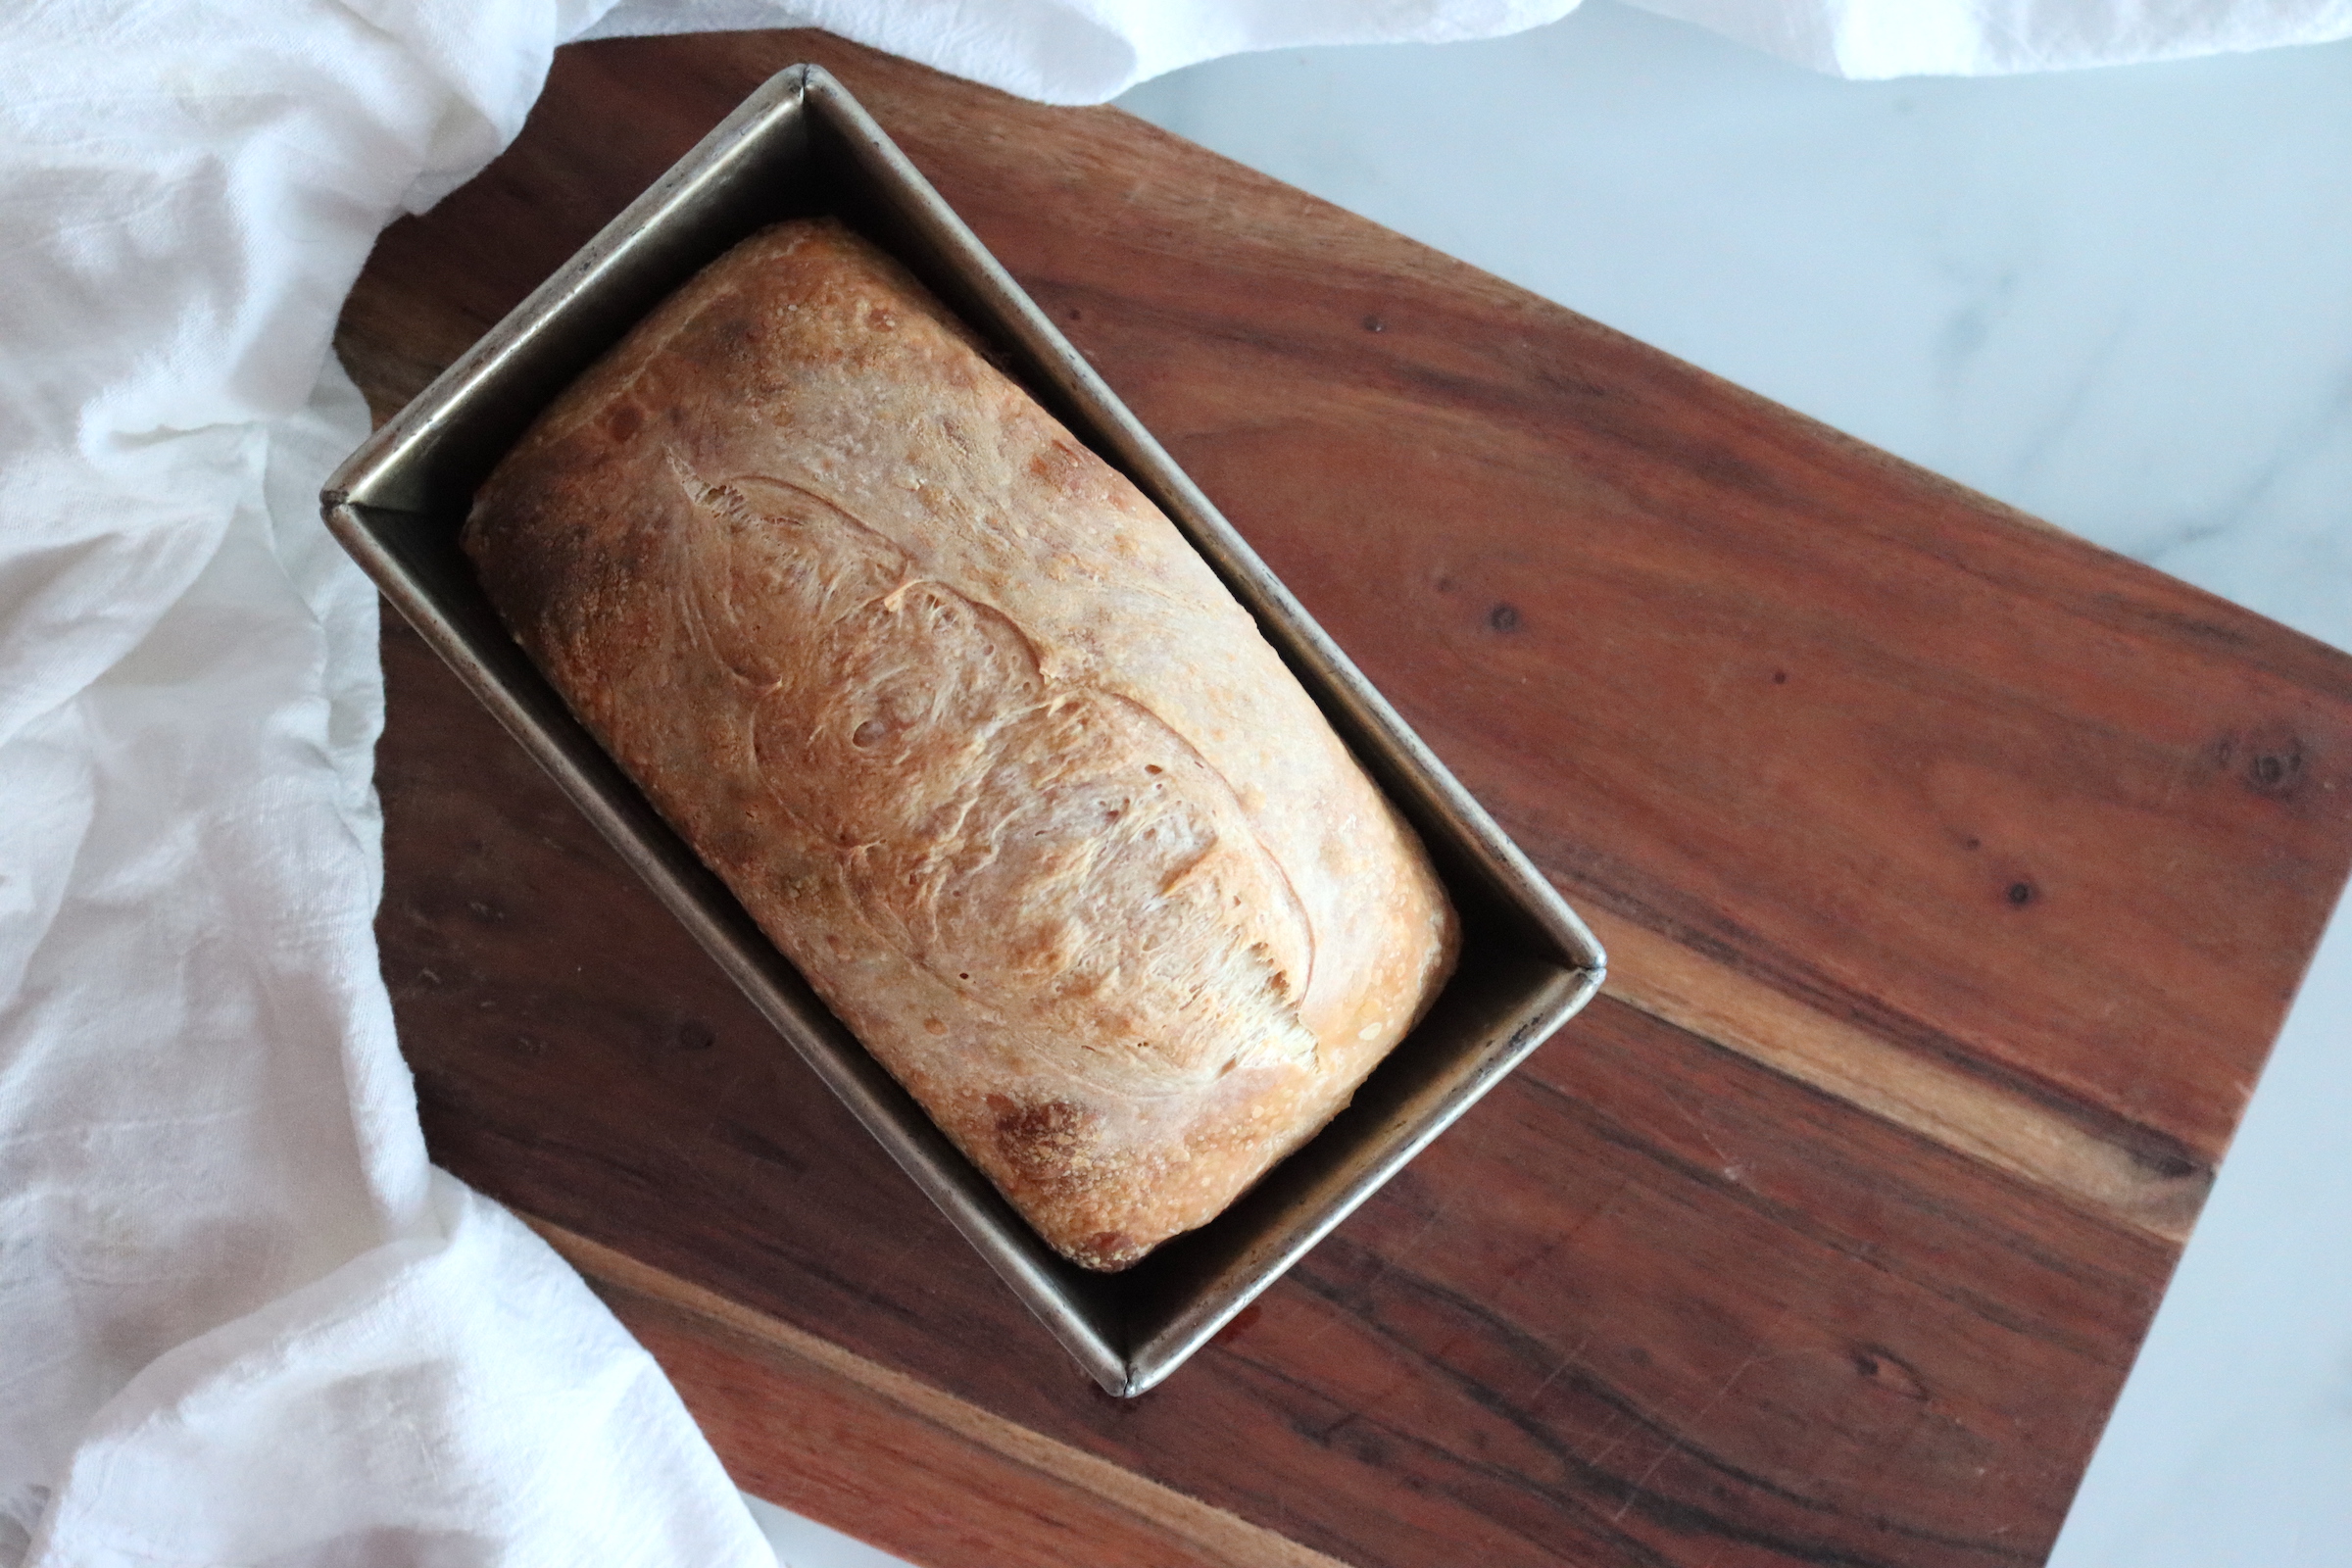
Bake the bread, covered, for 30 minutes, then remove the cover and bake for another 20 minutes, or until the bread is golden brown and the internal temperature reaches 206-208°F (97°C). The total time will be affected somewhat by the type of pan you use (darker pans bake faster, ceramic pans bake slower, etc) and your exact oven temperature (some ovens run a bit hotter than others).
Be sure to check the bread toward the end of the bake, it may need a few minutes more or less.
Cooling
Let the bread cool in the pan for 15 minutes. Then, carefully remove it from the pan and place it on a cooling rack. Let it cool completely for at least 1-2 hours before slicing. (I know, it’s tempting to cut right away, but waiting is worth it!)
Storage
To store your sourdough bread, keep it in an airtight container at room temperature for up to a week. If you want to keep the bread soft, a plastic bag works best. On the other hand, if you prefer a crispy crust, go with a paper bag—it will help maintain that satisfying crunch. The choice is yours!
If you need to freeze your bread, you can wrap the entire loaf tightly in plastic wrap and then in foil. When you’re ready to enjoy it, simply let it thaw at room temperature. For pre-sliced bread, wrap each slice individually in plastic wrap and place them in a ziplock bag, squeezing out as much air as possible to prevent freezer burn. This way, you’ll have fresh, homemade bread ready whenever you need it!
Sourdough Loaf Bread
Ingredients
- ⅔ cup active sourdough starter
- 1 ⅓ cups water, warm water (90°F)
- 1 ½ tbsp olive oil
- 3 ⅔ cups flour, preferably bread flour, but all purpose works too
- 1 1/2 tsp salt
- Oil for greasing the pan
- Extra flour for dusting the surface
Instructions
Mix the Dough:
- In a large mixing bowl, combine your bubbly, active sourdough starter, warm water, and olive oil. Stir gently until fully combined.
- Add the bread flour and sprinkle the salt on top. Use your hands or a wooden spoon to mix everything together until the dough is mostly incorporated. The dough should be a bit shaggy, not fully cohesive, and there should be no dry flour patches remaining. Don’t overmix!
- Cover the bowl with plastic wrap and let the dough rest for 1 hour.
Stretch & Fold Technique:
- After the initial rest, the dough should be much easier to work with, and the flour will have absorbed and incorporated all the liquid. Form the dough into a ball using your hands.
- Wet your hands lightly to prevent sticking. Stretch a portion of the dough upwards and fold it over to the center of the bowl. Turn the bowl a quarter turn and repeat the stretch and fold, doing this four times in total to complete one set.
- Cover the bowl and allow the dough to rest in a warm place for 30 minutes.
- Repeat this process every 30 minutes for 4-6 hours, or until the dough has increased in size by about 80%. As you stretch and fold, the dough will tighten up and become more structured.
- (If you forget to stretch and fold, don’t worry! It needs just 2-3 stretch and folds to come together and form a delicious bread that’ll get the job done. If you don’t do them all, the bread will still be delicious, but it won’t have quite as much structure and won’t rise quite as high. Still delicious and great bread, though.)
Forming the Dough:
- Grease a 9×5-inch loaf pan with oil or butter.
- Once the dough has risen sufficiently, transfer it onto a lightly floured surface. Use your hands to gently deflate the dough and shape it into a rectangle.
- Fold the right side of the dough to the center, then fold the left side over, like closing a book. Use a bench scraper if needed.
- Roll the dough tightly from the short side, tucking in the ends as you go. Carefully place the rolled dough into the prepared loaf pan.
Overnight Rise in the Refrigerator:
- Cover the pan tightly with plastic wrap and refrigerate overnight for 12-24 hours.
Baking the Bread:
- Preheat your oven to 450°F (232°C).
- Remove the dough from the refrigerator and allow it to rest at room temperature while the oven preheats, for about 30-35 minutes.
- Once the oven is preheated, uncover the dough and score the top with a sharp knife or bread lame, making a ¼-inch deep slit down the center of the loaf.
- Cover the loaf pan with another 9×5-inch pan (or create a makeshift cover with aluminum foil), and place the pan on the center rack of the oven.
- Bake, covered, for 30 minutes, then remove the cover and continue baking for another 20 minutes, or until the bread is golden brown and the internal temperature reaches 206-208°F (97°C).
- Let the bread cool in the pan for 15 minutes before transferring to a cooling rack. Allow the bread to cool completely before slicing, at least 1-2 hours.
Notes
Nutrition
Nutrition information is automatically calculated, so should only be used as an approximation.

Came out delicious. This recipe is a keeper.
I’m so glad you like it!