This post may contain affiliate links. Please see our disclosure policy.
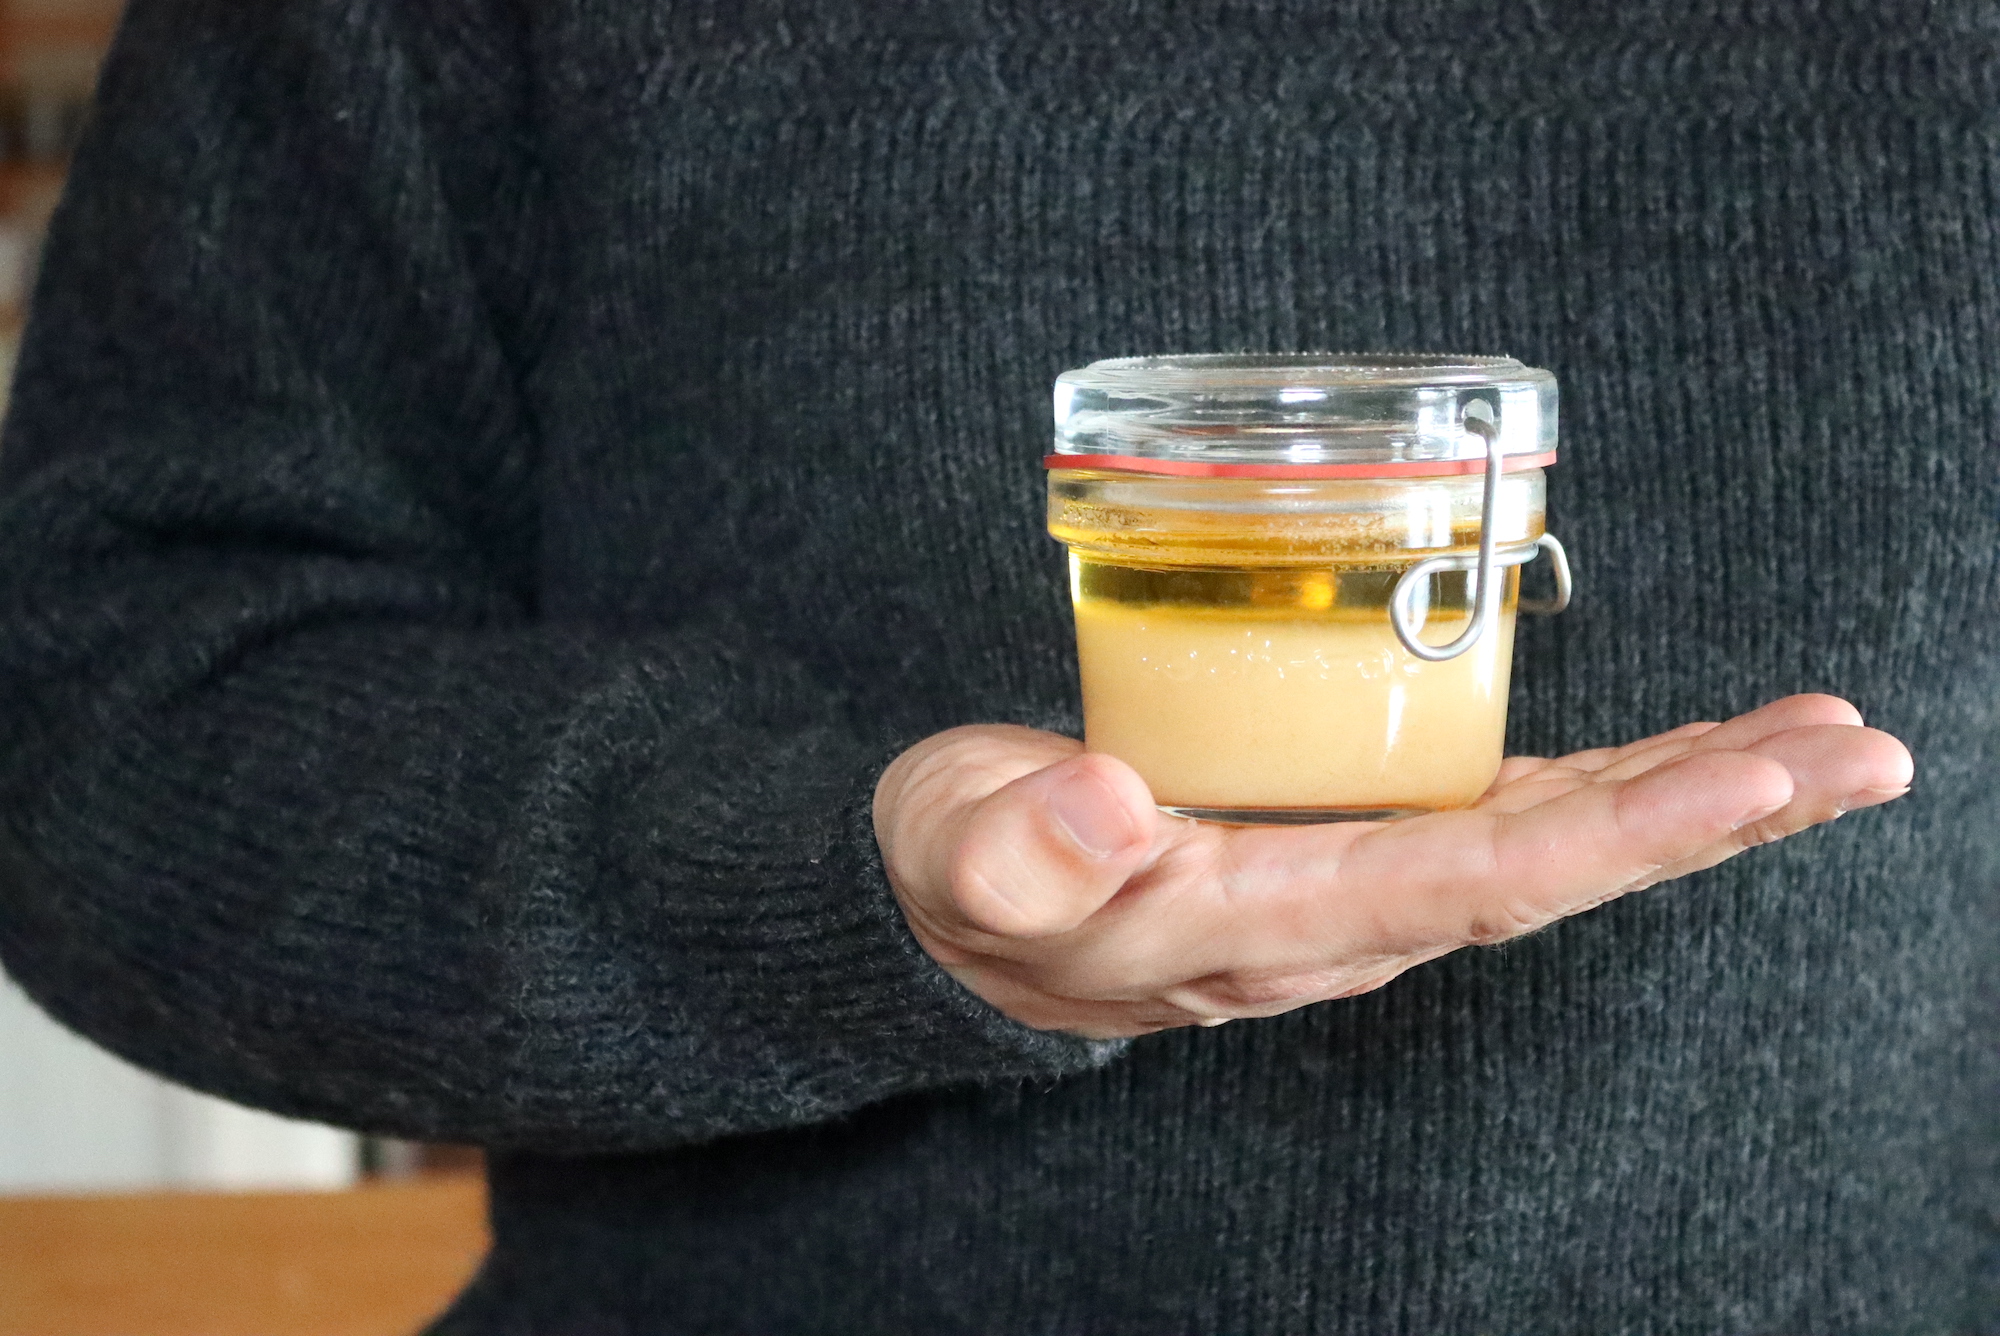
Duck fat is a culinary treasure that can elevate any dish with its rich, savory flavor. Much like goose fat, it’s prized for its ability to crisp up potatoes to a golden perfection, and its luxurious texture makes it ideal for roasting, sautéing, and even baking.

Rendering duck fat is a simple process that unlocks a treasure trove of rich, savory flavor for your cooking. Whether you’re using it for crispy potatoes, duck confit, or to add depth to your soups and stews, duck fat is a kitchen staple that will elevate your meals to new heights. Plus, the added bonus of crispy, salty duck cracklings is not to be missed!
If you’ve ever cooked a whole duck or duck breasts, you might have noticed how much fat is released during the process. Instead of discarding it, why not take the opportunity to render it into liquid gold?
Duck fat is versatile and can be stored for months, so rendering it at home is a great way to make the most of this flavorful ingredient.
How Much Duck Fat Will You Get?
When you buy a whole duck, you’ll be able to render a surprising amount of fat from the bird.
A single 5- to 6-pound duck can yield around 1 to 1 1/2 cups of fat, depending on how much fat is trimmed from the bird.
After removing the giblets and trimming the skin, you’ll be left with plenty of fat, especially from the back, neck, and belly areas. The skin, in particular, contains a lot of fat that will melt down beautifully when rendered.
Trimming Duck Fat for Rendering
Before you can begin rendering the fat, you’ll need to trim the duck to collect it. Here’s how to do it:
Remove the Giblets
Start by removing the giblets (the heart, liver, and neck), which can be set aside for making stock or pâté.
Trim the Fat
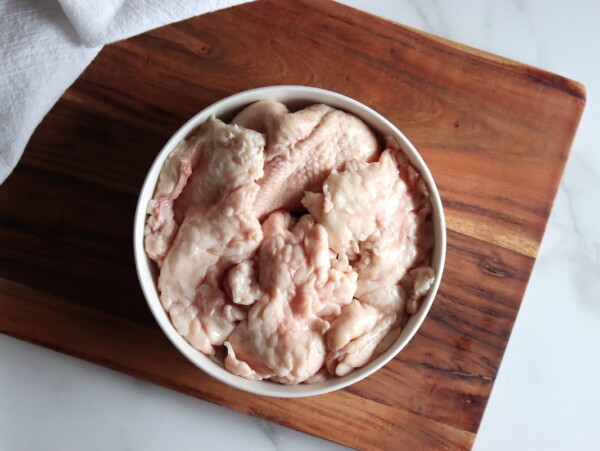
Carefully trim the duck skin and fat from the bird. Focus on the areas with the most fat, like the belly, neck, and the tail.
You’ll want to remove any excess skin and fatty bits, anything that’s dangling around the neck and abdominal cavity will not crisp when you’re roasting the duck, so it’s best to trim that off for rendering.
Chop the Fat
Once you’ve collected the fat, chop it into small pieces. The smaller you can chop the fat, the faster it will render, as more surface area is exposed to the heat.
Rendering Duck Fat
Now that you’ve gathered and chopped the fat, it’s time to render it into liquid gold. The process is very similar to rendering goose fat, and the key is to keep the heat low and slow so that the fat melts without frying.
Place your chopped duck fat into a heavy-bottomed pan or Dutch oven. Add about 1/2 cup of water to the pan. The water helps prevent the fat from burning and allows it to render more slowly and evenly.
Set your burner to low heat. The trick to rendering duck fat is to cook it very slowly, so don’t be tempted to turn up the heat. If the fat “frys” too quickly, it will crisp before it releases all of its fat, and you won’t get the full yield of liquid fat.
Allow the fat to simmer gently. You’ll see small bubbles form as the water evaporates, and the fat will begin to melt. Stir occasionally to make sure nothing sticks or burns.
As the fat begins to melt and the water evaporates, the bubbles will change and the fat will start to separate from the cracklings (the crispy bits of skin). Keep simmering until you notice that the cracklings have turned golden brown. This is when the fat is fully rendered.
Once the fat is fully rendered, strain it through a fine-mesh sieve into a clean container, separating the cracklings from the liquid fat.
The golden, crispy bits left behind are duck cracklings, and they are absolutely delicious! You can eat them as a snack, toss them over salads, or use them to garnish soups or potatoes.
Ways to Use Duck Fat
Now that you have your beautifully rendered duck fat, it’s time to put it to good use:
Roasted Vegetables
Duck fat is famous for roasting vegetables, particularly potatoes. Toss potatoes (or any root vegetable) in melted duck fat, season with salt and pepper, and roast them in a hot oven until crispy and golden brown.
The fat helps the vegetables crisp up beautifully, and adds a savory, rich flavor that’s hard to beat.
Frying and Sautéing
Use duck fat in place of butter or oil for frying or sautéing. It’s perfect for frying eggs or crispy duck breasts, and it also imparts a wonderful flavor when sautéing greens, mushrooms, or even making a savory stir-fry.
Duck Confit
One of the most classic uses for duck fat is making duck confit, where duck legs are slow-cooked in fat until meltingly tender. The rendered fat preserves the duck, and the rich flavor makes it a delicacy. Simply submerge duck legs in rendered duck fat and cook them low and slow.
Baking
Yes, you can use duck fat in baking! For savory pastries or pie crusts, try using duck fat in place of butter or shortening for an extra flaky and flavorful result. It works especially well in empanadas, savory tarts, or biscuits.
Gravy, Sauces and Soups
When making gravies and sauces, add a tablespoon or two of rendered duck fat for a richer, silkier texture. This will add depth to your stock and enhance the flavor of gravies, soups and sauces.

How to Render Duck Fat
Ingredients
- 1 lbs of duck fat and skin, from a 5- to 6-pound duck
- 1/2 cup water
Instructions
- Separate the duck fat and skin from the bird, removing excess fat and skin from the belly, neck, and tail. Chop the fat into small, manageable pieces.
- Place the chopped fat in a heavy-bottomed pan or Dutch oven and add1/2 cup of water. Set the burner to low heat and let the fat simmer slowly. Stir occasionally to avoid burning.
- As the fat melts and the water evaporates, keep simmering until the cracklings turn golden brown and the fat is fully rendered.
- Strain the rendered fat through a fine-mesh sieve into a clean container. Allow the fat to cool before storing it in the refrigerator. The rendered fat will keep for up to 3 months in the fridge or can be frozen for longer storage.
Notes
Nutrition
Nutrition information is automatically calculated, so should only be used as an approximation.
